If you’re keen on cleaning your car’s interior, the upholstery will make up a big part of that job. So, here’s how to shampoo car seats.
Whether it’s part of your regular car detailing routine, or you just need to clean up a mess that your kids made in the back, cleaning car seats is a job that you need to get right. Otherwise, if you do it wrong, your risk not only getting rubbish results but also potentially even damaging the upholstery. Fear not though, because we’re here to show you the way!
What equipment do I need?
To shampoo car seats properly, there’s a few bits of kit you’ll need to get the job done. a car vacuum cleaner will come in handy, as will two types of brush – one to sweep loose dirt, the other to help agitate the shampoo. Naturally, that also means you’re going to need some car interior shampoo (not the same stuff that you use on the outside!) and potentially a more potent enzyme spray if you’re tackling stains. Finally, have a few microfiber cloths to hand as well.
How To Shampoo Car Seats
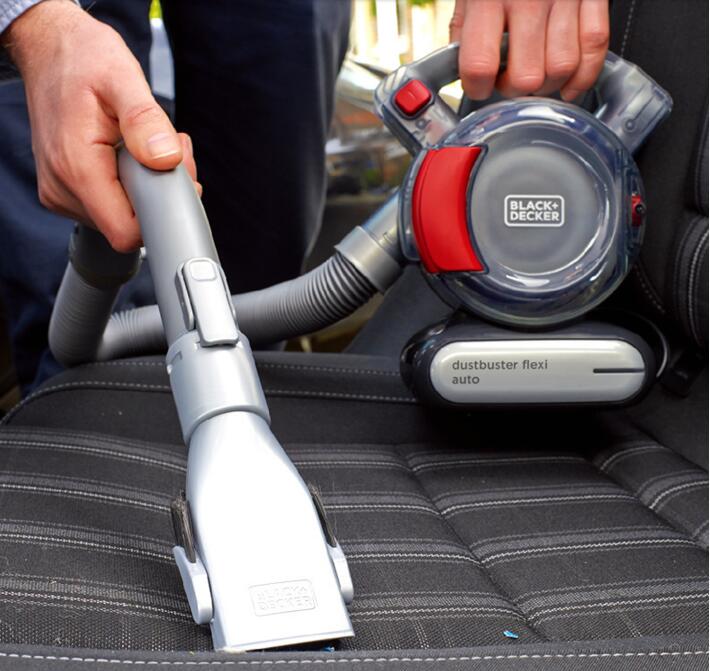
1. Vacuum & Fine Brush
The first step when cleaning car seats is to begin by vacuuming them. This will pick up any loose debris before you start to tackle finer dirt with your shampoo. If the vacuum can’t quite pick up certain crumbs, for instance if they’re in seatbelt crevices, then you might need to attack those with a fine brush and sweep them away instead.
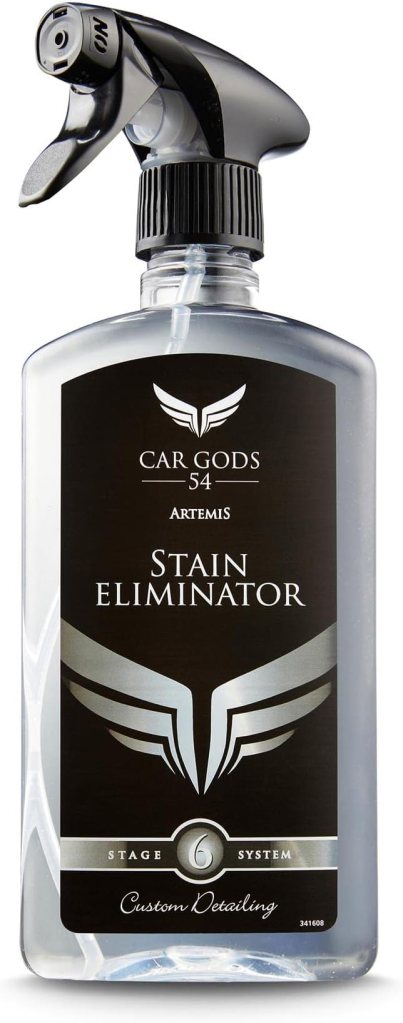
2. Stain Removal
This step is optional, and only necessary if you’ve got a deep stain to deal with. If you’ve got fabric seats, we’d recommend using an enzyme spray and letting it settle for a few minutes. Essentially, these enzymes will work at breaking down the stain residue, making it less resistant to your shampoo. It’s a bit liking having someone loosen a tight jar for you so that it takes less effort to open.
Importantly, enzyme sprays tend not to be suitable for leather. So, if you’ve got stained leather seats, you’ll have to skip along to step three. In which case, your best bet is to buy a specific leather cleaning spray/solution, rather than a general car interior shampoo.
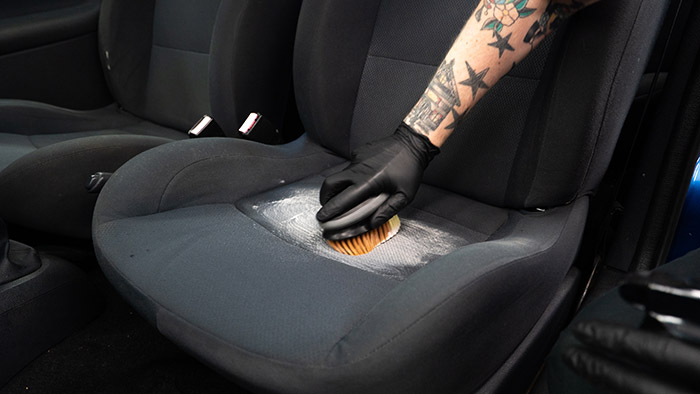
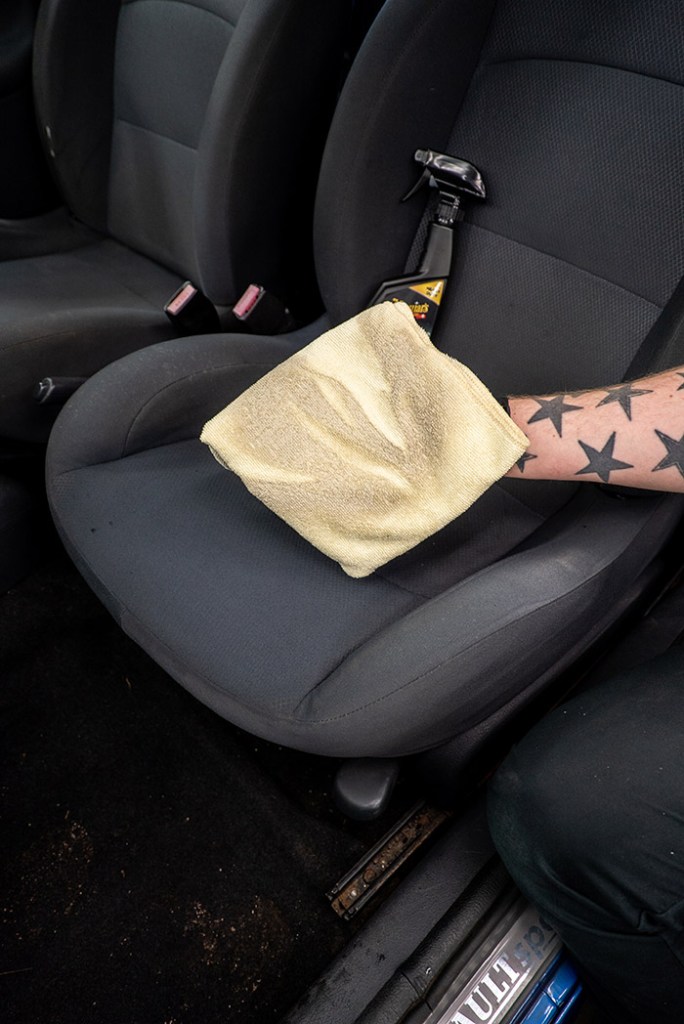
3. Shampoo & Scrub
If you’ve used an enzyme cleaner, apply your car interior shampoo/spray directly on top while the seats are still damp from that first spray. When doing this, take car to avoid any tears, rips, or holes that sink down into the seat. You don’t want any product to drip into those areas as it’ll fester inside the seat. It could tamper with any electronic functions your seat might have, or just fester and smell damp after a while.
With the shampoo/spray applied, take your second brush (ideally one with relatively soft bristles which is designed for upholstery) and agitate the solution into a foam across the seat’s surface area. If you’ve got leather seats, you might feel more comfortable applying your shampoo to a microfiber cloth first, and applying it to the seat that way instead. Typically, fabric seats respond well to up-and-down motions, whereas circular movements are the best way to treat leather seats.
4. Wipe with microfiber cloth
Once you’re happy that you’ve achieved full coverage with your seat cleaner, you’ll need to wipe away the foam (and hopefully the dirt with it). Do this with one of your spare microfiber cloths.
To keep on top of each of these stages, it’s a good idea to focus on steps 2-4 one seat at a time. That way, you should easily be able to stay on track and give each seat equal coverage.
5. If you’ve got leather seats, treat them
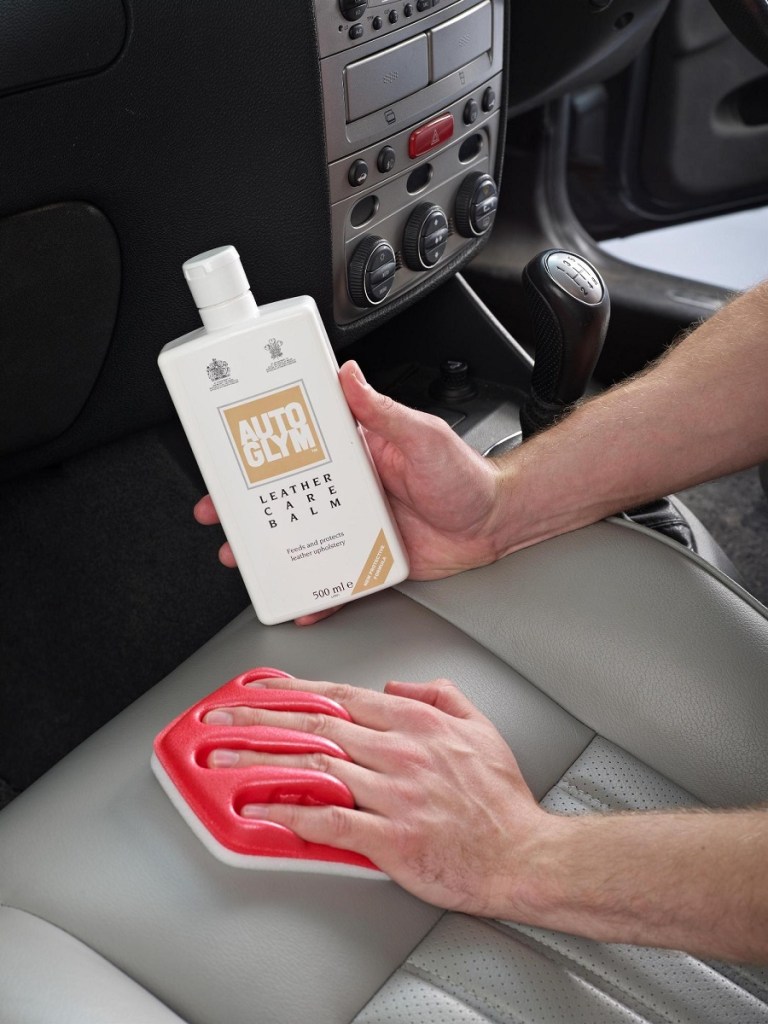
People with fabric seats in their car can skip along to step six, but if you’ve got leather ones, listen up. If leather seats are left o their own devices, they’ll eventually reach a point of dryness that results in them wearing and cracking. To mitigate against this, it’s good practice to treat your leather seats every time you clean them (or according to some detailing specialists, every three months or so).
To treat leather seats, you’ll need some dedicated leather treatment/leather restorer. Follow the instructions on the back of the bottle, but for the most part all it’ll involve is rubbing the restorer into your seat surface with an applicator pad (usually provided).

Bonus points if you’ve got a Toyota Sera with doors that open like this.
6. Air Dry
The final part can often be the longest. Car seats notoriously take a while to dry, but to get this done as quick as possible, park your car up somewhere sunny, private, and within view. Then, leave the windows open – or even better, open the doors – and allow the car to air out. Typically it’ll take a good hour or two to dry fully.