
Are you looking to upgrade your car’s performance? Adding a performance intercooler can improve your vehicle’s power and efficiency, and will unlock significant future power gains by paving the way for further tuning. Here’s how to fit an intercooler.
An intercooler reduces the temperature of the air going into the engine, providing denser and cooler air for better combustion, making it a brilliant car modification. But do you need one alongside your car radiator and other cooling components? And are they easy to fit? In this guide, we’ll take a closer look and explain all…
In this guide, we will discuss why you need an intercooler and how to fit one in your turbocharged petrol or diesel car. We will also take a look at the benefits of a performance intercooler and other upgrades you can consider to enhance your driving experience. Whether you’re a seasoned mechanic or just starting out, our step-by-step guide will help you install an intercooler like a pro. So, let’s take a closer look!
Why do you need an intercooler?
Most modern turbocharged petrol or diesel cars will have an intercooler fitted as standard. Its job is to cool the air coming from the turbo to ensure maximum power and efficiency. However, OEM intercoolers are always something of a compromise. Whether that’s the climate and conditions the car will be sold in, the available space in the engine due to other components such as air conditioning conditions or other coolers, minimizing the drag of the vehicle to achieve better fuel consumption figures, or simply due to cost and ease of manufacture. The end result is an intercooler that is designed to do a specific job, but not much more.
When we start tuning our cars, increasing turbo boost pressures, higher rpm and rising temperatures can quickly cause an OEM ‘cooler to struggle. This results in warmer air entering the engine, which ultimately robs it of its true power potential. With a performance intercooler upgrade, you can make the most of your turbocharger’s performance, ensuring every psi of boost pressure is put to good use, achieve better throttle response, and in some cases, the improvement in flow can even help reduce turbo lag too.
What are the benefits of a performance intercooler?
A performance intercooler offers a range of benefits. Firstly, it unlocks increases in both horsepower and torque. A well-designed intercooler will have a lower pressure drop across the core, meaning more boost pressure at the manifold and ultimately cylinder head, without altering anything on the turbo itself.
But its main job is to lower intake air temperatures. When we tune a car we inevitably ask components like the turbocharger to work harder, which results in increased amounts of heat. The job of a performance intercooler is to remove as much of this heat as possible – remember the cooler air entering the engine, the more power potential. Plus, excessive heat can lead to all manner of problems with pre-ignition and engine detonation, and a performance ‘cooler helps reduce the risk of engine damage.
One of the advantages of a performance intercooler is that it allows for further performance tuning. Whether you’re looking to make modifications to your vehicle or simply want to maximize its potential, a performance intercooler provides a solid foundation for other upgrades and further tuning.
For more advice on which intercooler to buy, be sure to check out our guide to the best car intercooler brands in 2023.
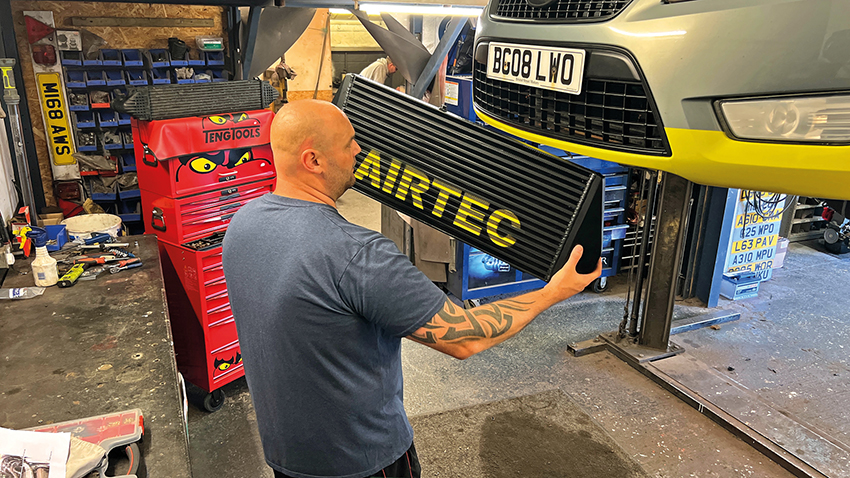
How to fit an intercooler
To fit an intercooler, there are several essential steps to follow. Obviously, the exact process will depend on the car and intercooler in question and you should always follow the fitting instructions provided with your new performance parts. But, in general, there are five common steps that will be the same when fitting a performance intercooler, regardless of make or model. They are:
Step 1. Check compatibility
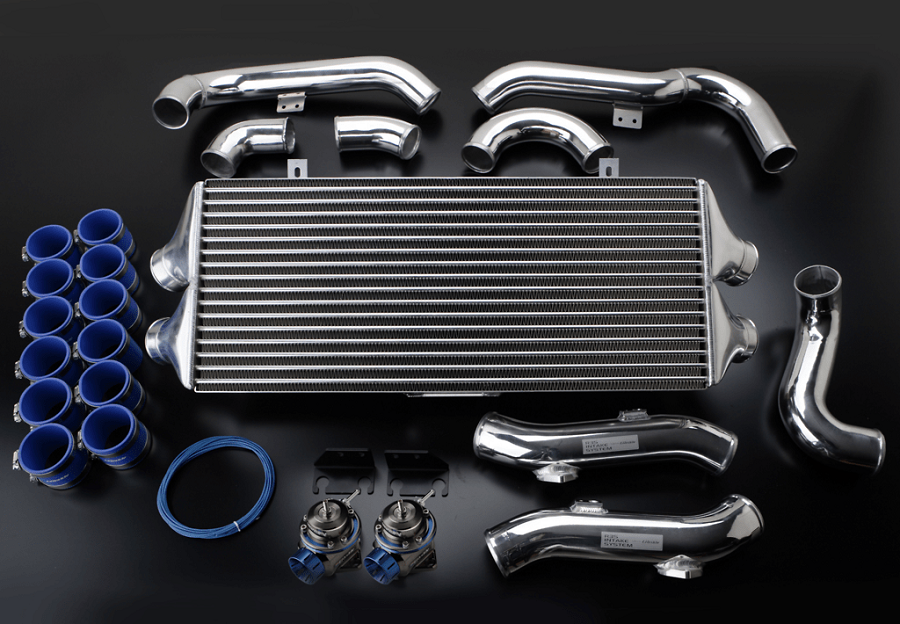
Before you begin installing an intercooler, it’s crucial to check its compatibility with your vehicle’s make and model. Ensure that the intercooler is specifically designed for your car before you start. Additionally, it’s important to verify if any other performance hardware upgrades are required, such as boost pipes or modifications to the intake system. Some ‘big bore’ intercoolers require larger diameter boost pipes as the stock pipes physically won’t fit. Make sure you’ve got them if required.
To properly fit an intercooler, gather all the necessary tools and equipment beforehand. This includes any clamps, wrenches, and any other specific items mentioned in the manufacturer’s instructions. It may even include calling a mate to lend to hand, as many intercoolers require a second pair of hands to hold the unit in place while you bolt it all in position. Having everything ready will streamline the installation process and prevent unnecessary delays or interruptions.
If you’re not confident in your ability to install the intercooler yourself, consider seeking professional assistance. A qualified mechanic or technician with experience in intercooler installations can provide valuable guidance and ensure a seamless installation process.
Step 2. Remove the old intercooler
Before you can remove the old intercooler, you’ll need to remove the charge pipes and any sensors connected to it. Start by removing and inspecting the charge pipes from the intercooler to ensure they can be reused. Carefully disconnect any sensors or wiring harnesses as well. If you’re unfamiliar with your car’s engine bay, it’s a good idea to label or document the location of each component for reinstallation later on. Once you have removed the charge pipes and sensors, store them in a safe place so that they are not misplaced or damaged. Remember, this step is crucial in order to gain access to the intercooler for further installation or maintenance.
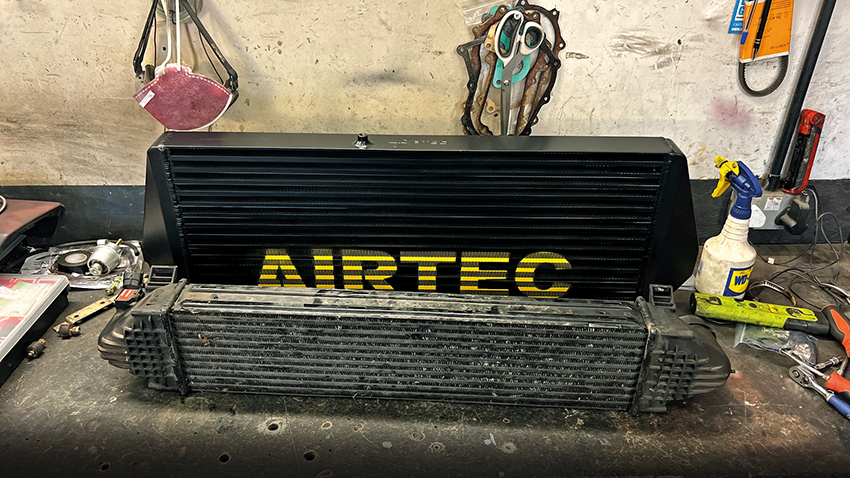
To remove the old intercooler, start by unbolting it from its mounting brackets. Disconnect any remaining hoses or fittings that are still attached to the intercooler. Carefully slide the old intercooler out of its position, making sure not to damage any surrounding components. Take a moment to inspect the old intercooler for signs of damage or wear, as this may indicate an area that needs addressing before installing your new one. Once you have removed the old intercooler, be sure to dispose of it properly, following any local regulations or guidelines.
Step 3. Prepare to fit the new intercooler
Before installing the new intercooler, it is important to take a few preparatory steps. First, make sure that all the necessary installation hardware is included in the kit. This will ensure that you have everything you need for a smooth installation process. Check the new intercooler itself for any damage or defects. It is important to catch any issues before installation to avoid complications down the line. If you notice any problems, contact the manufacturer for assistance or a replacement.
Next, clean the mounting area where the new intercooler will be installed. Remove any debris or contaminants that could interfere with the installation or affect the performance of the intercooler. A clean mounting area will provide a solid foundation for the new intercooler. Dry-fit the intercooler by offering it into place. This will highlight anything that might snag or prevent proper installation. Identifying and addressing these first will reduce the risk of damaging the intercooler during installation. If necessary, remove or trim any ducting, shrouding, or surrounds that may obstruct the installation of the new intercooler. This will ensure a proper fit and optimal performance.
In some cases, the new intercooler may come with brackets that need to be installed. Follow the manufacturer’s instructions to properly install these brackets and ensure a secure fit. Before proceeding with the installation, make sure you’ve read the fitting instructions provided by the parts supplier. This will give you a better understanding of the process and any specific requirements or considerations.
Finally, set aside any tools or equipment that may be needed for the installation so they are on hand during the installation process. This could include specialized tools, extra clamps, or just an extra pair of hands to help hold things in position during the installation process.
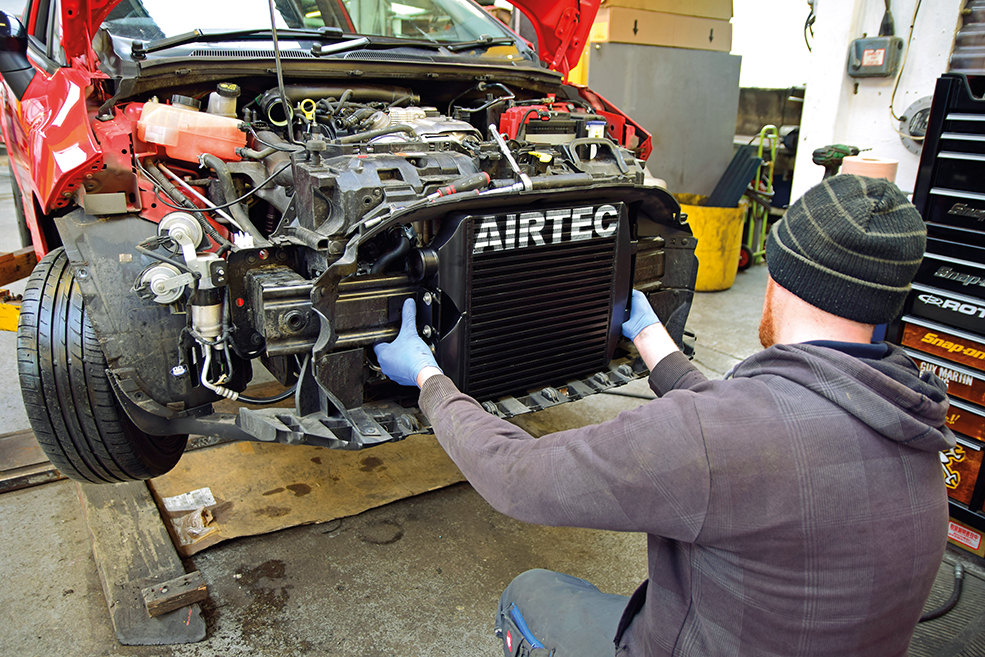 Step 4. Fit the new intercooler
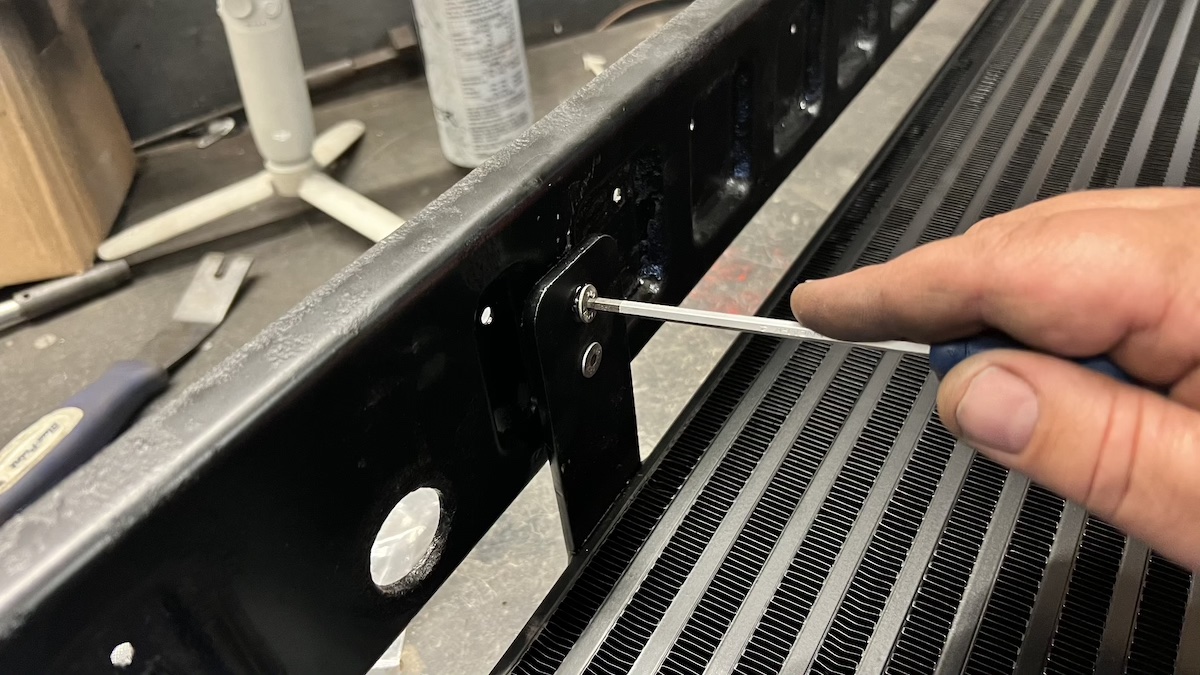
To install the new intercooler core, begin by positioning it in its designated location. Use the provided mounting brackets to secure the intercooler, ensuring proper alignment and fitment. Once in place, tighten all bolts and clamps to the specified torque settings. This will ensure that the intercooler is securely attached and will not come loose during operation.
To ensure proper functionality of the intercooler, it is crucial to reconnect the pipework and sensors correctly. Start by reattaching the charge pipes to the new intercooler. If your intercooler comes with boost pipes as part of the kit, use these. If not, the original pipes and hoses can be reconnected. Take your time to align the pipes properly and secure them using clamps or brackets.
Finally, connect any sensors or wiring connections that were detached during the installation process. This step is essential and is one of the most commonly overlooked steps when fitting an intercooler upgrade. Without the electrical connections, your car simply won’t run correctly. Double-check all connections to ensure they are securely fastened and properly fitted.
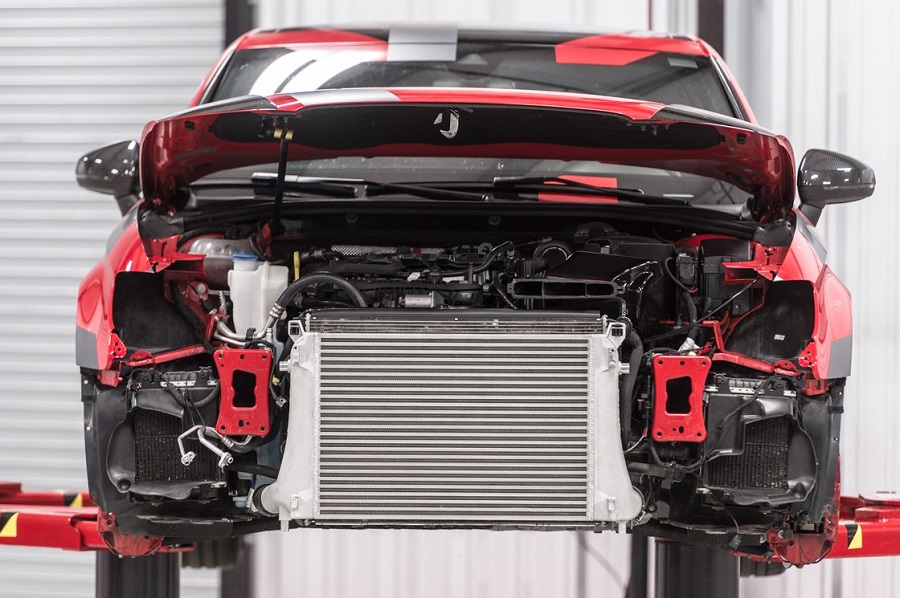
Step 5. Visual check & road test
After the installation of the new intercooler, it is essential to perform a visual check and a short road test to ensure everything is working properly. Start by inspecting the overall installation for any visible issues or errors. Look for loose connections, damaged components, kinked pipes, any fouling, and any signs of improper installation.
Once you’re happy everything looks okay, start the engine and listen carefully for any unusual noises. In particular, listen out for any odd hissing or whistling sounds that might indicate a leaking pipe or connection somewhere. And don’t just check the intercooler itself. With hands in a cramped engine bay it’s not unusual to accidentally disconnect a wiring connection or vacuum pipe from elsewhere on the engine, so be vigilant. Also, with the engine running, check the dash for any warning lights or error messages.
To thoroughly check everything’s working, take the car for a quick test drive. Keep an eye on the intake air temperatures and boost levels throughout the test to ensure it’s all behaving as it should. Make sure you get the opportunity to load the engine with high boost levels (in lower gears) to check nothing will blow off at high boost.
By conducting these simple tests, you can identify any potential issues or improvements that may need to be addressed. This will help ensure that your intercooler installation is successful and that your vehicle is running at its maximum potential.
 Other upgrades to consider
When it comes to maximizing the performance of your vehicle, there are several other upgrades to consider apart from fitting an intercooler. These upgrades can further improve the power and efficiency of your engine.
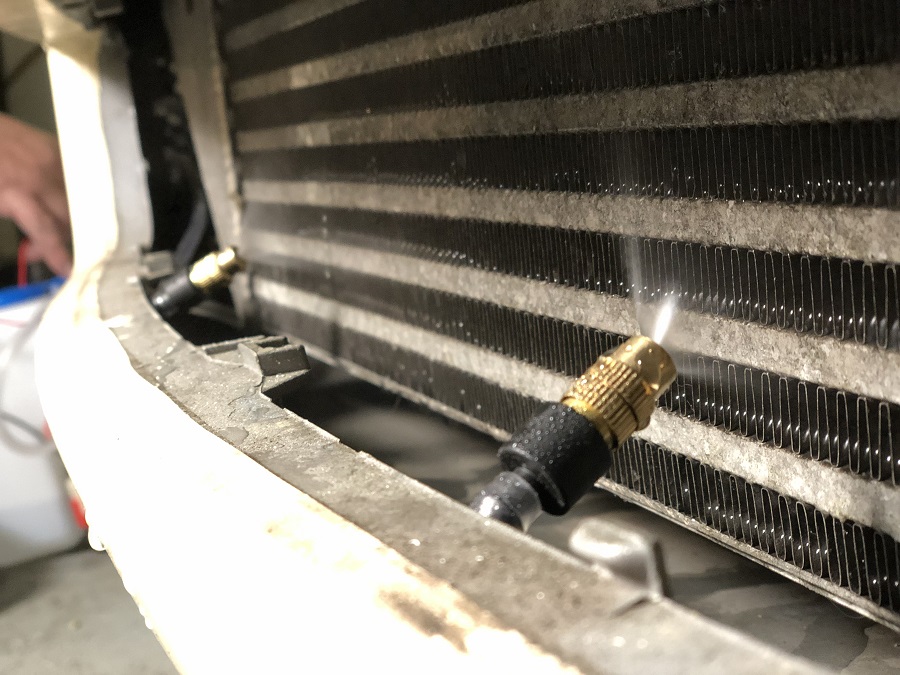
- Adding intercooler spray. By spraying a cooling mist directly onto your intercooler you can improve its effectiveness and further cool the charge air for even better performance.
- Installing a performance air filter or intake kit. By replacing the stock air filter with a high-flowing one, you can increase the amount of air entering the engine, resulting in improved combustion and more power. This simple modification can make a noticeable difference in the performance of your vehicle.
- Fitting an aftermarket exhaust system. By replacing the restrictive factory exhaust system with a more free-flowing one, you can reduce back pressure and increase the flow of exhaust gases. This allows the engine to breathe more easily, resulting in improved horsepower and torque.
- Upgrading your turbocharger. A larger and more efficient turbocharger can provide a significant increase in performance. It can deliver more boost pressure to the engine, resulting in more power and faster acceleration.
- Remapping your ECU. By adjusting the settings in the ECU (Engine Control Unit), you can improve fuel efficiency, increase power output, and enhance overall performance.
These upgrades, along with fitting an intercooler, can work together to make your vehicle perform at its best. Whether you have a BMW, Ford, Nissan, or any other make and model, these upgrades can help you achieve maximum performance on the road or track


