Want to know how to wrap a car? This guide will take you through the process and give you an idea of the sort of budget you’ll need to put aside.
Wrapping is one of the hottest car modification trends of the last decade, and it’s easy to understand why. Modifying your car’s exterior is the most obvious way to show off your own style and personality, and aside from bodykits and aero parts, one of the best ways you can go about doing that is by adding a unique twist to its color.
Unlike traditional paint re-sprays though, there’s no sense of permanency with a car wrap. If you don’t like it, you can simply take it off and revert to stock. In fact, some wraps and films even claim to protect your car’s original paintwork. With that in mind, wrapping has given car enthusiasts the license to try all sorts of non-standard colors and finishes, as well as full-on intricate liveries, without having to worry about factors such as reversibility or resale value. Pretty neat!
So, if you’re tired of the way your ride looks and fancy wrapping it in a fresh new design, here’s all the info you need on how to wrap a car:
How to wrap a car
Nine times out of ten, if you’re considering a full wrap job, we’d point you towards the professionals. However, if you’re an ambitious sort and are quite handy, you can do it all by yourself (or at least with the help of some mates). Plus, taking the labor cost out will reduce the expense associated with car wrapping by a heck of a lot. So, if you want to take on a D.I.Y. wrap project, here’s how to do it:
Preparation
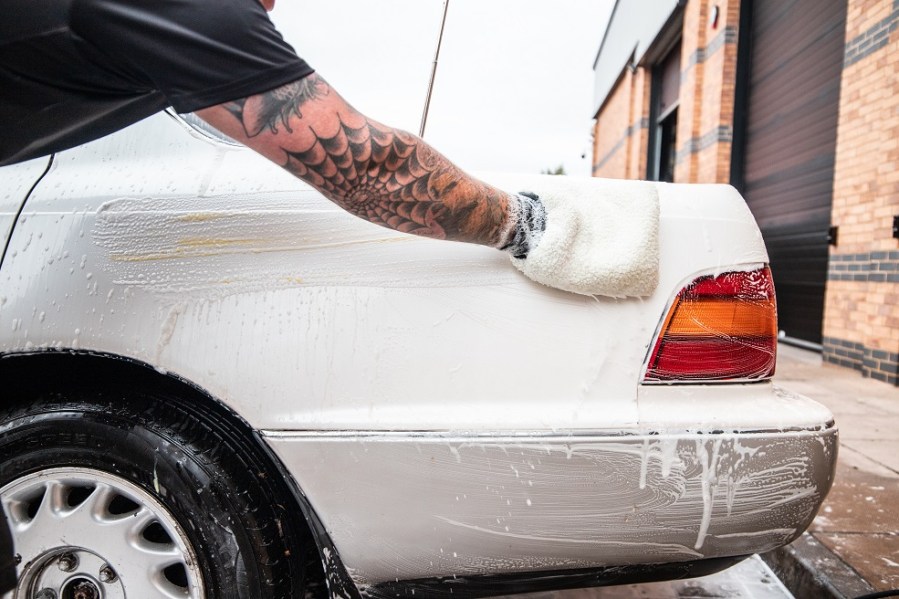
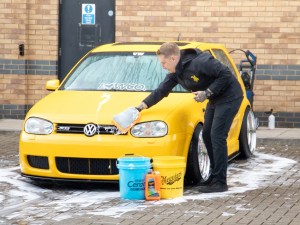
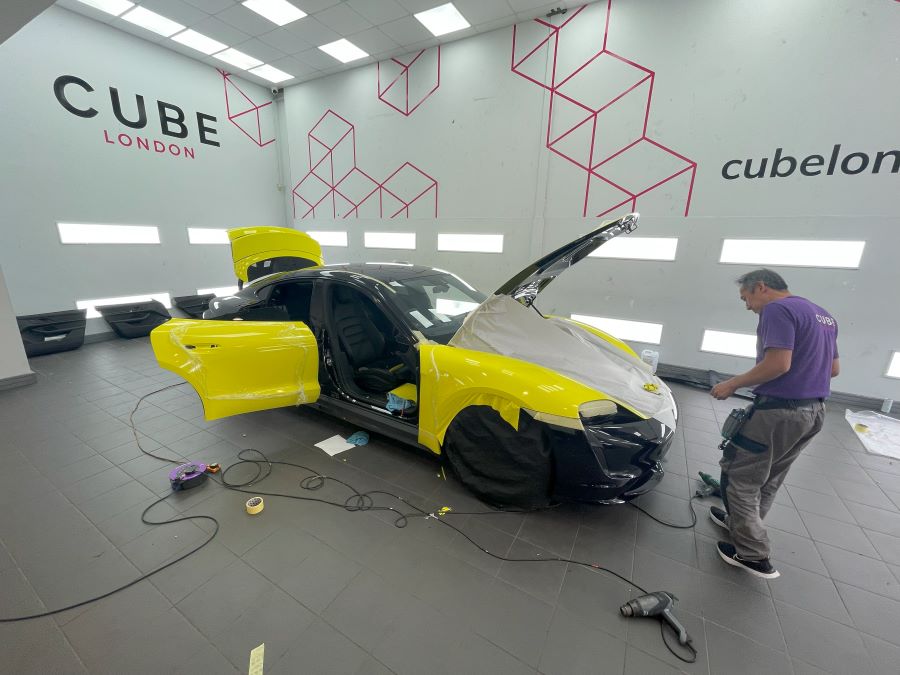
First things first, you’ve gotta prepare your car’s bodywork, ensuring it’s super clean, dry, and free of dust. Any grime that gets under the adhesive will show up, so be meticulous in your cleaning. Wash the area down (twice) with a shampoo containing no wax and get it completely dry. Now, professional installers will follow this up with a chemical clean, and you might find that your supplier has added in some specialized wipes to fill this role. If that’s the case, make sure you use ’em. Wiping down the area with these just before you put on your film will remove any left over dust, oil, grease or waxy residues and ensure your vinyl holds fast.
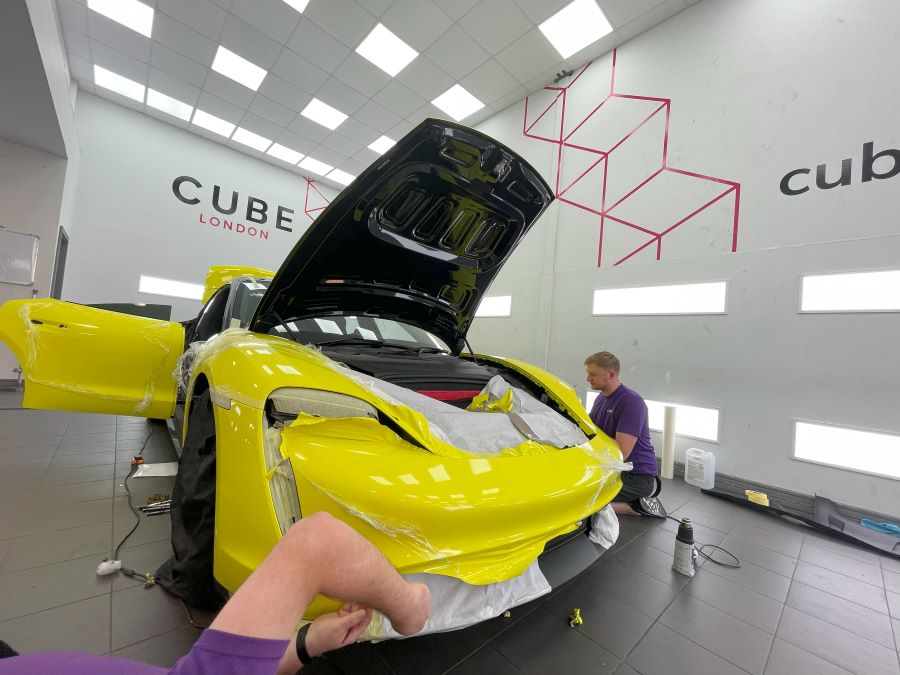
If you’re going for a full wrap and need to cover some of the car’s more intricate exterior features (like door handles, for example), most pro companies will strip these little parts off the car and wrap them individually. Feel free to do the same – just remember how to put them back on!

Cutting
Right, this might be a bit scary, but if you get your measurements right, you’ll be fine. Whether you’re wrapping a large body panel or a small furnishing, you’re going to need to measure out how much wrap it’ll take to cover the surface area. To be safe, give yourself some allowances for error – it’s easy to trim down a piece of wrap that’s too large when positioned, but you’ll be kicking yourself if it turns out too small.
Once you’ve got the numbers sorted, use your scissors or a sharp knife to prepare the film for positioning.
Positioning
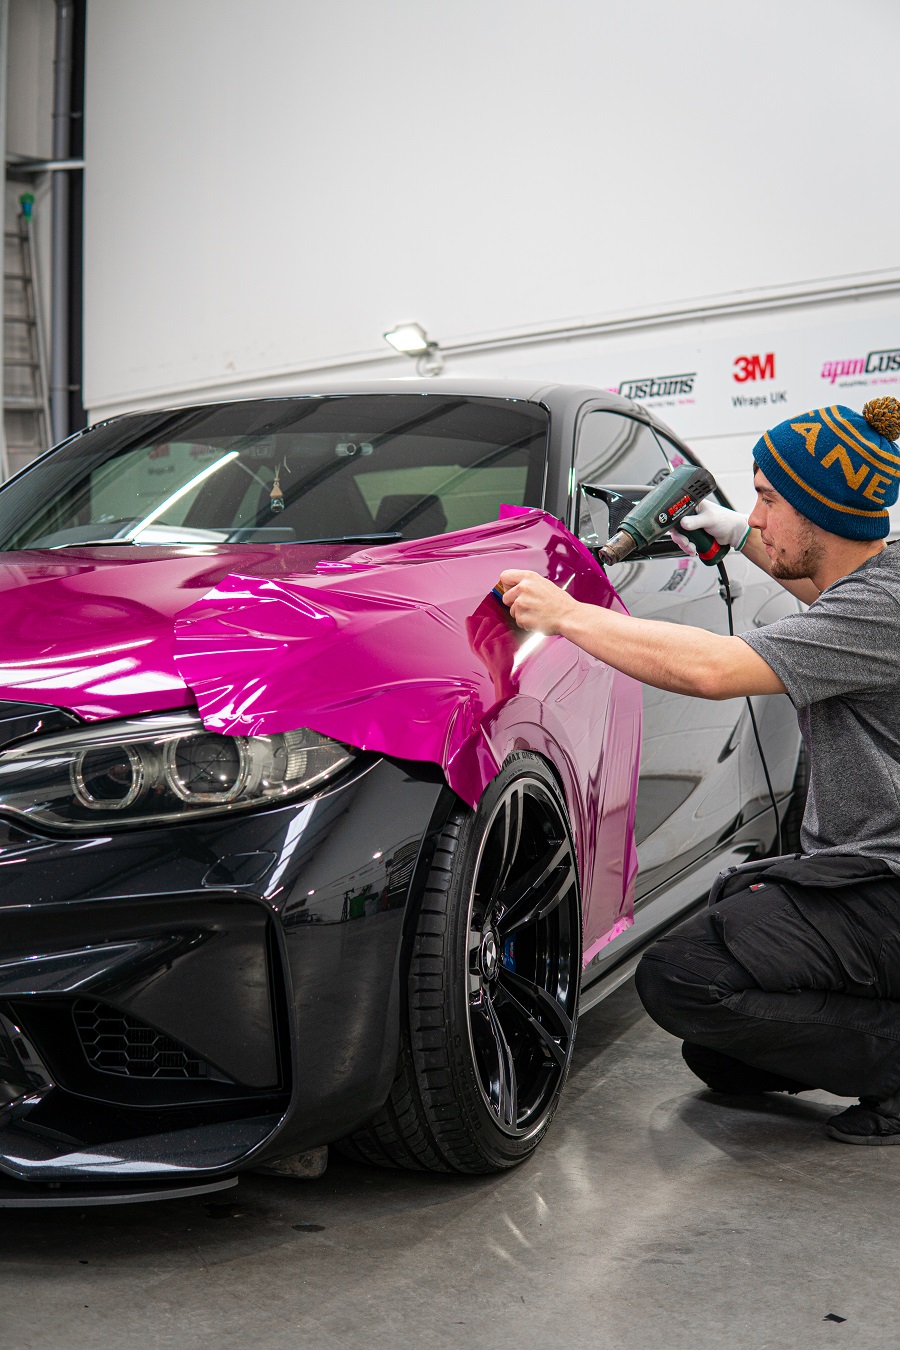
Now for the fun bit. Peel off the adhesive backing and lay down your film. Be careful not to touch the adhesive side or get it dirty though, as this will undo all your hard prep work! Plan ahead too – if it’s a big panel you’re wrapping, such as a roof, you’ll need a mate to help you. Handily, the adhesive used in most reputable car wraps won’t stick until you apply pressure, so slide the film around to position it right.
Next, grab your Squeegee and use it to apply firm pressure in wide, even strokes. Work from the center and smooth the air out to the edges. Don’t worry about the odd small bubble, as you can work those out with your finger most of the time, especially if your wrap has a breathable quality to it. For panels with curves, you may need to apply a quick flash of heat, stretch the film and mold it to the contours. When you’re happy, trim the edges with a sharp blade to get it looking flush.
Detailing
Congratulations, you’ve wrapped your car! Now, for the final flourish, it’s always a good idea to give the car a quick detail to get it looking its best. Luckily for you, we’ve got a whole guide about how to detail wrapped cars, so if I were you, I’d give that a read next.
How much does it cost to wrap a car?
However, what if you don’t fancy wrapping a car by yourself? Well, there are a few different factors which can affect the cost of a car wrap if you get a specialist to do it for you. Namely; the size of the car, the complexity of the car’s surfaces, the complexity of the design (and therefore the complexity of its application), and the type of wrap material used.
According to class-leading wrap supplier 3M, you can expect to pay anywhere between $2000/£1800 – $7000/£5000 depending on these variables. Naturally, the upper quartile of that budget is what you’ll be looking at for a top tier wrap of the highest quality, but for the average enthusiast, around $/£2500 should get you the desirable look you want to achieve.
How to reduce the cost
If you’re strapped for cash, there are other ways to wrap your car for less. For example, 3M suggests that a good chunk of the cost can disappear just by leaving out intricate parts like the wing mirrors and door handles, and instead viewing their stock color as an accent to whatever you’re wrapping the rest of the car in. You should treat this approach with caution though, as those fine details may be enough to cause you jarring visual annoyance every time you look out onto your drive.
Another way to massively reduce the cost is to wrap the car yourself (using the guide above) rather than book it in at a specialist. This way, you’d only have to fork out for the materials themselves, not the hefty labor costs. However, car wrapping is an art, and there’s a good chance that you’ll find it difficult on the first attempt. So, weigh it up – would you rather save a bit of cash but endure stress for a result that might not look as good, or pay extra to just sit back and enjoy the results?
If you’re really on a shoestring budget, or just want to change the appearance of a few small parts, potentially consider hydrodipping or Plasti Dip instead.
What maintenance costs are involved in car wrapping?
Vinyl wraps require the same sort of maintenance and care as the regular paintwork on your car. If you neglect it, don’t be surprised if you eventually spot chips and tears. But, for the most part, there isn’t much cost involved beyond your regular detailing equipment.
Looking for some design inspiration? Check out our top ten best car wraps!
Words by James Bowers & Midge Burr.