

Here’s your step-by-step guide on how to pre wash a car. This is where you’ll be needing your multi-purpose cleaners and the essential snow foam products during your car detail.
The pre-wash stage is an essential part of the car washing process. What you’re doing at this stage of the detail is softening and loosening stuck-on dirt and grime before you start the actual physical washing process with car shampoo. This, in turn, minimizes the risk of damaging your paint when you do get down to washing your car, as you won’t be dragging these contaminants across the surface of the bodywork.
The pre-wash stage will never leave your car completely clean, and you should still give it a full wash afterwards, but it will help remove that layer of surface dirt, and it should make the next stage in the washing process that much easier.
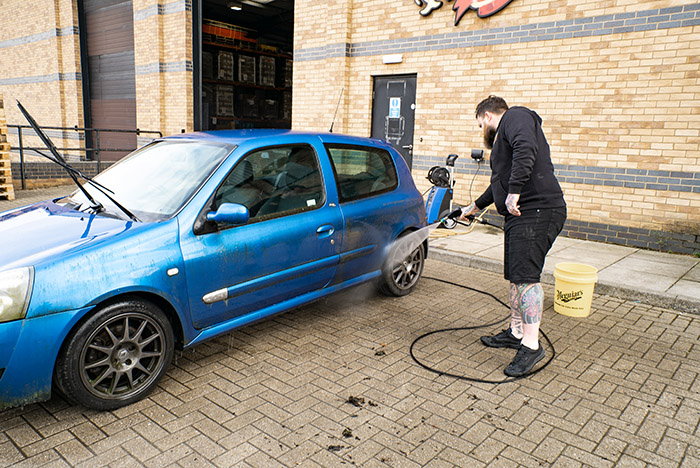
Should you rinse a car first before starting your pre wash?
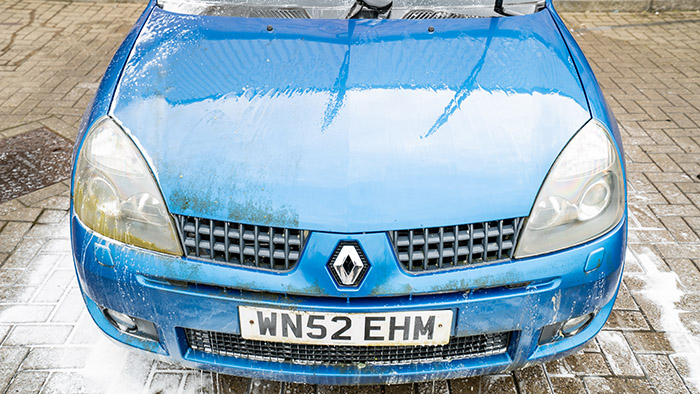
It’s generally accepted that it is much better to apply any pre-wash products to dry paintwork. They can work more effectively on their own and won’t be diluted by the water left on the surface after rinsing. However, if your car is particularly mucky like our Clio test subject, then there is no harm in jetting off the worst of the dirt.
1. Pre wash the car with multi-purpose cleaner
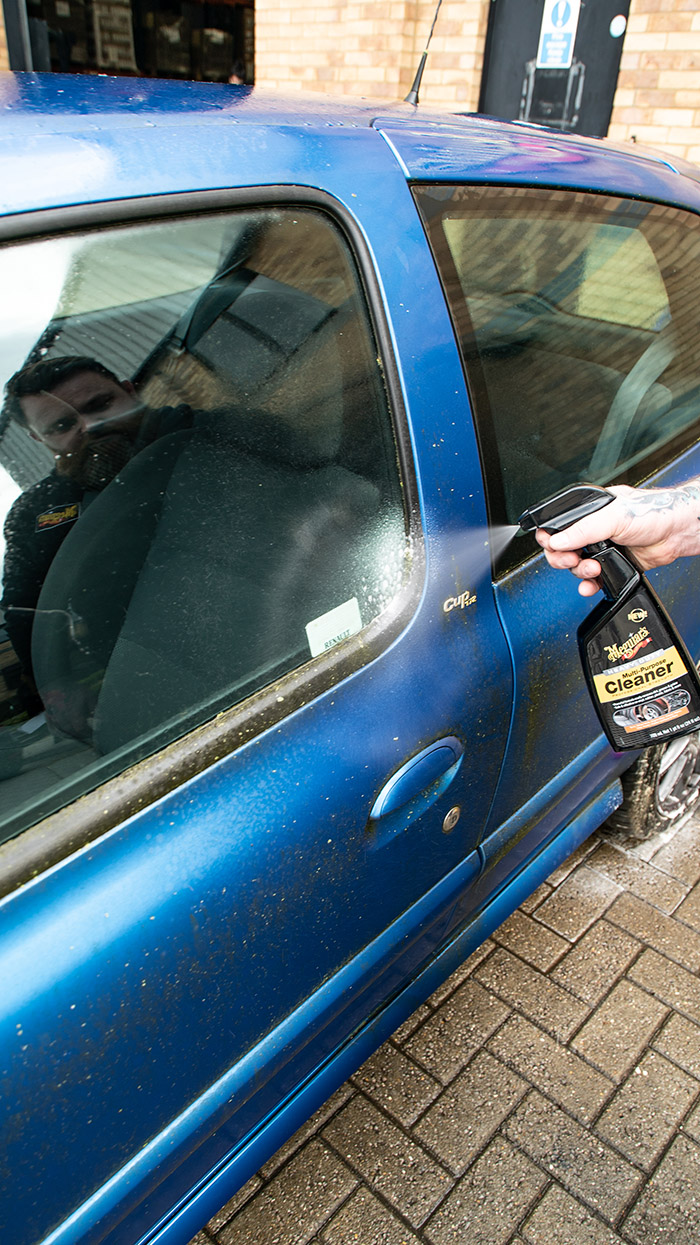
Multi-purpose cleaner (MPC) is a fantastic weapon in your cleaning arsenal. The pre-wash stage is when it should be applied. It’s not meant for spraying across the whole car but rather on certain areas that are particularly dirty.
Apply MPC liberally to window rubbers where dirt and grime can build up, especially if you’ve got green things sprouting.
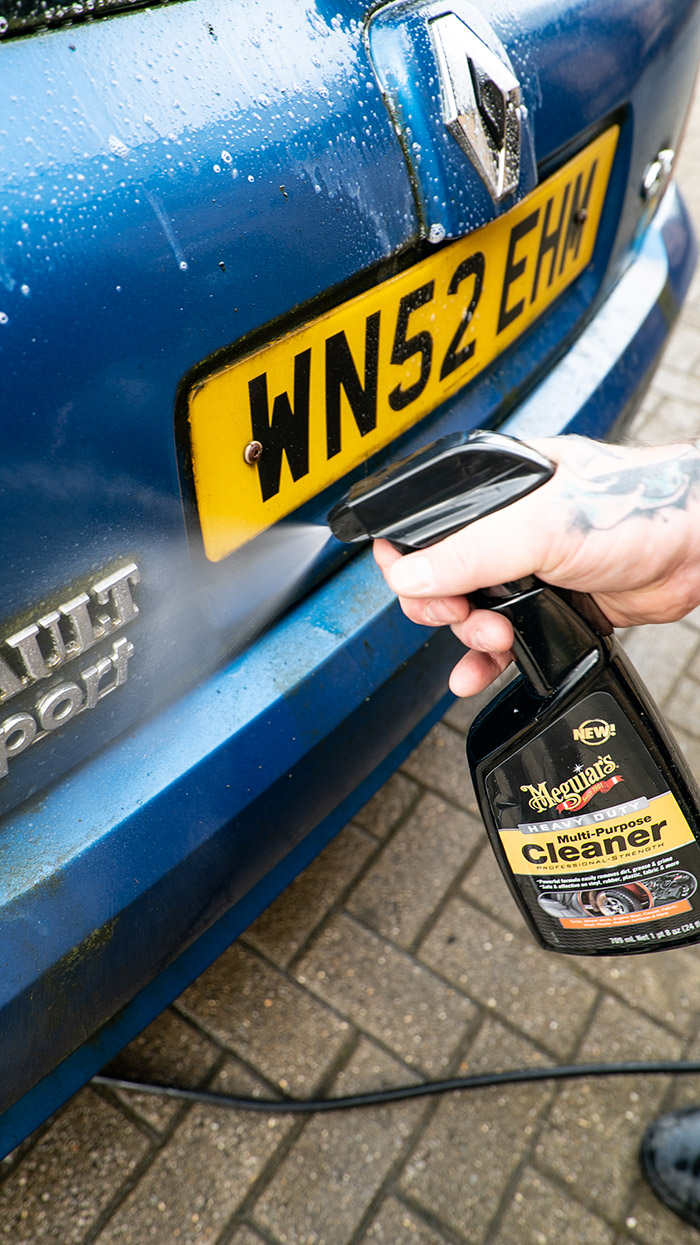
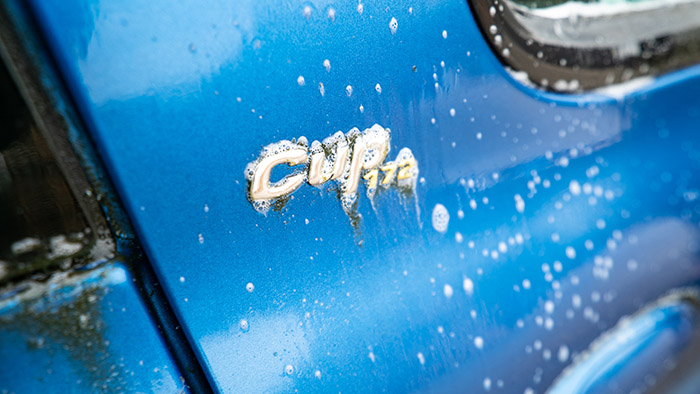
Badges should be liberally doused with MPC to help break down dirt which builds up in-between the letters, numbers, and nooks and crannies.
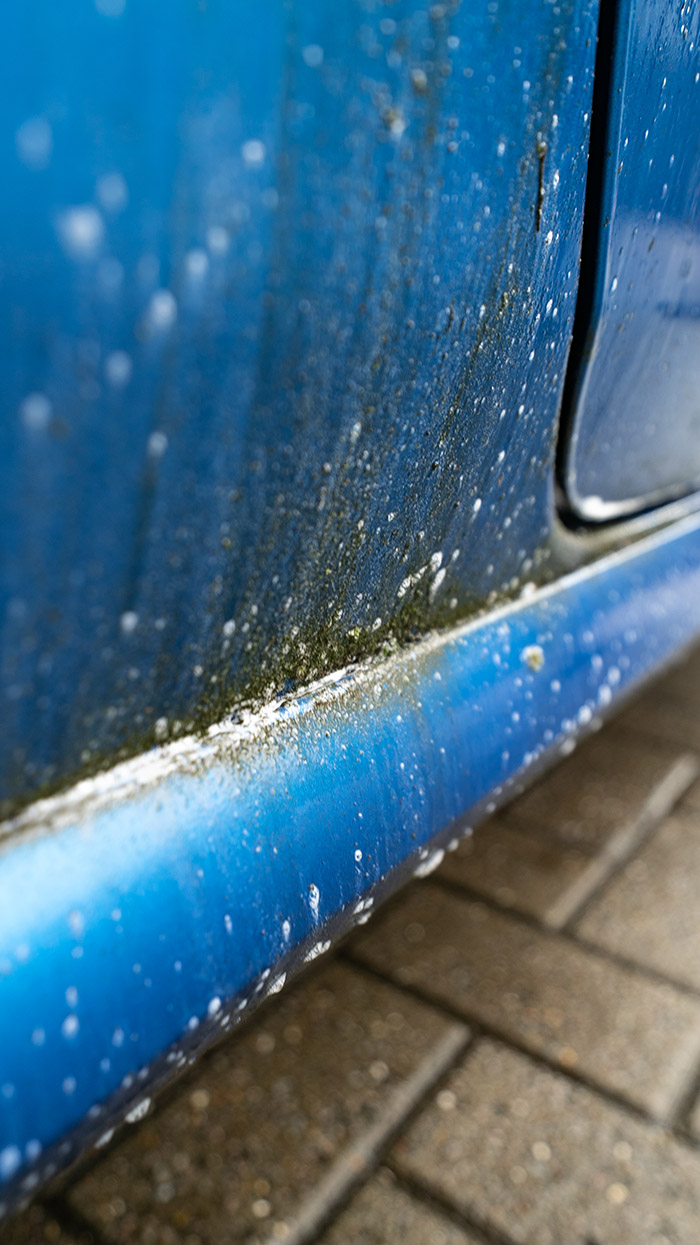
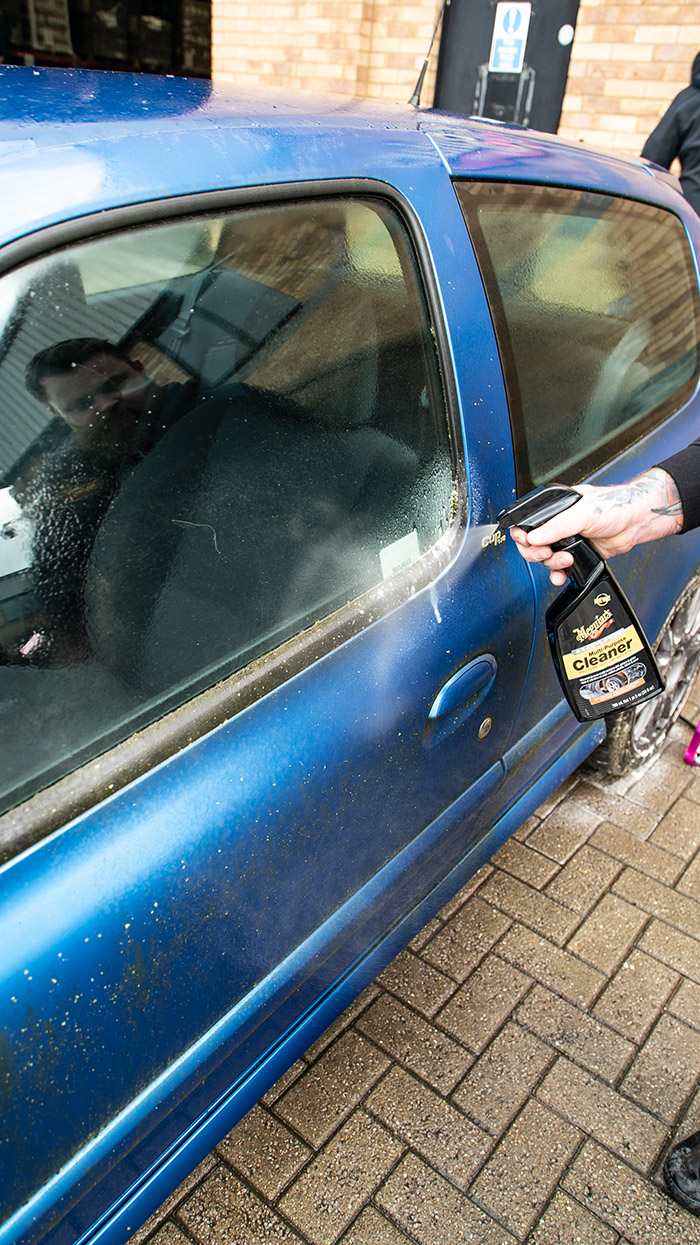
It’s always a good idea to use MPC on heavily soiled lower panels. This includes the sills and lower door portions, up to about the rubbing strips or about halfway up the door. Also, the lower portions of the front and rear bumpers; these are all areas where road grime really accumulates.
Leave the MPC to dwell for a short period to allow it to break down heavy contamination. Make sure you never let any products dry on the bodywork.
2. Apply snow foam as part of the pre wash on a car

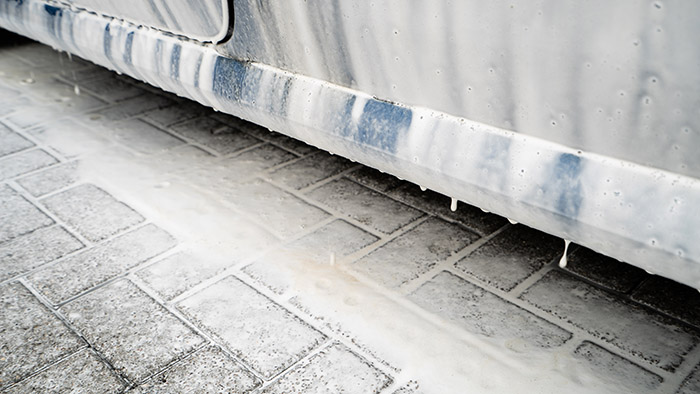
Where MPC offers focused pre-cleaning for those really filthy areas, snow foam should be applied liberally across the entire car. Snow foam helps to soften dirt and break it down. As it runs off the car, it also takes any dirt with it.
The best snow foam technique is to work your way up from the bottom of the car first. This allows the snow foam the longest dwell time on the dirtiest areas.
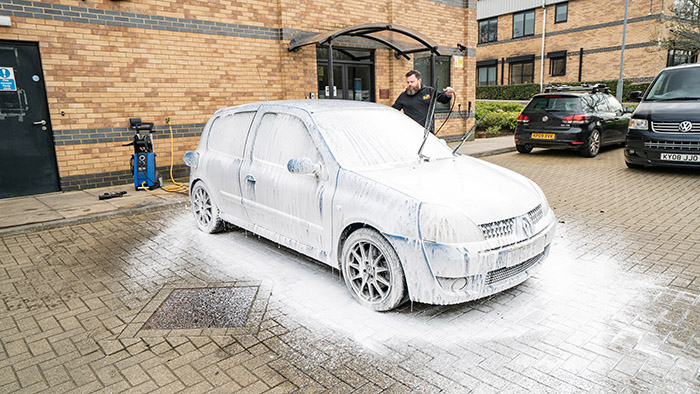
With snow foam, you’re looking to achieve a nice even layer all over the car. You don’t need to overdo it, but at the same time, you want to make sure you don’t miss any areas. Make sure you spray it into all those nooks and crannies; including underneath the bottoms of the sills and also inside the wheel arches.
3. Make sure you work in the snow foam during your pre wash
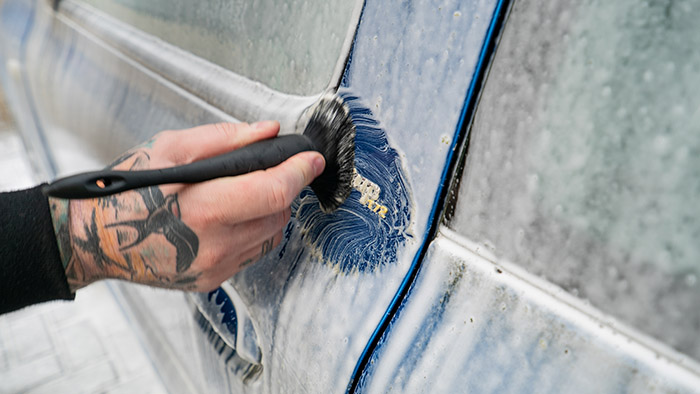
Snow foam needs time to dwell, to soften and dissolve dirt, but now is not the time for a cup of tea; grab a soft-bristled brush and gently start working the snow foam into the areas that you previously applied your MPC to.

Working the snow foam into the rubbers and into the grime around the badges will help to loosen and lift dirt. This will make it it easier to persuade it to come away during the rinsing process and making it much easier to wash away later.
Remember, never apply snow foam to hot panels or in full sun. Also, never let it dry on the car. Ensure the bodywork is cool to the touch and the car is in the shade before you start.
4. Rinse off the pre wash products

When rinsing, you want to work from the top down. This is the opposite direction to when applying the snow foam. This is because all the dirt has been running down the car, and you don’t want to fire this back up the bodywork. Let gravity do its job and allow the water to run down the car, helping to take the dirt with it.
At this stage, you should now be presented with a car that looks much cleaner than it did when you got started. Things should be much easier when you move on to the washing stage.
Now you’ve mastered how to pre wash your car, be sure to check out our washing guides.
Words: Elizabeth de Latour & Matt Bell.


