Fancy injecting some new life into your car’s old rims? Here’s how to paint alloy wheels by yourself at home!
Wheels, they make our world go around, quite literally. And, the short of it is that no one likes to see battered, scratched wheels on any motor, let alone your modified pride and joy. In fact, if you’re thinking of selling up, many will see the wheel condition as an indication of how you’ve looked after the rest of the car.
With that in mind, if you don’t want to fork out for a new set, we thought we’d bring you a few tips for a little home refurb. Although we do not recommend you do this with super-posh expensive wheels, it may be useful if you have a set that need a bit of love on a budget.
So, whether you’ve been straying a bit close to those curbs or you’d just like to refresh your wheels with a new hue for the coming season, here’s how you can spend your time this weekend…
What equipment do I need?
At the risk of sounding like Captain Obvious, you’ll be needing some paint, and the type you choose will often depend on the colors available. Just remember that there is a difference between a traditional spray paint and a dedicated wheel paint. While wheel paints are only readily available in standard colors (like silver, black and white), they are designed to be extremely tough. This is because wheels need to stand up to a hell of a lot of salt, road grime and hot brake dust.
If you’re looking for a particularly special shade – say, if you’re color coding or contrasting with your bodywork – you can still use a traditional paint, but it may not be as durable. Very often you’ll have to apply more coats to build up a sufficient layer. You may also need to prime first, and often lacquer (clear coat) after. For this reason, some prefer to use a wheel paint first, then a color paint over the top.
Other than that, it’s just basic stuff like wet & dry scotch pads, panel wipe, masking tape and possibly some filler. A sander will often help too… all will become clear.
Get Set Up
First, inspect your wheels. You’ll not only need to work out what sort of paint you want, but also if there’s any damage that needs to be repaired. Once you’re happy that you have all you need, it’s time to get your wheels off. So, observe all the usual precautions, get your car up on proper axle stands and, above all, use your noodle to stay safe. Right, have got your wheels off? Good, then we can begin…
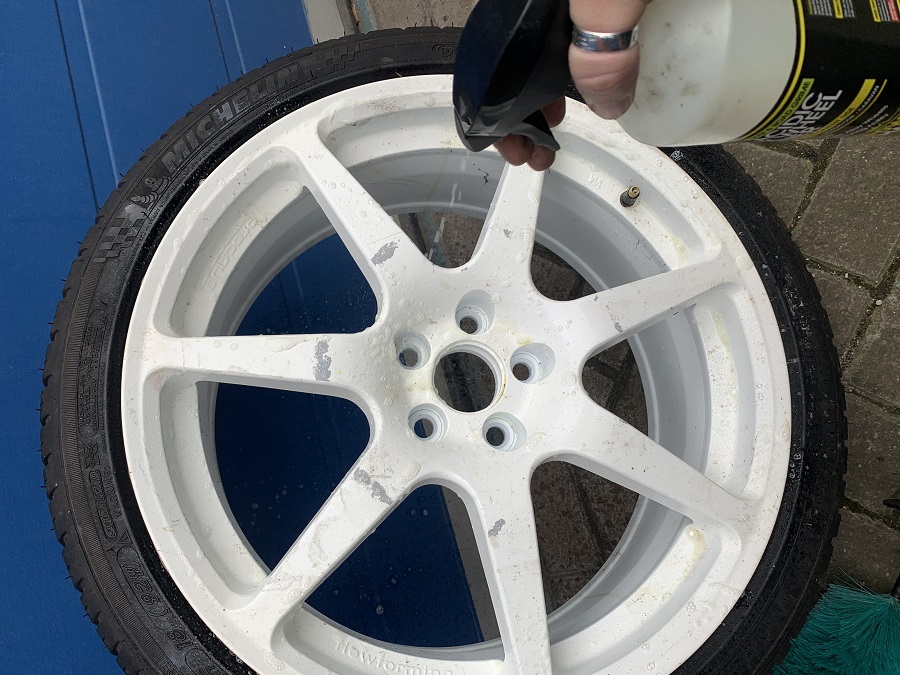
Pop out the center caps, and give ‘em a good wash, inside and out, using wheel cleaner and soapy water. If you have one, use a pressure washer and a stiff wheel brush. If, like most of us, you’re not going to be removing your tires or painting the barrels, be careful not to blast off any stuck-on wheel weights.
Basically, you just need to remove any dirt, brake dust and oil that will stop paint sticking… come to think of it, a good blast of brake cleaner will go a long way here, too. Once you’re happy that your hoops are as clean and dry as they can be, you can put them inside.
Masking
In an ideal world you’d have the tires off, but obviously that’s not the most practical for a home refurb. So, the first job is to let all the air out, and this is even easier if you have a valve remover (they’re only about a quid on eBay).
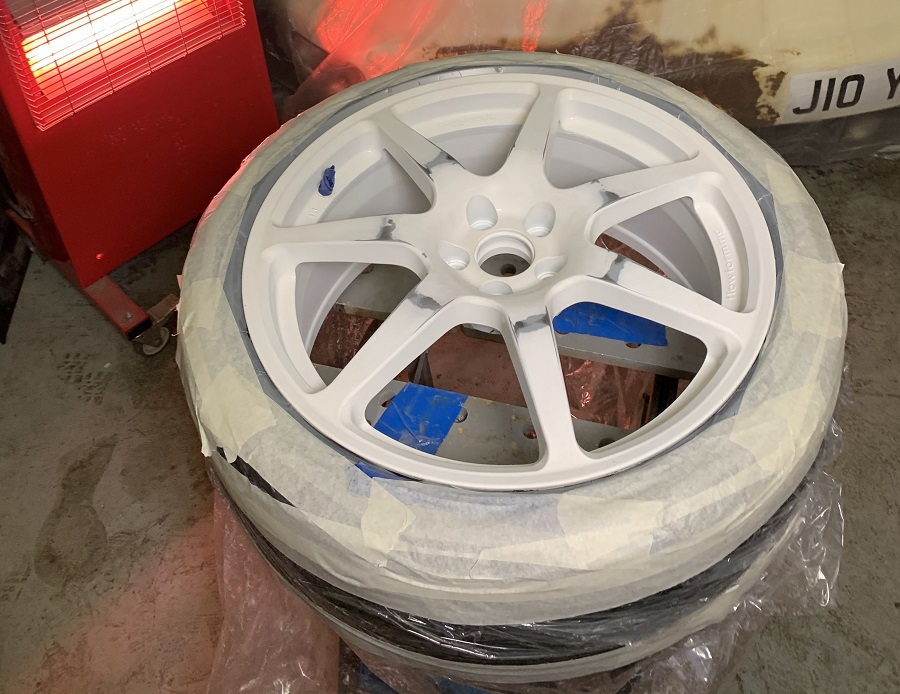
Once your tires are flat, you’ll want to get them as far away from the lips as possible. You’ll never totally break the bead without specialist equipment, but often you can move them just enough for masking by standing on the sidewall (not in our case, though, but you can’t have everything).
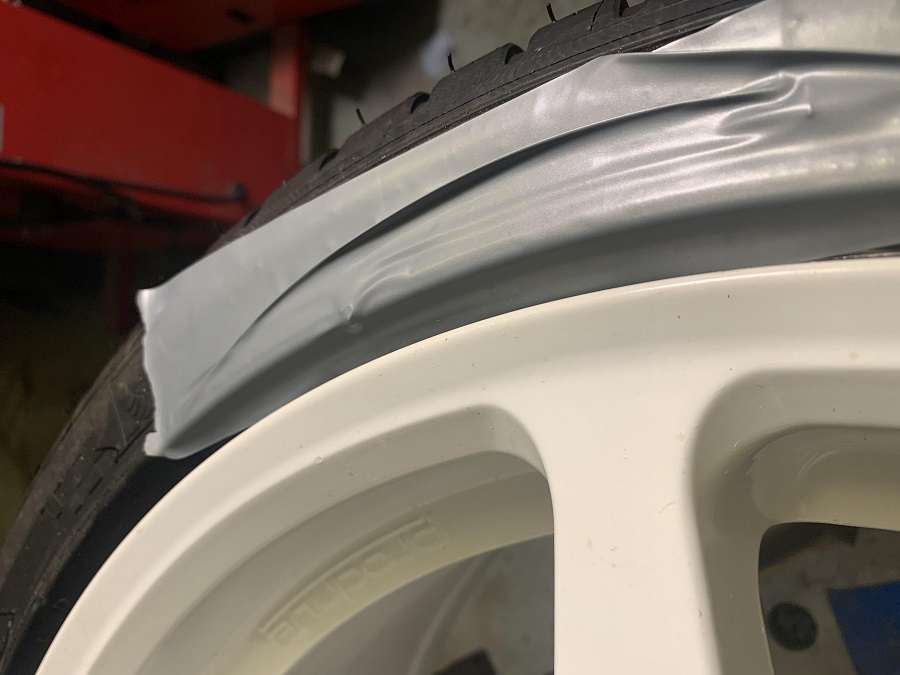
For masking, you can use paper to cover the tires, but personally I find a cheap plastic dust sheet (or a disposable rain poncho, like here) is better. Start by masking under the tire lip, don’t forget to mask off the valve, and then use your dust sheet to cover the whole lot. Finally, you can cut out the center of the plastic/paper and tape it up. The real trick here is to use decent masking tape. The cheapo stuff won’t always stick to the tire or even to itself, and may lift when you’re painting. Another thing I like to do is use some super sticky gaffa tape around the lip first, just to give the masking tape something to cling to.
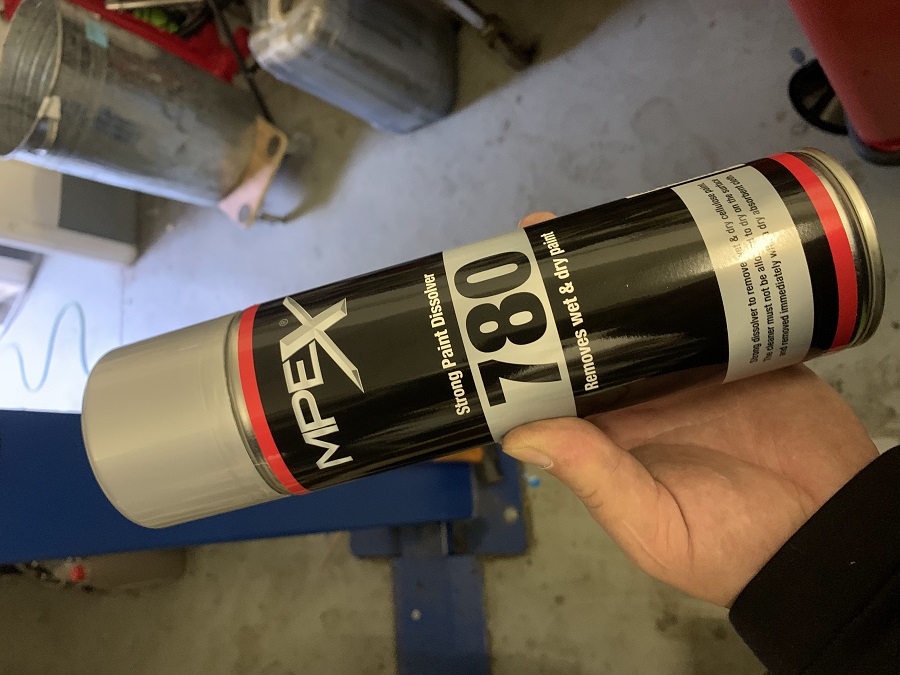
Paint Removal
The first thing is to decide how far you want to go or at least how far you need to with the old paint. If you’ve got a load of flaky stuff and corrosion, you’ll need to get it all off (a sander and a wire wheel on a drill/grinder can be useful here). Your new paint simply won’t cover imperfections and deep gouges.
There’s also the age-old question of chemical paint strippers. These can be useful for corroded or severely damaged paint. Basically, you spray or brush them on, they’ll eat down to the metal, and you can scrape all the paint off (please wear gloves, a mask and goggles if you’re taking that route; it’s nasty stuff). It’s also true that professional wheel refurb peeps will acid dip the wheel to remove any trace of the old paint. But, bear in mind that the pros usually powdercoat wheels for a tough finish, rather than paint them. And, even if they do use paint, they’ll use a few coats of tough primer to protect the metal.
For a light refurb, however, you’re better off leaving as much of the original paint on there as you can. After all, more paint means more protection, kids.

Repairs
As for any repair work – curb marks and such – light repairs can often be sanded, but heavy curbing and gouges will need filling. Most body fillers will do the job nicely, but I’d always recommend using a tough ‘liquid metal’ type filler if you can. This is where a detail sander can come in very handy as the tougher the filler, the harder it is to sand down. In our case, there’s only damage on the face of this convex wheel and this can be sanded out.
Surface Prep
Ending up with a smooth surface is the key to success, but it also needs to be a surface that the paint will stick to. Every part that you’re spraying will have to be prepared and there’s two main methods.
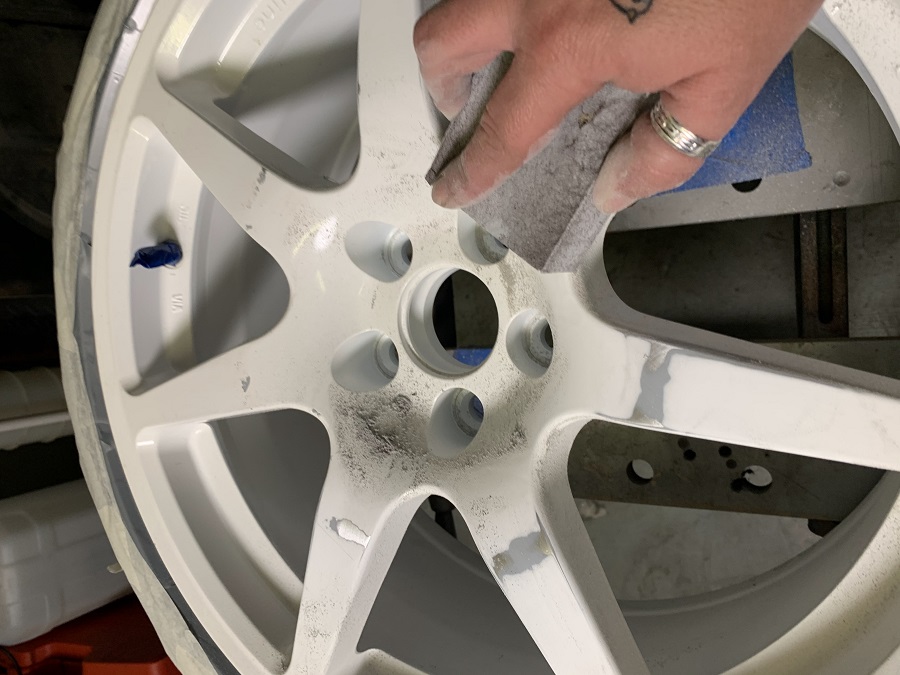
If there’s no damage to the wheel, you can usually get away with ‘keying’ the whole surface by giving it a good going over with a scotch pad (a paint preparation pad). For heavier work, where you have more imperfections or repairs, you can use various increasing grits of wet & dry paper. I like to start with around 4-800-grit wet and dry to sand the paint back, and then some 12-15000 to smooth it out.
You’ll find your own way with materials, but what’s most important here is to feel the surface as you go – often you can pick up more imperfections this way. You’ll know when the surface is prepared because it’ll be smooth to touch and you will have taken all the shine out (it needs to be dull).
Then it’s time for more cleaning. Give the whole wheel another good wash down (if you have an air-line it helps to blow all the dust away), and then a thorough clean with a suitable panel wipe or degreaser. The idea here is to eliminate any dust and fingerprints that will ruin the finish, so take your time to get it all as clean as possible… and after that, sweep your work area to make sure it’s free from dust.
Prep For Paint
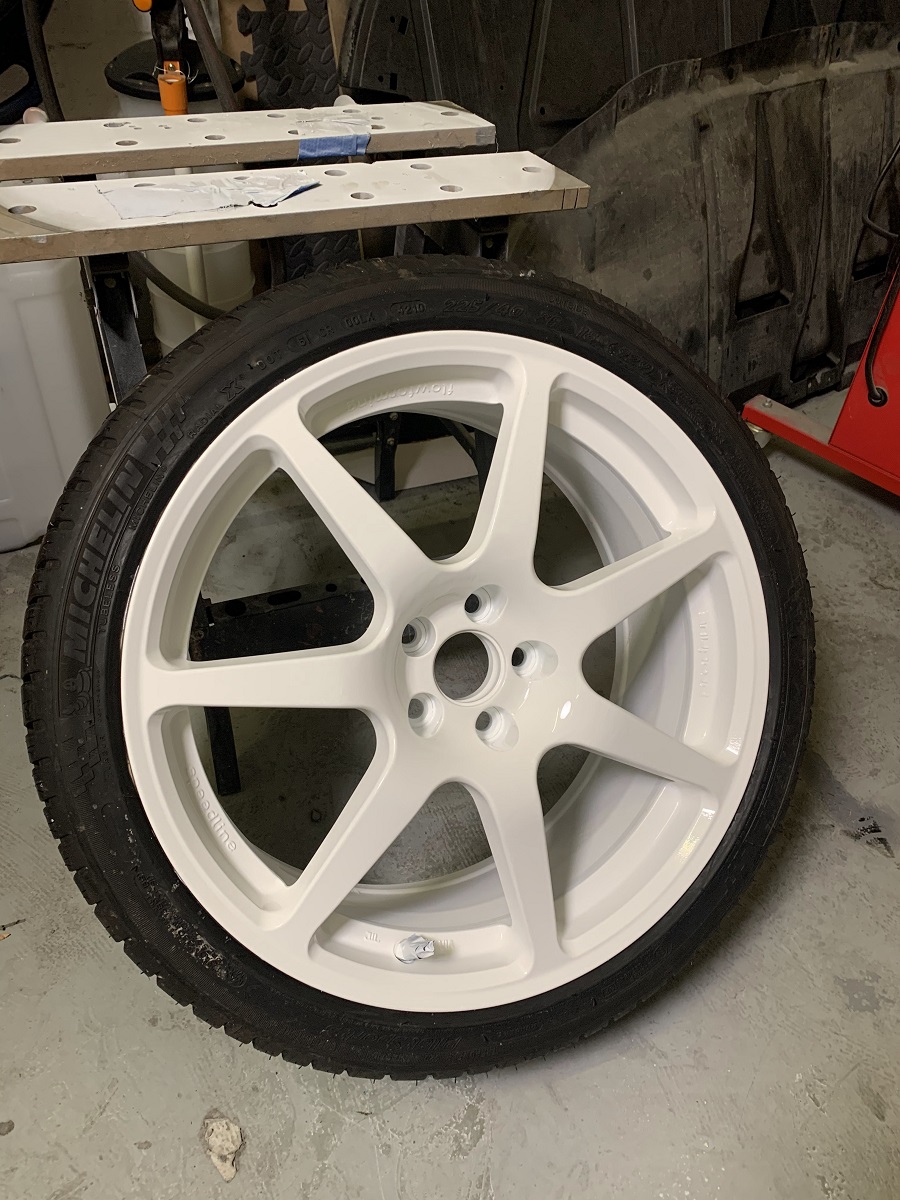
Once you’ve got a nice clean area to paint your wheels, you can lay them out. You’ll need plenty of room to get around each wheel to get your paint in all the nooks. To avoid any obvious runs, I find it best to lay them flat, rather than against a wall. Some people do recommend having them upright but I’m not sure why this is – it doesn’t make much sense to me unless you’re hanging them for powdercoat.
Anyway, if you’re painting the barrels, it’s best to do those first, laying the wheels face down on some cardboard or foam. Sometimes you may get paint running onto the face when you spray the barrels and that’s exactly why you do them first. This way you have the chance to rectify any mistakes on the faces (where it’s far more obvious) when you flip them back over.
Now, for the actual spraying bit. First, make sure you’re wearing a mask and that your garage is not only ventilated, but nice and warm. This is to help the paint to stick, so if you have a heater use it. (If it’s a fan heater, you’ll always have the risk of blowing dust around, so never point it directly at your wheels). You’ll also need to cover anything else in the vicinity that you don’t want covered in overspray.
Some recommend using a primer, and technically speaking, that’s correct – primers help topcoats stick, and will show up any imperfections that need to be rectified. That said, you can get away with using many wheel paints without priming, so it’s one of those ‘use your best judgement’ situations.
Painting
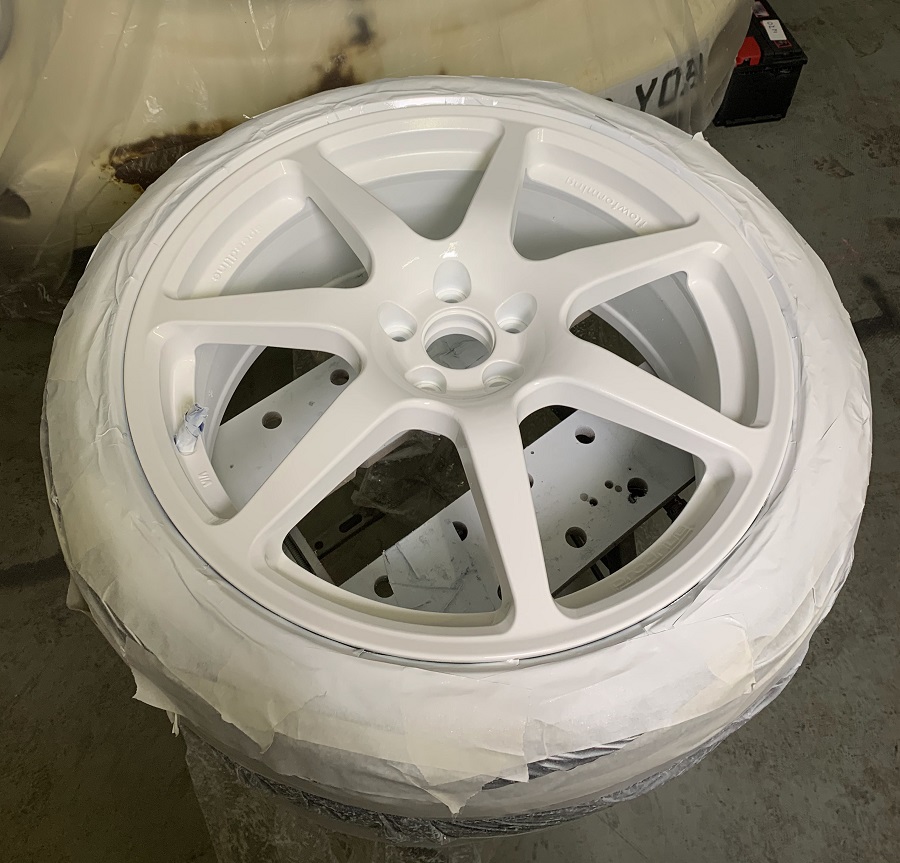
When it comes to painting topcoats, it’s all a waiting game. Give those wheels another wipe down first, and be gentle with your very first coat. This one should be more of a light dusting, getting hardly any color on there at all. Hold the can six inches or so away from the surface and you’ll see the paint particles actually float down and come to rest. You’re looking for a dusty speckled finish.
Do a couple of coats like this (15-mins or so apart), and don’t be impatient because the color and shine will build up in the latter coats as the wet paint melts together. Just think of the first couple as an extension of the prep stage, to ensure that the rest of the paint sticks. Four of five coats should see the job done… although you may need more if you’re using a normal spray paint, and then you may need a lacquer over the top (most wheel paints are designed for use without a separate clear coat, making the job far easier.)
When you’re happy with the finish, carefully take off the mask while the paint is still wet, and leave your wheels to dry for as long as possible. The longer they’re sitting in the warm, the more the paint will cure and the tougher it will be. Overnight really is the absolute minimum.
Er, that’s about it. Easy. Now that you’ve got them painted and ready to put on your car, have a read of how to fit alloy wheels next.