Dash cams are a great way of protecting yourself legally in accidents that aren’t your fault. Here’s how to install a dash cam into your car.
Whether you want to record your journeys for video-making or social media, or simply want to have something to dangle in front of insurance companies if things go wrong, we’ll help you get up and running. In this guide, we’ll run you through the basics of how to install a dash cam in your own car, covering simple front and rear setups, and the slightly more difficult hardwiring route.
So, without further ado, here’s how to install a dash cam!
How to install a front-facing dash cam
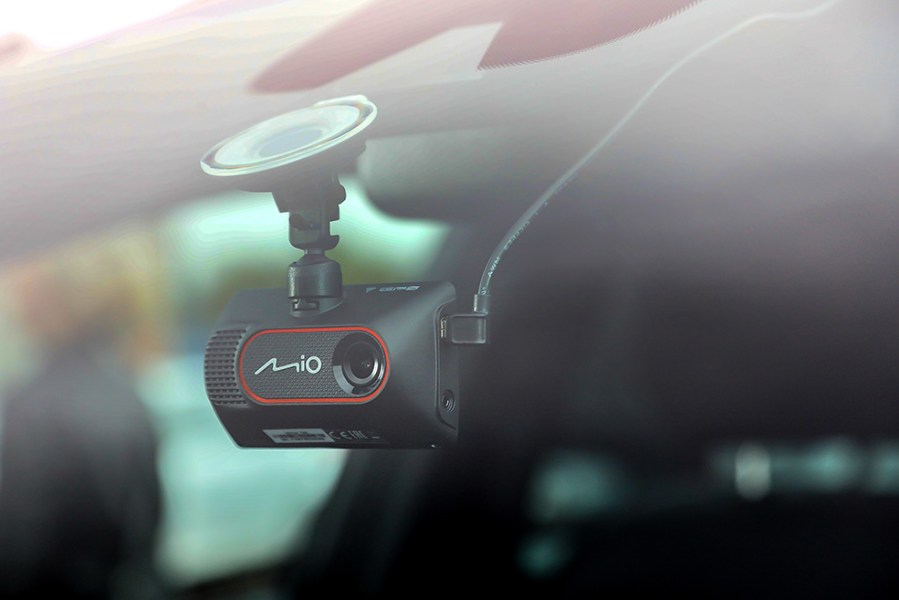
If, like me, you aren’t the most technically-minded, don’t worry! Dash cams are wonderfully simple to install. It starts with picking the position for your mount. You’ll want to ensure that you place your camera in a location which not only gives the lens an optimal view of the road ahead, but also doesn’t interfere with your own field of view from the driver’s seat. As such, we’d always recommend that you aim for high up in the center of the screen – in fact, you can use your rearview mirror as a guide and line it up with that, if you like. Also, depending on the design of your dash cam, you may find that it’s better to place the camera slightly off-center, one way or the other, if the camera lens isn’t directly in the middle of the camera structure.
With that decision made, next you’ll need to adhere the camera mount to the screen. Usually this is as simple as peeling off some protective film, and pressing the adhesive up against the glass. Once you’re happy with the mount’s hold and placement, simply clip your dash cam onto it. Then, take your power lead, and connect the camera to your car’s 12V socket. See, we told you it was simple…
How to install a rear-facing dash cam
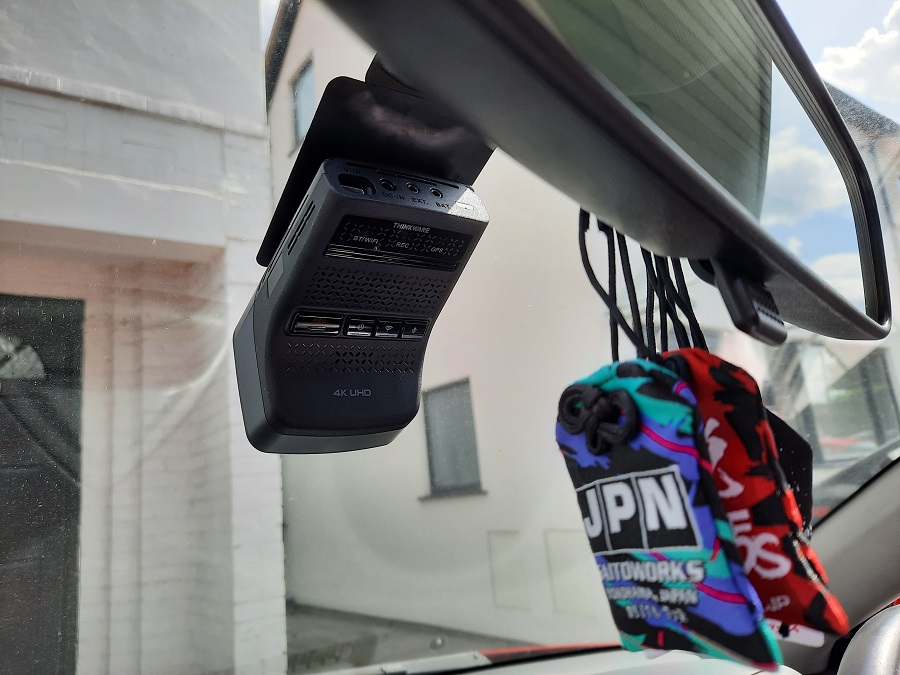
If you’ve gone down the fancy route of recording *both* ends of your car, you’ll be installing a second camera too. The same practice applies when it comes to getting the positioning right, but also be aware of any sun-blocking window strip that your car’s rear screen might have. Always place the camera below those dark strips (as pictured above) to avoid obscuring the lens.
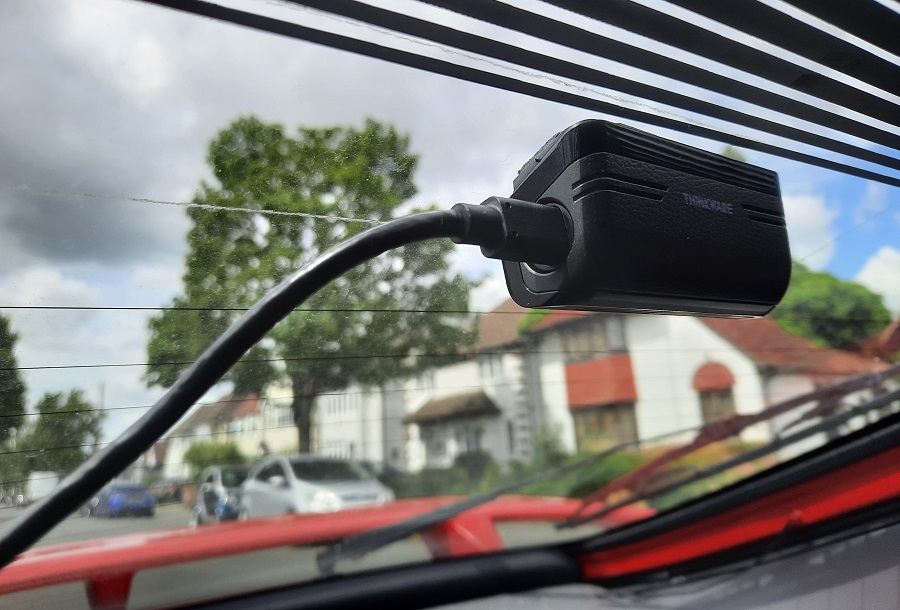
Typically, the rear camera in a dual cam setup is much smaller than the one at the front. The reason being is that they usually piggy-back off the front camera quite a bit – its recordings, for instance, will usually be stored in the MicroSD card housed in the camera up front. So, as the rear camera will almost always be dependent on the front one, your kit will probably require you to physically connect the pair up with a supplied power lead. That in itself is pretty simple to get your head around, but by now, you might be realizing that there’s an awful lot of free-hanging wires in your car. Nobody wants that, so let’s correct that problem next…
Cable tucking
If you’re planning on keeping your dash cam for the long term, it’s no good leaving all the connecting cables dangling about the place. For one, it looks unsightly, but it’s also an ergonomic issue. I mean, you don’t want you or your passengers getting tangled in wires, do you? From a safety perspective, it’s not great either. You shouldn’t risk any cables being able to restrict your access to any of the car’s controls. So, if you want to keep your car from looking like some sort of electronic bird’s nest, you’re going to have to get a little bit creative.
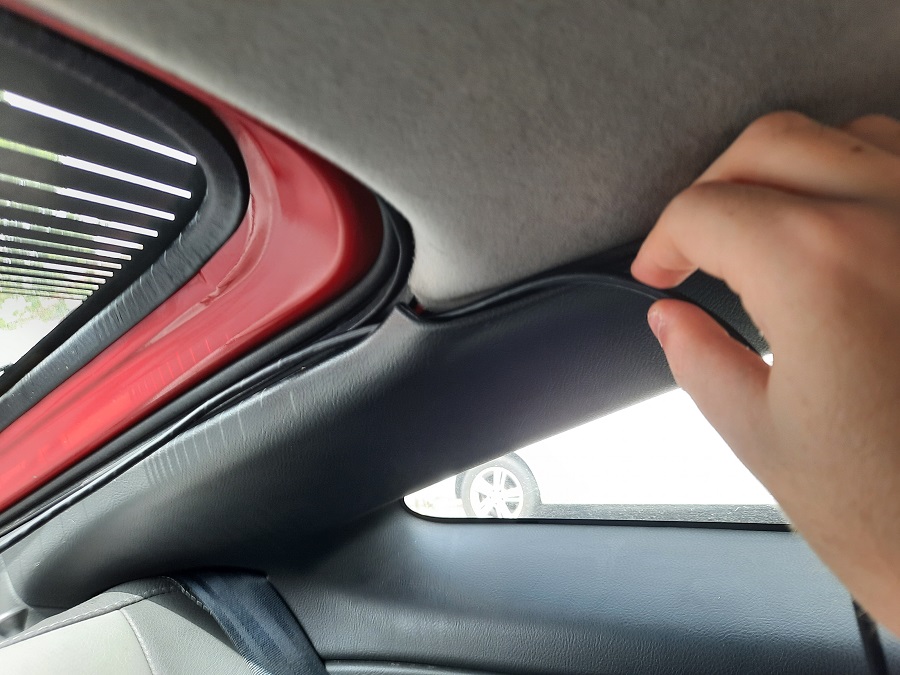
Ultimately, you’ll need to tuck the wires away somehow. Most likely, this will mean hiding them behind trim and headliner. If you can’t get the required access between panels with your fingers, we’d recommend using a specialized plastic trim tool – it looks a little bit like a shoe horn, and if your dash cam supplier is helpful, they’ll likely have added one in the box. Beyond that, another way to hide pesky cables is to temporarily remove the weather stripping from your car’s doors and placing them up in the door frame. At the end of the day, it’s your car – so it’s up to you how you want to run the cables through its interior. You just need to come up with a solution that’s as inobtrusive to the car’s occupants as possible.
How to hardwire your dash cam into the car’s fuse box
If you’ve got a high-end dash cam with features like parking mode, your camera will need a constant supply of power even when the car’s engine is switched off. Naturally, you’re going to have to extract that power from the car’s battery, and the way of doing so is by hardwiring the dash cam into the car via its onboard fuse box.
With more complex installs like this, you’re going to need certain tools. Plus, we find that it’s easier to watch a process like this rather than read a tutorial about it. So, we’ll let our friends at Thinkware take over from here. Click on the video above to learn all about what sort of equipment you’re going to need to get this hardwiring job done, and – more importantly – what exactly you’ll need to do to pull it off. It may seem a little daunting at first, but hey, we believe in you!
How to power your dash cam with an OBD2 lead
If hardwiring isn’t for you, fear not. There is another way to unlock parking mode and its associated features (if your dash cam has those capabilities). Instead of linking it up directly to wires in the fuse box, you could power your dash cam via the car’s OBD2 port instead. If your car was built in the mid-nineties or later, it should have one of these diagnostic ports somewhere onboard.
If you go down this route, parking mode-friendly installation is super simple. All you need to do is plug the lead into the OBD2 port and connect it to the camera, again being sure to tuck away the cables tidily. Job done! Do bear in mind though, you’ll usually need to buy one of these OBD2 leads separately as they tend not to come in the box. Set aside around $30/£25 for one if you need it.
It’s also worth us noting that, these days, most dash cams will have the in-built tech to detect when your car’s battery dips into a low rate of charge. In which case, most dash cams will shut off so as to avoid depleting the car’s battery fully. However, not every dash cam is the same, so make sure to check whether yours has this safeguard built-in. Otherwise, parking mode might no be for you, unless you enjoy repeatedly jump starting you car for some reason. Each to their own…
Want a dash cam that you can connect to your smartphone? Check out our best wireless dash cam guide.