
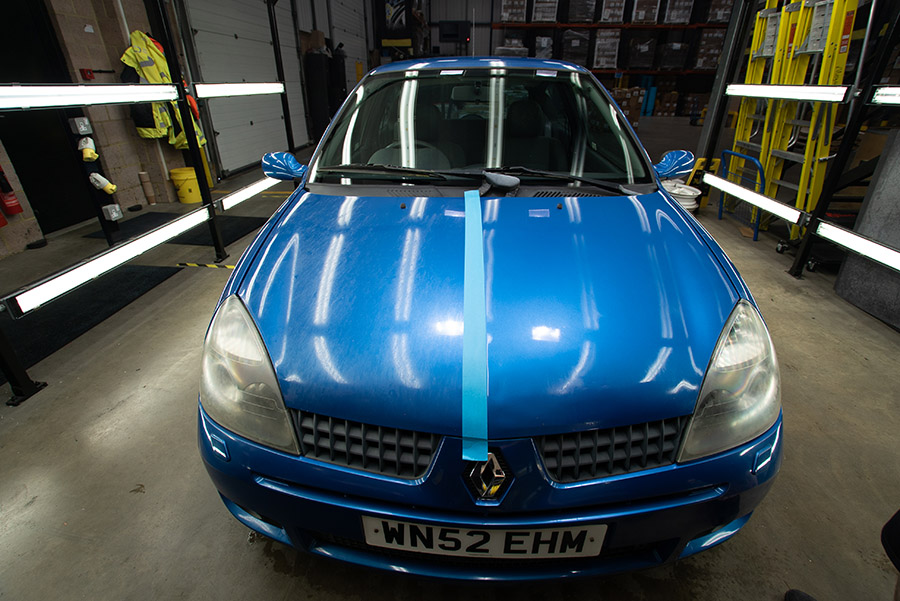
If you’re fed up with scratches and swirl marks on your car, then you’ve come to the right place; here’s our step-by-step guide to paint correction via polishing.
Despite having just cleaned your car, if you can still see swirl marks and light scratches on your car, don’t panic. That’s where paint correction and car polish comes in. Paint correction is the art of removing swirls and scratches in your paint via the use of cutting compounds to take off the ultra-thin layer of clear lacquer with these imperfections. Swirls, holograms and general surface imperfections all ruin the appearance of your paintwork. Rather than getting beautifully clear, crisp reflections, the light is refracted by the damaged surface. That means your car looks less shiny and less glossy. Instead of seeing the color pop or metallic flake when the light hits your paint, you see a bunch of swirls and scratch marks, and while they don’t do any harm, aesthetically they’re not nice.
By following this paint correction detailing guide, you will be minimizing the chance of causing these to happen in the first place. The chances are your car’s paint will already have them, so you need to know how to get rid of them. That’s what we’ll be looking at here.
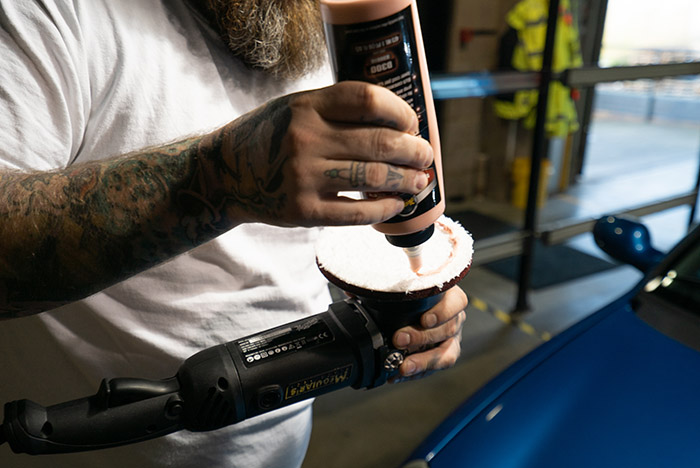
1. Start with a soft compound and soft pad
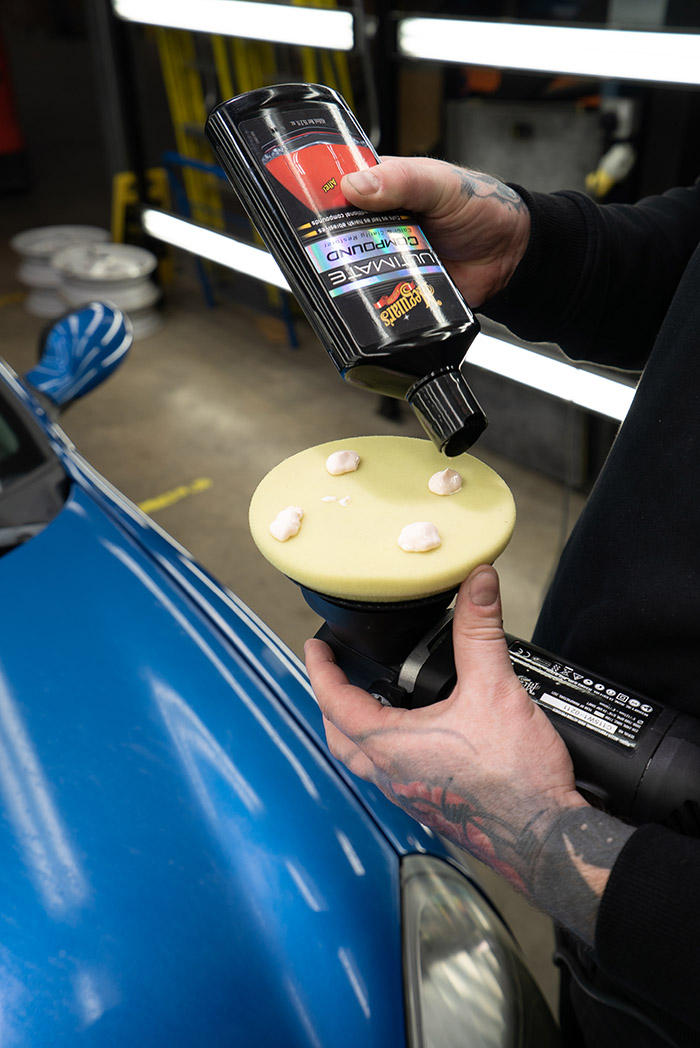
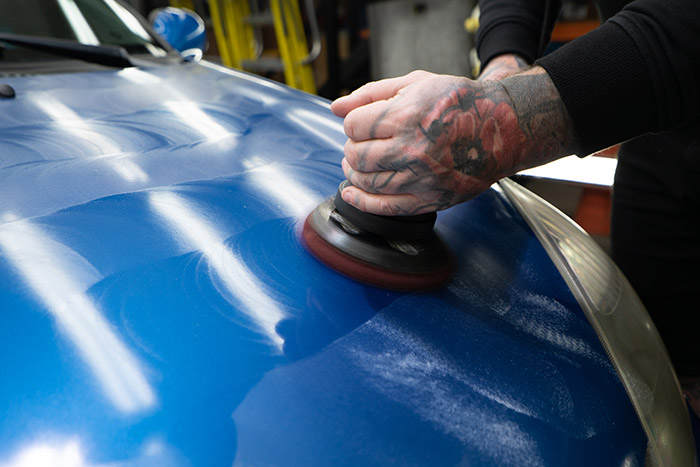
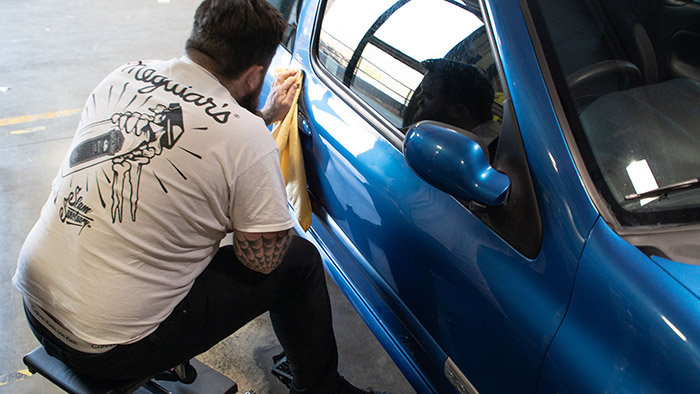
The general rule of thumb with paint correction is that you want to start with the least aggressive compound on the softest pad because it might be enough to get rid of the imperfections you want to remove. Here, a soft yellow foam polishing pad is being used with an effective but not too aggressive compound. You can prime the pad first by spritzing it with water or quick detailer, before applying a couple of spots of your chosen compound.
2. Apply the compound to the paint and use a low speed setting on your polisher

Now you want to splodge the compound across the panel you’ll be working on by dabbing your pad around. This just helps to spread the product around and means you won’t be attacking dry paint.
Using a lower speed setting, spread the product across the whole surface of the panel you’ll be working on. You’re not correcting yet, so you can do this relatively quickly to get the whole panel coated.
You want to make sure you’re using a dual-action polisher. The random oscillation means that it’s almost impossible to damage the paint. This makes it very safe for beginners, and it also gives a better finish. In terms of use, you want to keep the power lead out of the way; over your shoulder is a good idea. Then choose which hand feels the best to control it. Some people prefer to use their dominant hand on the tail-end of the polisher and steer it that way, while others prefer to have their dominant hand on the head, as it can be a bit lively, and doing so can help you keep it under control, but see what works best for you.
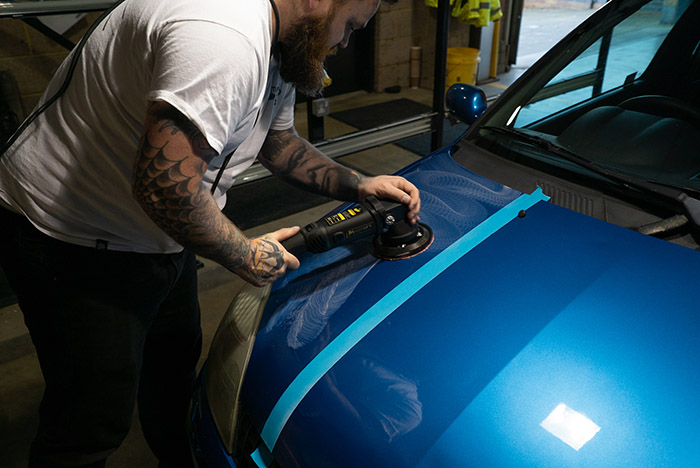
3. Turn up the speed on your polisher and apply some pressure
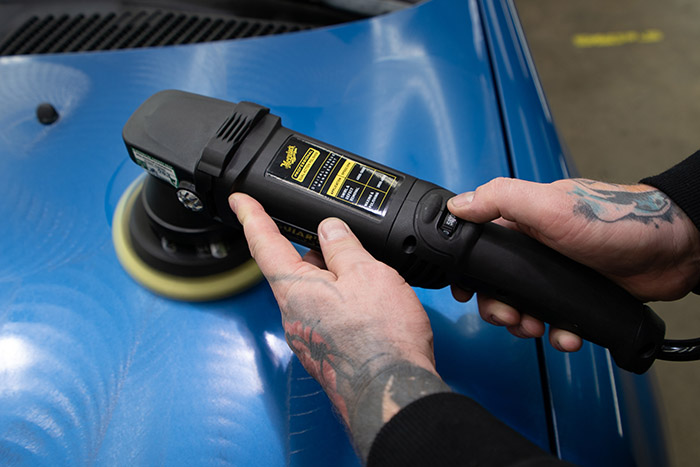
Next, you want to turn up the speed. The DA polisher being used here has a handy label on it, so we can see that 4800-5800 is the best speed to use for correction in this case. Remember, this will vary from machine to machine.
Now you want to work carefully and methodically to begin the paint correction. You want to apply some pressure to the pad, but not so much that the machine stalls. A couple of lines drawn from the centre to the edge of the backing plate to which the cutting pad is attached can help you to see if it’s still spinning or just vibrating in place.
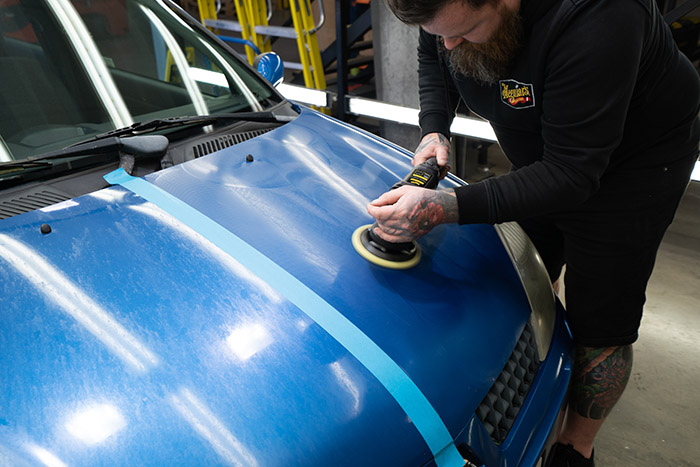
4. The key to paint correction is working in a criss-cross pattern
You want to work in a criss-cross pattern, moving at a steady pace across the panel. Go in overlapping lines in one direction, side-to-side first, for example, and then go over these areas, but now from top-to-bottom. After a series of passes in each direction, you can wipe the surface of the paint to see how it’s looking and assess if you need to keep going, if you’re happy, or if you need something more aggressive.
As always, it’s best not to over-stretch yourself and much better to work on smaller, more manageable sections. Don’t rush, take your time, and you will get much better results.
For smaller panels and sections with curves in the bodywork, a smaller foam pad is a better choice as it is easier to use and will allow you to work more effectively.
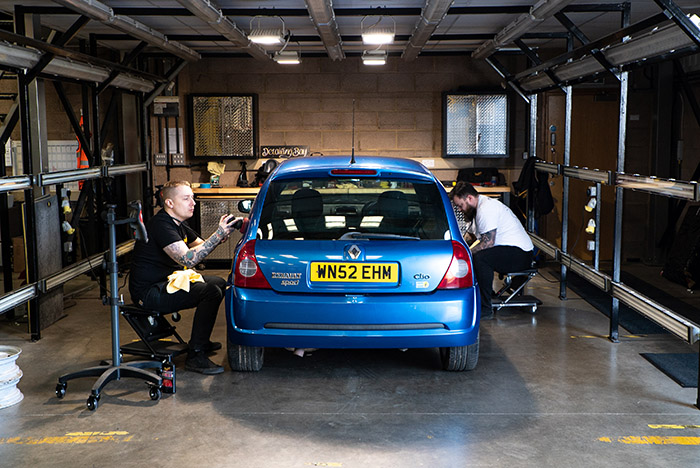
If you’re carrying out paint correction on the whole car, continue working your way around methodically, section by section and panel by panel. It helps if you have an extra pair of hands to assist!
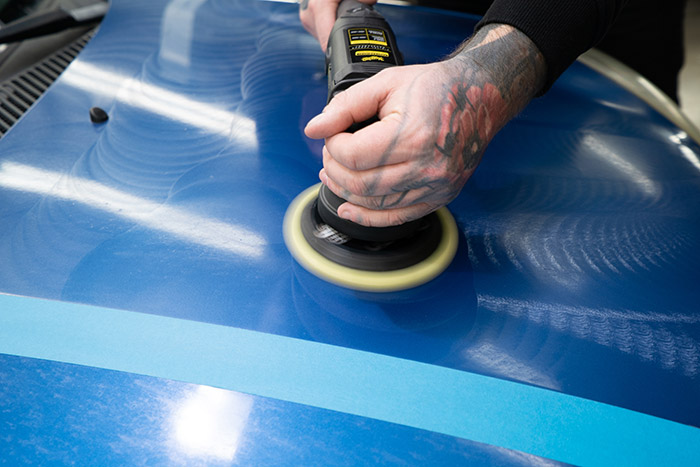
5. For heavy paint correction, use a more aggressive cutting pad
Here, the soft yellow pad has been swapped out for a more aggressive red cutting pad as this Renault’s paint was not in good shape.
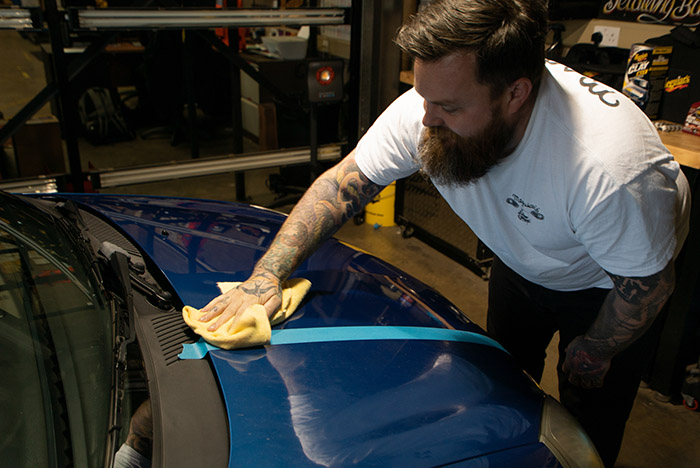
6. Wipe away left over product

After finishing a section, give it a good wipe to remove all the compound and inspect the results.
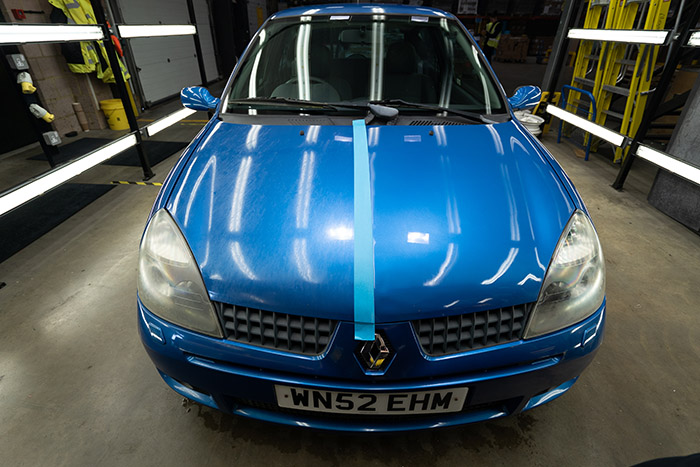
Here you can see the huge difference that paint correction has made on the bonnet of our test subject. Little effort goes an incredibly long way.
7. Polish the car after the paint correction
After carrying out the paint correction, it’s now time to get polishing to refine the finish and bring it to a glorious shine. Remember, polishing and waxing are two different things. Waxing is applying a final layer of protection, while polishing is still using a very fine and delicate abrasive to deliver the perfect finish to the surface.
After applying polish to your softer pad, splodge it across the panel as before; then begin working it across the surface.
You’re going to be using a slower speed on your machine here; but the technique is the same, with overlapping passes across the panel.
Once you’re done, give the panel a wipe and admire the fruits of your labor. For hard to reach areas where a polisher won’t work, you can apply the polish by hand. You won’t get the same results as a polisher, your hands can’t move fast enough, but you will notice an improvement.
Microfiber pads and heavy paint correction
Microfiber cutting pads are more aggressive than their foam counterparts and are a good choice when you need to do some heavy correction. However, they also generate more heat and need a slightly more careful approach.
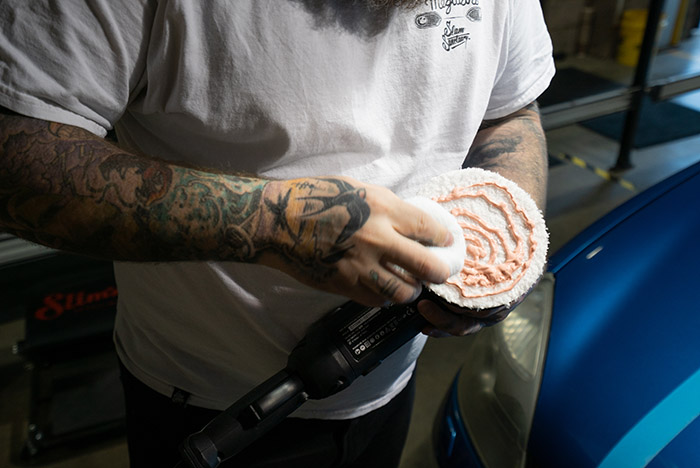
Unlike with a foam pad, you first want to apply your cutting compound across the whole microfiber pad in a spiral pattern.
Using an applicator, you now want to spread the compound across the surface of the pad. Once the pad is covered in compound, apply some spots of product as you did with the foam pad. The technique when working with a microfiber pad is the same. Don’t use too much pressure, always keep moving, and work in overlapping passes.
Relevant content:
- What is the difference between car polish and wax?
- Different types of paint damage and how to fix them
Words: Elizabeth de Latour & Matt Bell.


