There are a few different types of paint damage that your car might endure. Here are the different techniques you need to know to repair them all.
Paint damage – it happens. Sometimes we misjudge an angle, or a curb. Sometimes it’s not our fault at all. Heck, even the weather can end up making our cars look worse for wear. However, if you take pride in the ownership of your vehicle, paint defects are probably something that you’ll want to take care of – whether it be with polish, or something a little bit more involved.
So, in this article we’ll bring you up to speed with all the various types of paint damage you might encounter, and then give you our best advice on how to put things right. Sound good? Let’s begin.
Types of Paint Damage
Paint Chips
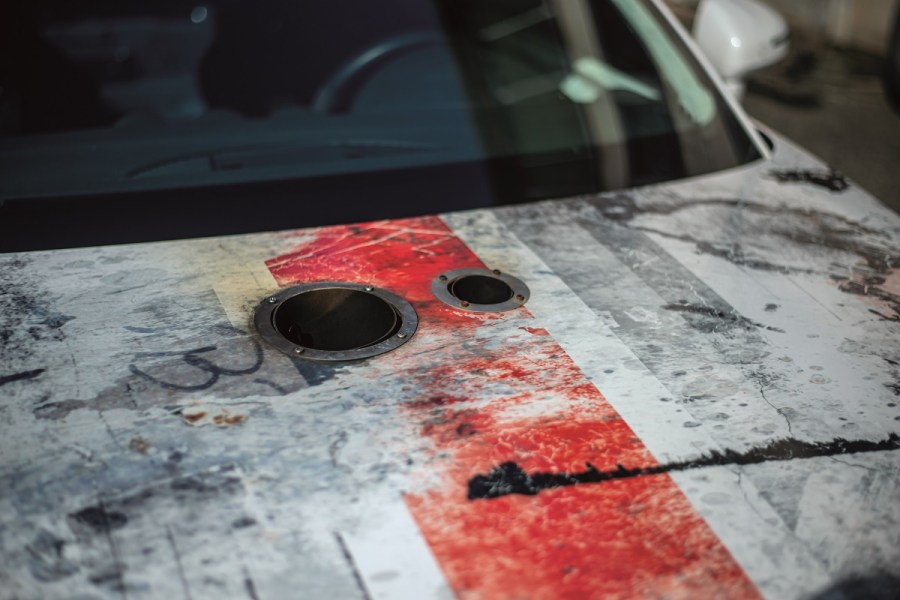
Paint chips are the result of your car coming into direct contact with small rocks and other debris. Essentially, the rocks erode the paintwork upon impact, a bit like how they would eat into a coastal cliffside. There’s no way to avoid fine debris, but you can give your car an extra layer of strength by wrapping it in protective film.
How to fix paint chips
If your car is chipped, touch-up kits are a great inexpensive way of repairing the damage, but before you get started, it’s a good idea to wash the chips with soap and water and then polish them down first. When sourcing a touch-up kit, try to find the closest match of color to your car’s paintwork, and then use either a touch-up pen or some sort of delicate applicator (perhaps a fresh fine paint brush) to administer the touch-up paint in small doses where the chips are.
Paint Scratches
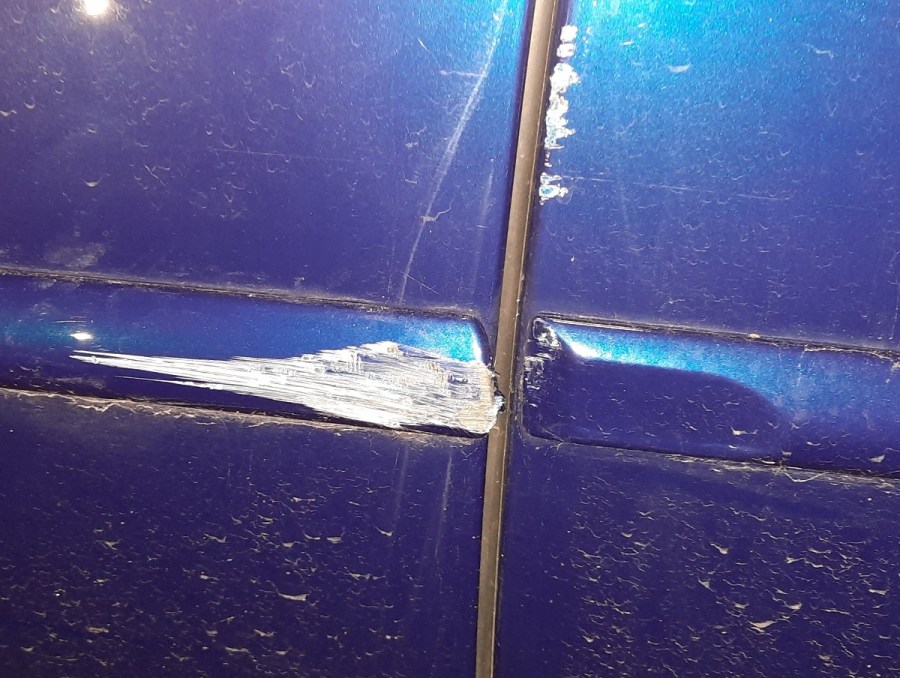
Scratches are essentially your car’s equivalent of getting a skin graze – they come about as a result of friction between two surfaces. To give you an example, the scratch shown above was the result of me causing friction between a concrete pillar and a Jaguar XJ…
How to fix paint scratches
Fortunately, as bad as it looks, scratches like this are repairable. So, if you looked at that Jag’s door today, you’d never be able to tell it used to look like this. The technique you’ll need to use will vary depending upon the type of scratch. If the scratch is pretty insignificant and isn’t rough to the touch, then you can most likely polish it away. Deeper scratches will require you to gently sand down any rough edges, before applying a more potent fluid such as T-Cut.
Particularly serious scratches and scuffs could require some filler work. For that, we’d recommend bringing in the professionals. There are plenty of mobile paint repair companies that you can rely on – in my case, I opted for ChipsAway.
Oxidation
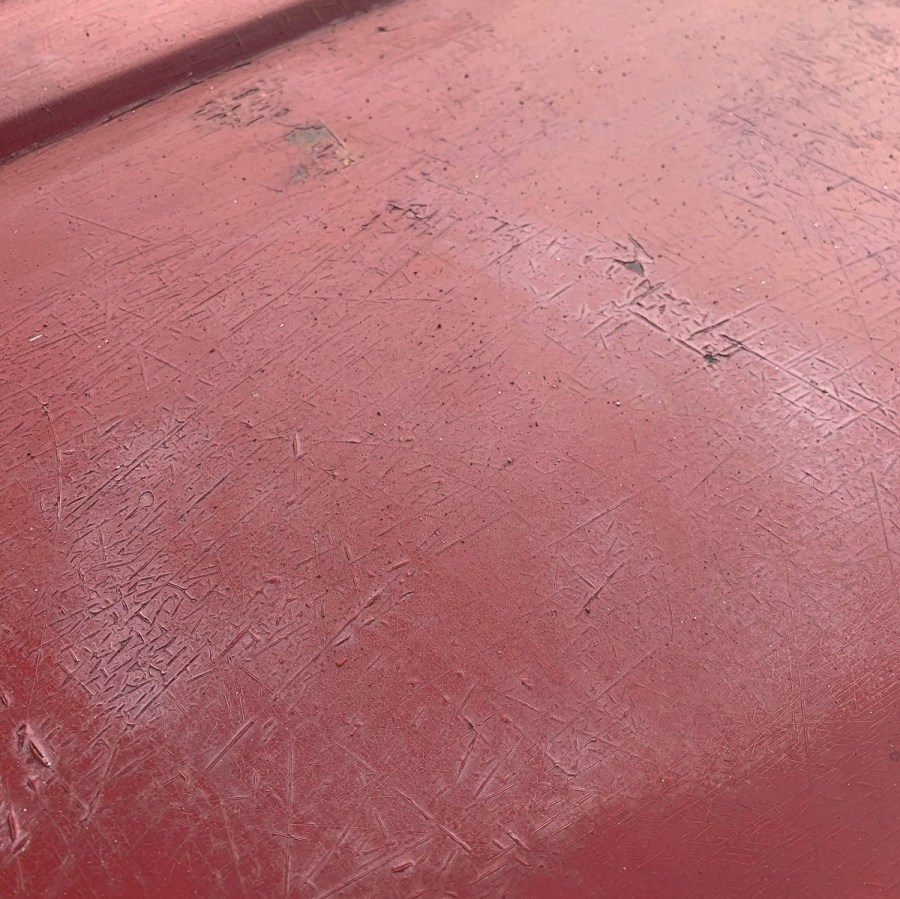
Oxidation is an unfortunate inevitability for many cars. In simplistic terms, oxidation occurs due to the oxygen in the air around the car mixing with the paint over an extended period of time. The resulting chemical reaction dries the paint out and results in a crusty finish, often culminating in large localized white patches. In fact, the reference picture above is actually quite tame by comparison to some examples. What’s more, UV rays from the sun act as an accelerant, which explains why you’re more likely to see oxidized cars in hot, sunny parts of the world.
How to fix paint oxidation
Regular waxing and application of sealants is a good way to protect a car from oxidation. Similarly, if your car is showing signs of very light oxidation/fading, you should be able to bring it back up to scratch with a good clean, polish, and wax. Anything that looks like the above or worse will probably need professional-grade attention though, and by that, we mean a re-spray.
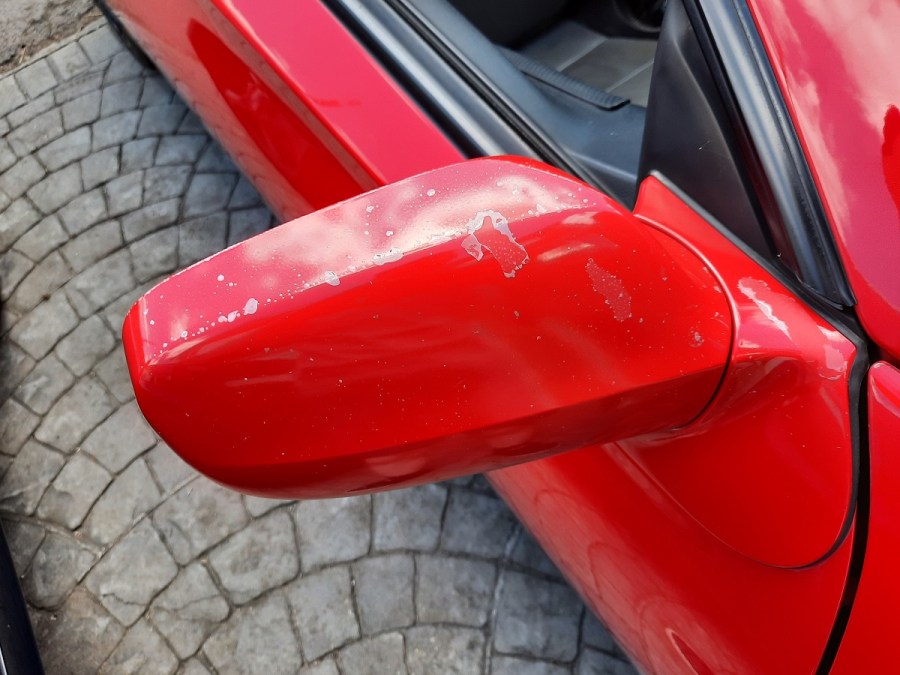
Lacquer Peel
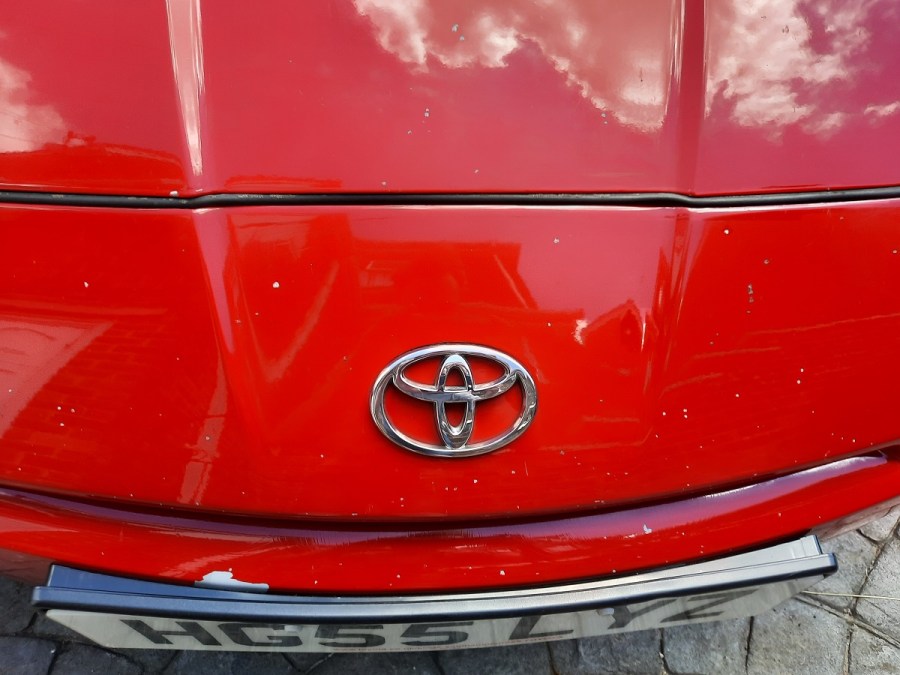
Lacquer peel, or clear coat peel, is currently the bane of my life as a car owner. When I bought this red Toyota, it was already quite peel-y, but as time goes by, it just gets worse. So, what exactly is causing the clear coat to lift and bubble like this? Well, it’s likely a combination of many things. The first thing to consider is age. At the time of writing, this car is 18 years old, which means its paintwork is getting on a bit. Similarly, it’s spent a lot of its life outdoors, making it vulnerable to oxidation. Plus, if you use car detailing products featuring chemicals that are too harsh, that can make things worse too.
How to fix lacquer peel
So, aside from moving to somewhere that has a garage, turning back time, or being more careful with my choice of detailing products, what can I do to improve this situation? Well, theoretically the answer is as follows:
- Lubricate the panel with soapy water and carefully sand down the peeled material.
- Dry the panel, then mask it up in preparation for step three.
- Spray on a new layer of clear coat (ideally while using a heat gun to help avoid any runs in the finish)
It’s important to get these stages absolutely right though, otherwise you’ll have to go to a pro anyway and ask them to help fix your mistakes. If you are able to get your paintwork back into shape, it’d be a good idea to apply a ceramic coating to the car’s body panels at the end of your next detailing session. This will help to protect the car from the same problem happening again.
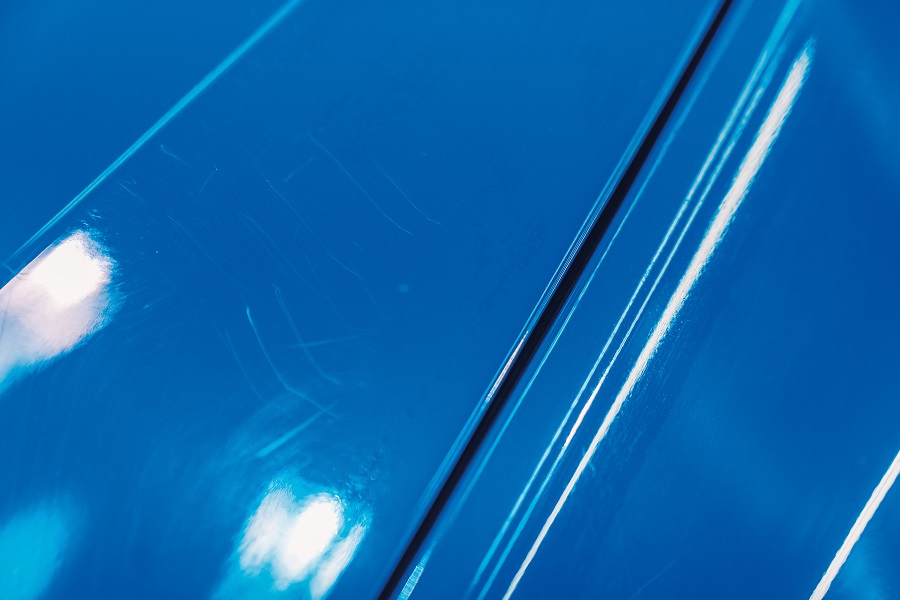
Swirls
Swirls are a common unwanted side effect of washing a car, if you aren’t a total detailing nerd. While they might sound fairly harmless, the reality is that swirls are a type of light scratch, caused as a result of the pressure applied to the car’s surface while cleaning it. If you wash a car down in circular motions those scratches are likely to be in the shape of swirls, hence the name.
How to fix swirls in paint
Happily, swirls are pretty simple to put right. All you need to do is get some polish and then gently apply it to the panel either by hand or with an electric polisher on a low speed setting. To be honest, the simple microfiber cloth option is probably best in this case. Once you’ve removed the swirls, seal the deal with some wax on top for added protection and shine.