
Lowering springs are a great modification if you want to lower your car for looks or increased performance. Here’s our guide on how to install them at home yourself.
We’ve said it before, but we’ll say it once more; is it truly modified if it’s sitting on stock car suspension? Now, whether that’s modifying for looks or handling performance, the point is that fitting a simple set of lowering springs is not only one of the oldest mods out there, it’s also one of the most wallet friendly. And that is doubly true if you do the installation bit yourself.
What will I need to install lowering springs?
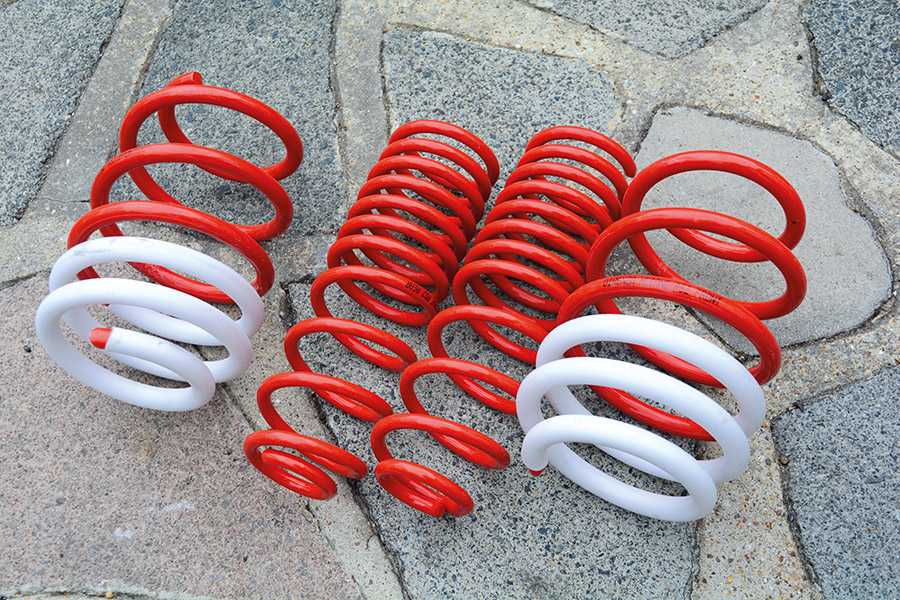
Perhaps the best thing about lowering springs is that they’re a great mod, especially when you’re on a budget. But remember that not all springs are equal, and in performance terms at least, quality is always the number one concern.
You also need to decide how much you’d like to lower your car, because slamming it to the ground may not always equal racecar-like handling. And, although most performance springs are designed to work well with standard dampers nowadays, that doesn’t mean you’ll want to go too mad. In short, do your due diligence and ask other car owners what works best for them. A bit of friendly advice goes a long way, doesn’t it?
Aside from your usual array of mechanic tools, you’ll also need a jack and axel stands, as well as a set of specialist coil spring compressors. These are crucial for doing the job, in short, you can’t do it without a set. But, kits start from $28/£20.
How to install lowering springs
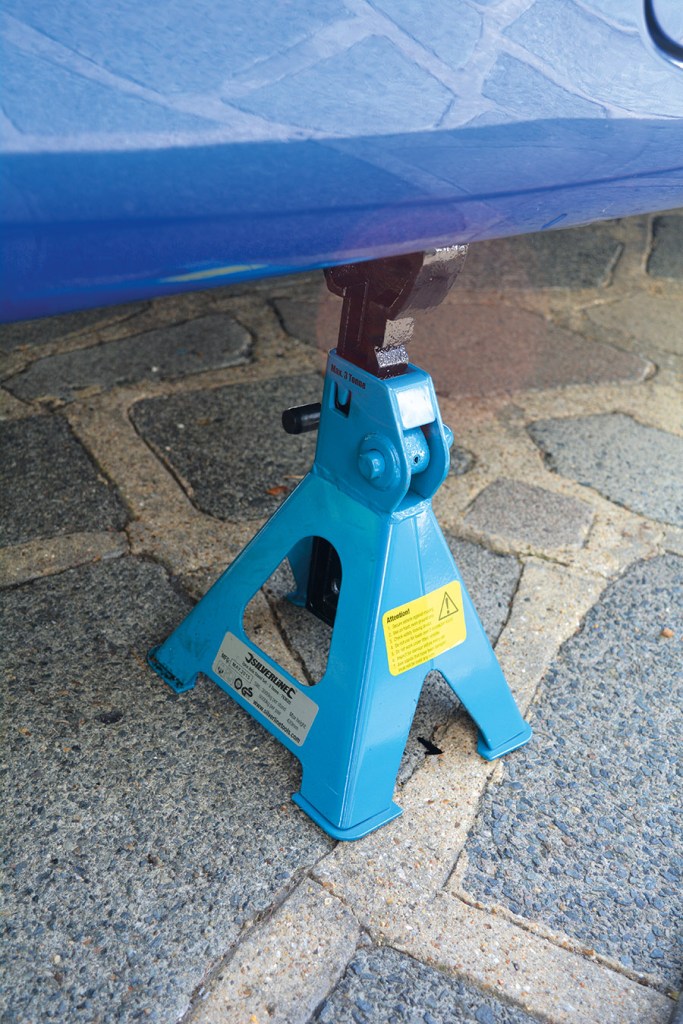
1. Jack the car up
You know this bit by now, right? Yep, it’s the classic ‘don’t drop a car on yourself and blame me’ bit. Alongside a spot of ‘always wear gloves and goggles, and follow the correct safety procedures’. In other words, you’re working on a big, heavy motor so be sensible. Keep safe.
Once you’ve got your head around that little lot, you can decide on which corner you fancy tackling first. Personally, I like to start on the front. Then, get the car up in the air, secure it on axle stands and pop the wheel off.
2. Identify the car suspension strut
Now, the premise of this job is simple: you just need to replace the standard coil spring with your shiny new lowering spring. Unfortunately, this can’t be done while the suspension is on the car, so the first thing you’ll need to do is remove the whole strut.
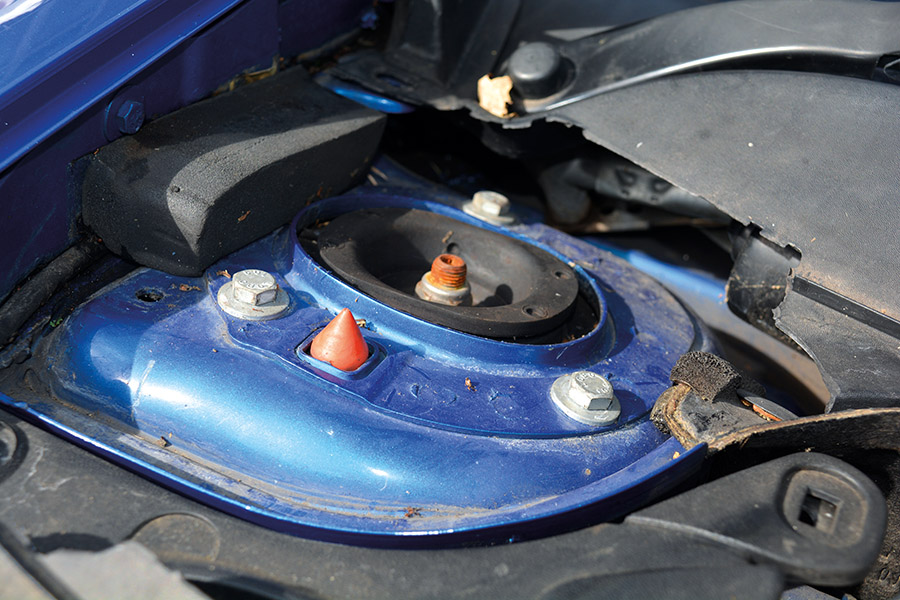
The vast majority of cars use MacPherson struts up front. Basically speaking, these are a damper with a spring over the top, held together with a top mount that acts as a pivot point for the steering. Most of the time that’ll be what you’re looking at, but most importantly, you’ll need to know exactly how they’re mounted to the car to remove them.
These will always be held in place at the top and the bottom, but there’s a few variations in the method.
At the top, for the most part at least, they’ll be held with two or three small bolts to the side of the central strut. But some cars (particularly VAG models and Fords) use a large center nut and a plate in the middle.
At the bottom, some struts use a flange, secured by a couple of bolts, that mounts directly into the back of the hub (common on Japanese cars). Others, particularly cars of the European persuasion, have a sleeve set up, where the bottom of the strut slides into a sleeve, or a hole at the back of the hub, which is tightened up with a pinch bolt.
To be honest, it’s all fairly self-explanatory. So, once you know what you’ve got, make a plan, douse the bolts in WD40, and get started.
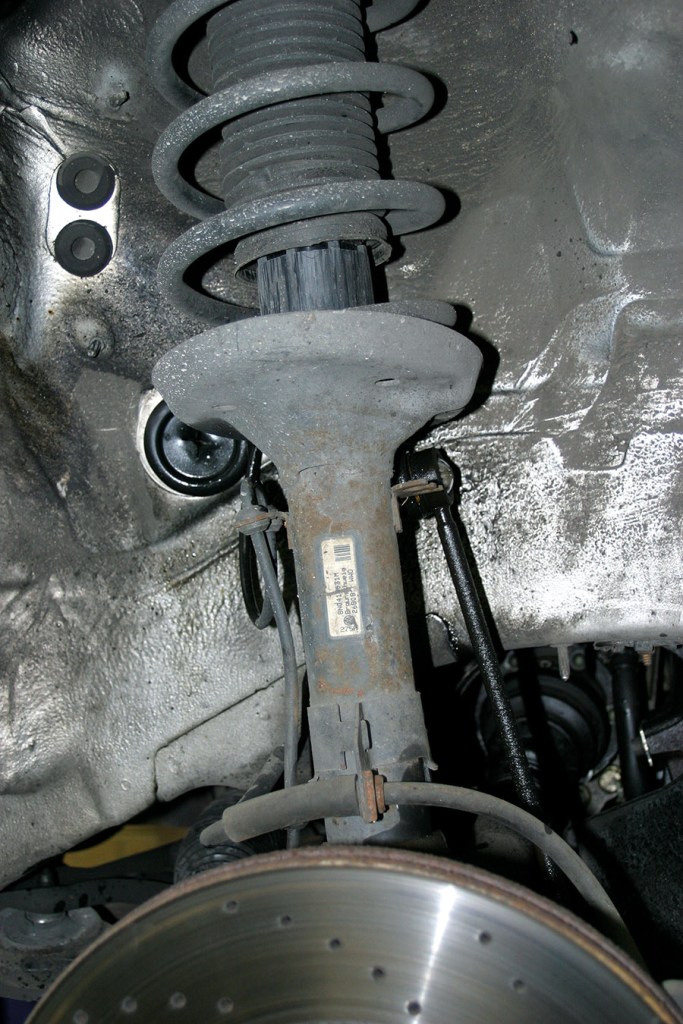
3. Remove the suspension strut
First, you’ll need to unhook any ABS sensors and brake hoses attached to the shock. These will be clipped or bolted on, so get them whipped off. Then turn your attention to any ARB drop links, these will need to come off too. What you’re looking to do here is simply get everything out of the way leaving the main strut mounted at the top and the bottom.
Now you can support the hub with your jack and start removing the bottom bolt (or bolts). Bear in mind some cars use camber bolts at the bottom, so it’s good practice to mark these with a paint pen to ensure they go back on the same way. Similarly, always make a note of the orientation of the nuts and bolts so they can go back on exactly how you took them off.
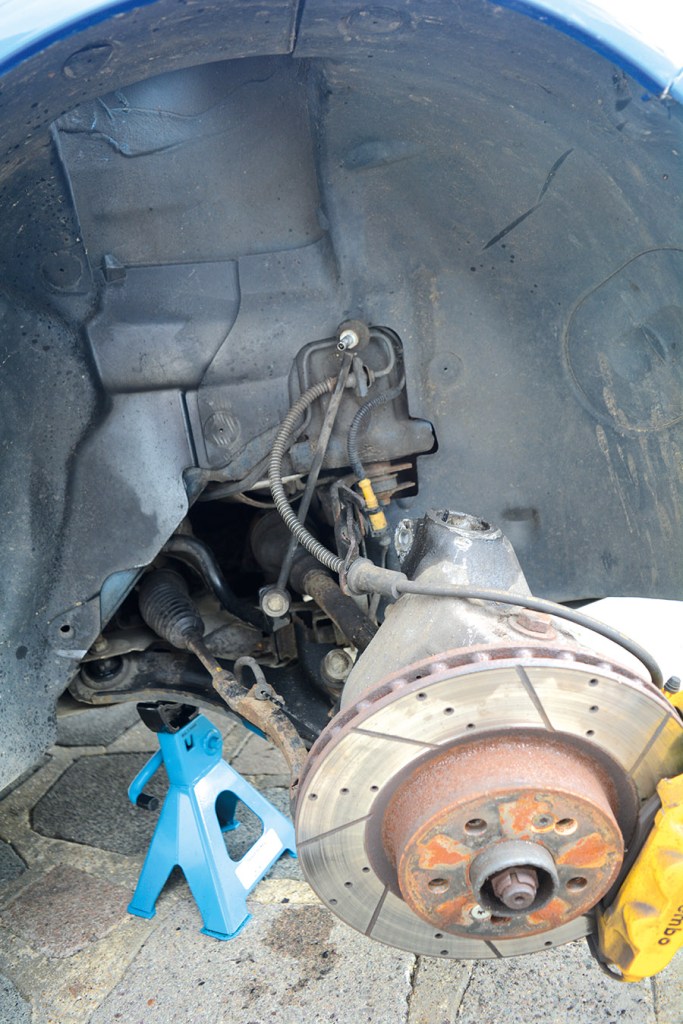
Struts mounted directly to the back of the hub tend to be easiest to remove. You simply pop out the bolts, and then the hub will flop forward, leaving the strut dangling from the top. Struts that sit in a sleeve secured with a pinch bolt may take a little more lubrication, persuasion with a lump hammer, or a pry bar to slightly open the sleeve.
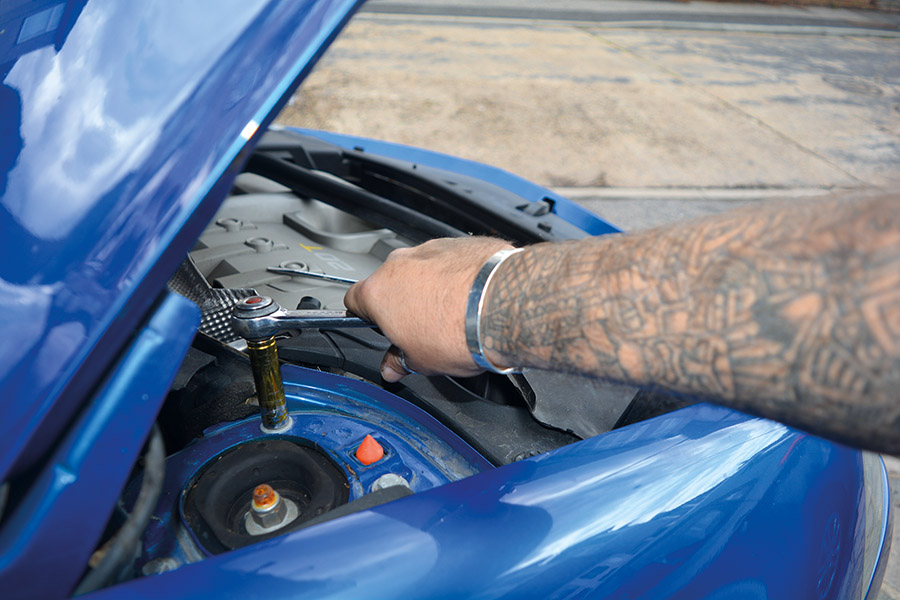
Once the strut is free at the bottom, you can move onto the top. Support the strut with a jack (or hold it) and undo the nuts (or center nut) holding it in place. If you’re lucky, you’ll now be able to wiggle the strut free of the car. If it’s still a little too long, and you need to compress the spring slightly to give yourself enough clearance, you can get your spring compressors in there to shorten the strut.
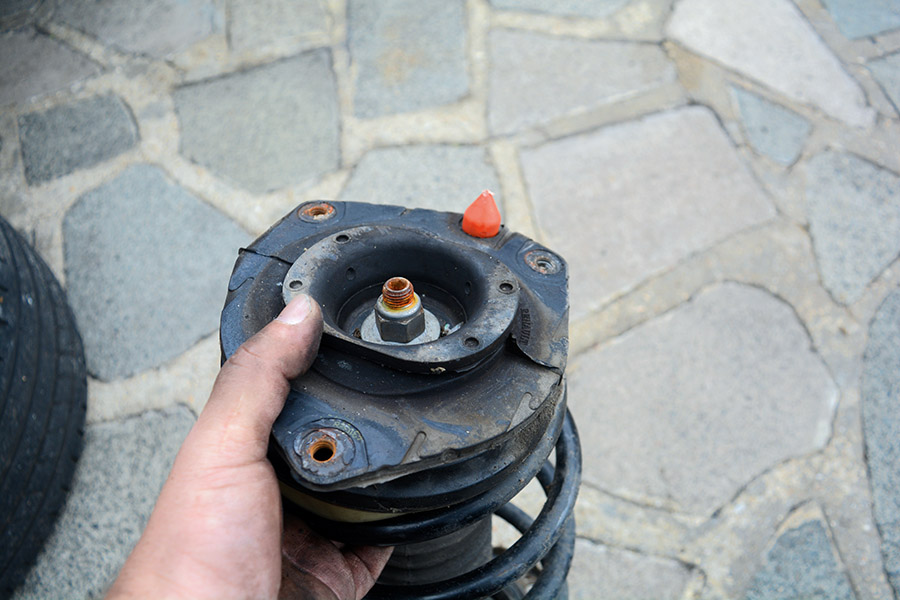
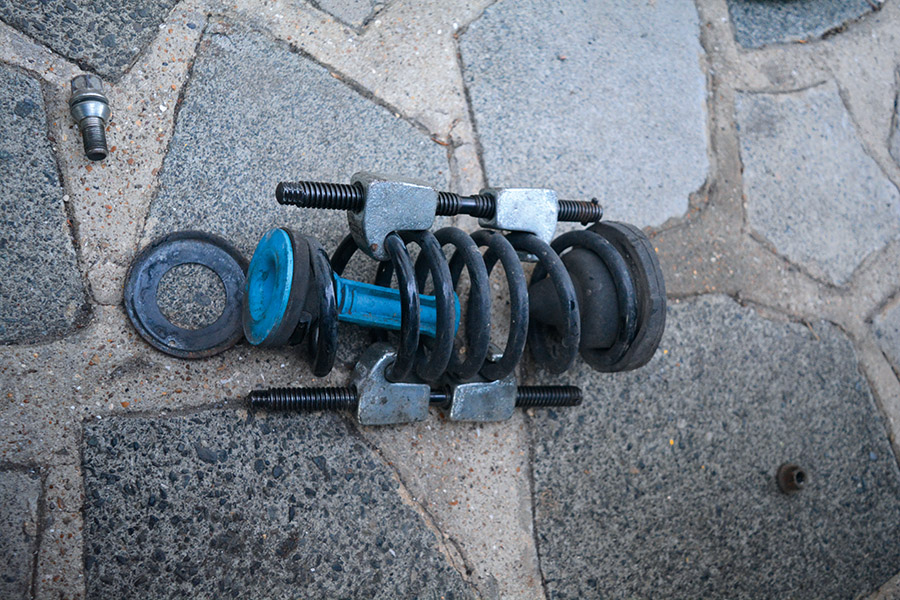
4. Remove the coil spring from the strut
Now you’ve removed your strut, the next job is to get the spring off. As I said, it’s held on by the top mount, so this will have to be removed to free up the spring. First though, this is where you’ll need your compressors to take the tension off the top mount. This is the dangerous part.
The short of it is that this process needs to be respected. There are many horror stories about springs flying off, because many don’t realize that standard coils are held under heavy compression. They then think it’s OK to unbolt the top mount. Broken jaws aplenty!
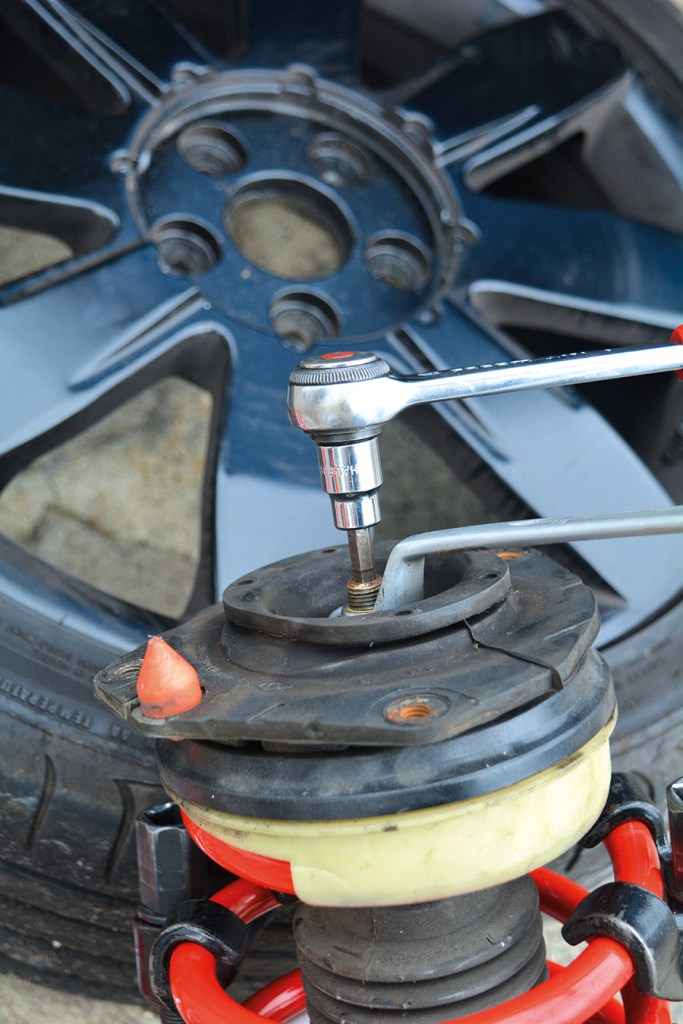
The truth is, it’s perfectly safe to remove a spring, but it can only be done with proper compressors. That doesn’t include cable ties or your burly mate from the rugby club.
The idea here is to use the compressors (in pairs, one either side) to compress the spring just enough to take the pressure off, enabling you to remove the center nut which holds the top mount in place, without taking your face off.
To undo the mount you may need a deep spanner and a hex key (or a smaller spanner) to stop the damper shaft from spinning. Make a note of the order that the top mount’s components (washers, spacers, bearings bushes) are removed, so they can go back on in the same order.

5. Install your new lowering springs
Once you’ve broken down your strut, you can remove the spring compressors, swap the stock spring for the lowering spring and put the strut back together. Very often you won’t even need to compress the lowering springs because it’ll be significantly shorter.
When it comes to getting the whole lot back on the car, there shouldn’t be too much head-scratching – you have just taken it off after all.

The easiest way to do this, for me anyway, is to bolt in the top first, and then use a jack to lift the hub up to the bottom of the strut, before putting the bolts (or pinch bolt) back in after a liberal helping of copper grease. Of course, it all needs to be tight, but it’s always best to adhere to the factory torque setting for each nut and bolt, to avoid any snapping. Once everything is on and tightened up, go back and check it again.
6. Replacing rear suspension spring
Most of the time the front struts make the rears look a doddle, but as always, it really depends on your car, because there are various configurations.
Some cars (commonly the Jap stuff) use a Chapman strut, a version of the ‘coil-over-spring’ setup we’ve just seen on the front. The only real difference between Chapman and MacPherson struts is that the former don’t need a pivot for steering. They’ll still use top mounts though, so you’ll still need spring compressors to wind down the spring when you break down the strut.

Once again, with these you’ll need to remove the whole strut too, and this will usually be bolted to lower control arms or a subframe on the bottom, and secured at the top either inside the car or under the arch.
The other common type of suspension (discounting the torsion bars common on French cars, which don’t need a coil spring at all) is the separate spring and damper setup.
With these, very often it’s a simple case of dropping the subframe by undoing the bottom of the damper, then the spring can either be wiggled free, or shortened with compressors and then wiggled free. With the old one out, you can slap in the lowering spring, then use a jack to lift the frame to pop the bolt back in. In many cases it’s easiest to change the springs on both sides at the same time by dropping the whole rear frame.
In any case, rear suspension is generally straightforward. Apart from getting your wheel alignment checked when you’re done (as you should always do when swapping suspension), that’s about your lot. Easy, eh? That’s how to install car lowering springs.
Relevant content:


