
It’s no good detailing your car and ignoring the cloudy headlights; so here’s our step-step guide on how to clean car headlights to bring them back to their former glory.
Plastic headlight lenses are notorious for going milky or even yellow over time due to exposure to UV; they look awful when they do. Luckily, car headlight restoration is not hard if you have the right products. With just a little bit of elbow grease you can instantly improve the appearance of your car. Here’s our guide on how to clean car headlights.
1. Clean your car first!
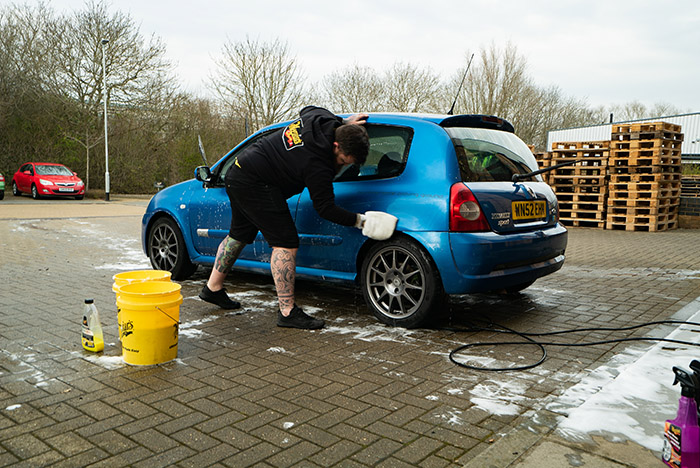
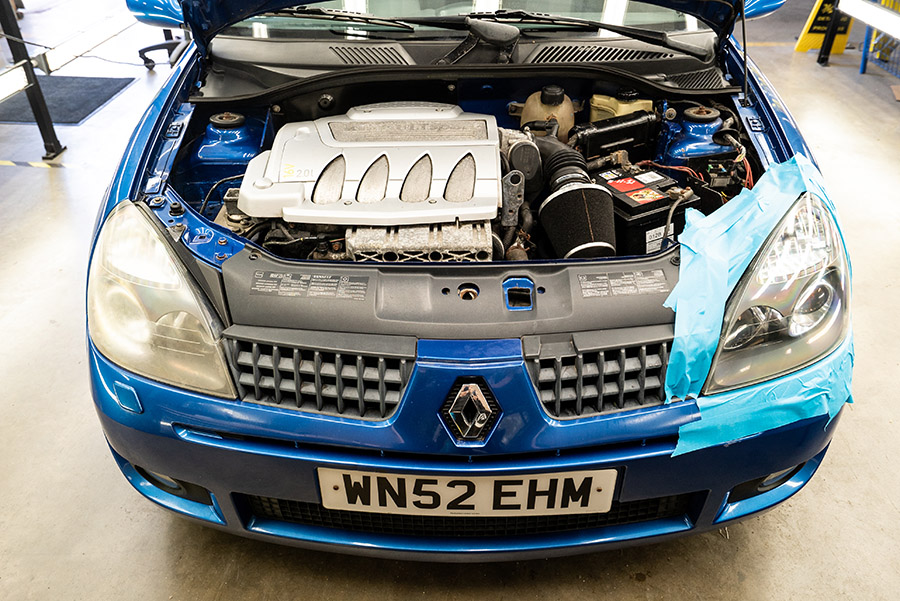
Before you clean car headlights, you need to make sure your paint is perfectly clean because you are going to be doing some masking, and you don’t want to be sticking tape to dirty paint. Therefore, the first step is to wash your car! You want to use automotive masking tape and make sure you protect the area around the headlights as you’re going to be using an abrasive compound, and you don’t want to risk marking your paint.
2. Apply the restoration compound to the headlights
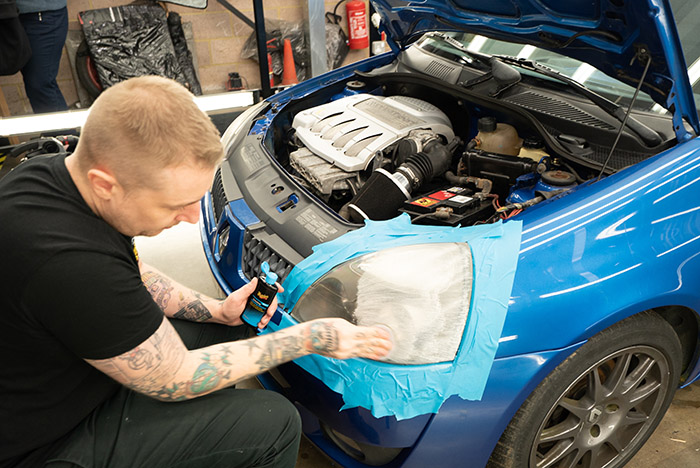
Starting with clean car headlights, you want to apply the restoration compound to the lens as per the instructions. In this case, it’s a kit that doesn’t require the use of a drill and all the steps are carried out entirely by hand, which makes things nice and easy.
3. Work the compound into the headlights
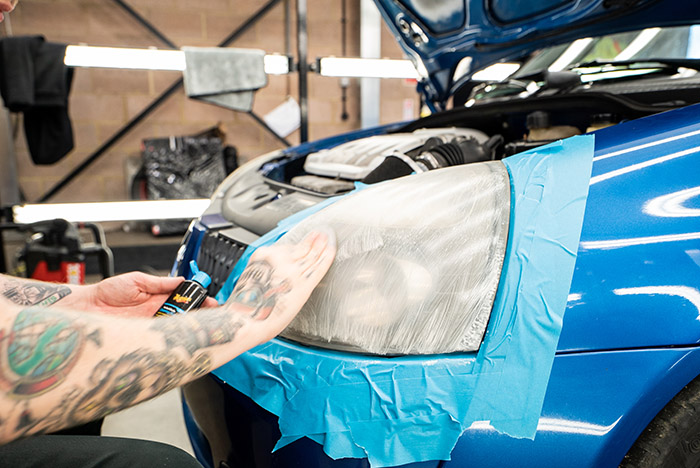
You want to work the cleaning compound across the whole of the headlight, applying pressure as you go because you want to remove that outer layer of discoloration.
If your car headlights are particularly bad you might need to go in for another round of rubbing, so apply more product to your pad and keep going.
4. Wipe away any product left on the car headlights
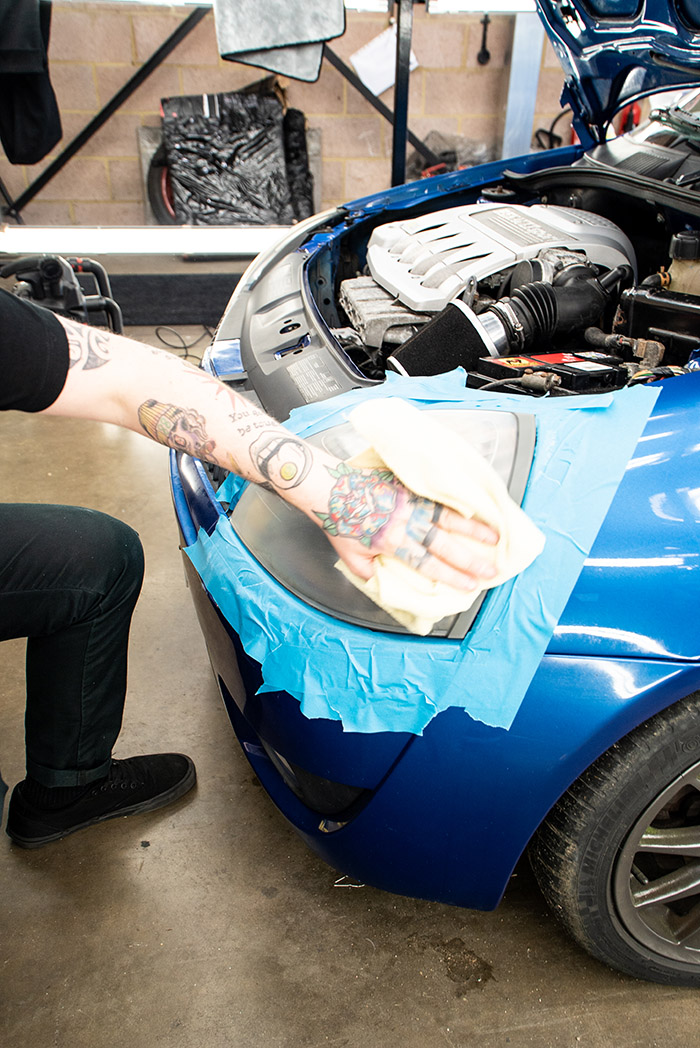
You’ll be able to see once you’ve done enough work and the headlight is looking much better. Grab a clean microfiber cloth and wipe away the remaining product from the surface of the lens.
While removing the discoloration from your headlights is easy enough, the problem is that it’s just going to happen again. This is because the plastic has no UV protection. You’ll be faced with exactly the same discoloration before too long.
5. Apply UV protection to the car headlights
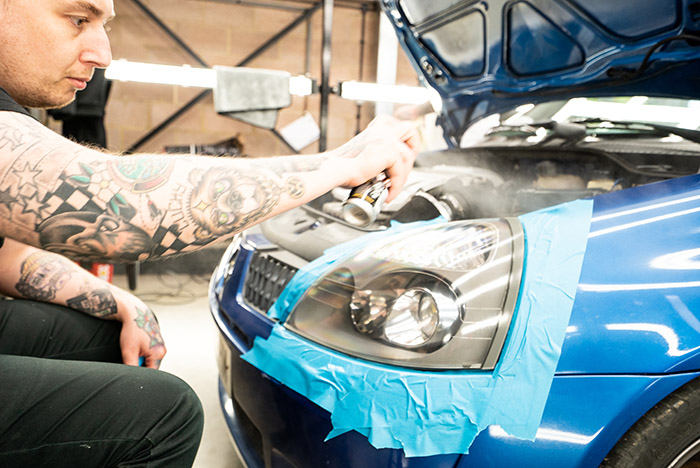
No, don’t grab your sunscreen… This kit is a two-stage product that also features a protective spray-on coating, which is a key factor in keeping your headlights looking their best. Spray the coating across the surface of the headlight, applying two coats for this product.
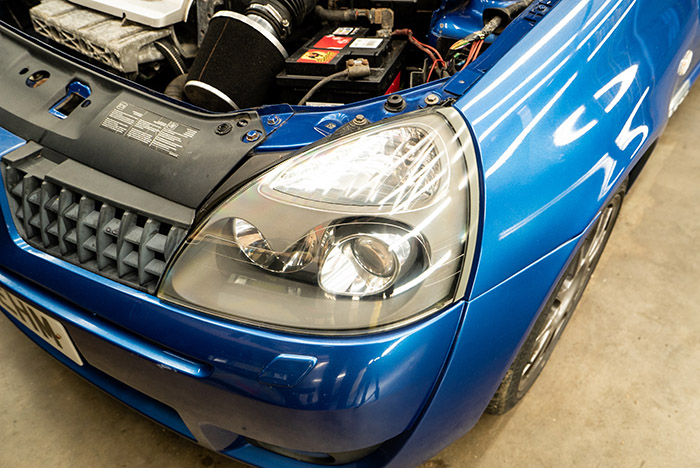
The results speak for themselves, and the difference between the freshly restored headlight and the milky and horrible-looking original one is staggering. Not only has this instantly improved the appearance of the car, but with the coating applied, the headlights are going to stay looking good, and you should only have to re-apply the coating in the future to keep them protected and looking like new.
Be sure to check out our guide to the best car headlight cleaning kits you can buy.
Words: Elizabeth de Latour & Matt Bell.


