
Is your car’s drivebelt squealing like a banshee or looking like it’s on its last legs? Find out what’s involved in our guide on how to change an auxiliary drivebelt.
It was once known as the fanbelt but is now more commonly called an auxiliary drivebelt or serpentine belt. This rubber belt that often has either jagged teeth or ribs drives a number of pumps and other components. Examples include the water pump, the A/C compressor, the power steering pump and the generator. All of these components have differing demands, which puts a greater strain on the belt that drives them. For instance, if the vehicle battery’s voltage is low, the generator needs to work harder to recharge it. In this guide, we’ll take your through another car maintenance trick that you should have under your belt.
How often should you change an auxiliary drivebelt?
The service or maintenance schedule for some cars stipulates a specific interval for replacing the drivebelt(s). It may be every eight years or every 100,000 miles for example. That doesn’t mean to say it could need changing sooner. And it’s important to inspect it at least once a year when servicing the vehicle.
How to inspect a drivebelt
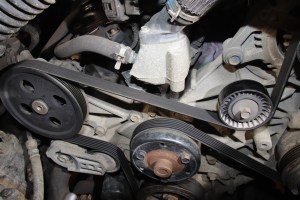
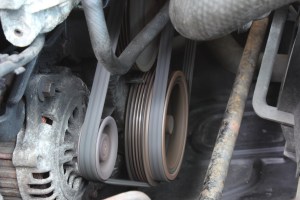
A visual inspection of the drivebelt is a good starting point. Look at the inside edge of it, which may have ribs or jagged teeth. See if there are any cracks across the ribs or teeth, which is the first indication the belt is starting to deteriorate. Look along the outer edges of the belt for fraying, which can mean two things. First, the belt is starting to break up. Second, the belt may be rubbing against something to cause it to fray. In both cases, the belt should be replaced, but it will also help to see if it’s catching something.
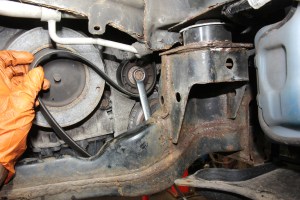
To do this, manually turn the engine clockwise (do not run the engine) via the crankshaft pulley bolt. Whilst doing this, look at how the drivebelt rotates to see if it catches anything. This will also help to spot a misaligned pulley, which may be the cause of the fraying. Some pulleys can easily get bent and damaged if they are levered off with pry bars.
How tight should an auxiliary drivebelt be?
As a general rule, you should be able to quarter turn a drivebelt, which is sufficient tension for it. Any less and it’s often too tight, which could put a greater strain on the bearings inside the generator. And it could cause a similar problem for the A/C compressor, water pump and power steering pump. If the belt is too slack, it may squeal and could slip, meaning whatever it drives may not work as well. This may mean an engine overheats if the water pump cannot push the coolant around. For a generator, the battery may not be fully recharged.
How to adjust the tension in a belt
Some drivebelts use a spring-loaded automatic tensioner, so there’s no way of adjusting it. In such cases, if the belt is too tight or too slack, the wrong belt may have been fitted. Or there could be a problem with the tensioner.
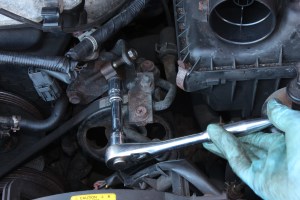
If a drivebelt’s tension is manually adjusted, it may be via an adjuster thread with locking nuts. This can take some working out. The mounting bolts for a component such as the generator or power steering pump may need to be slackened first. This will allow it to be moved via the adjuster thread to alter the tension in the belt. In some cases, simply moving this component will change the tension in the belt.
How to remove an old auxiliary drivebelt
Before you remove the old drivebelt, take a photo of how it’s fitted. This will help with fitting the new one.
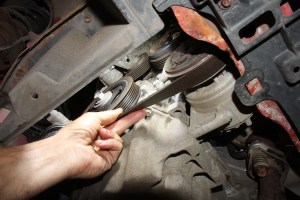
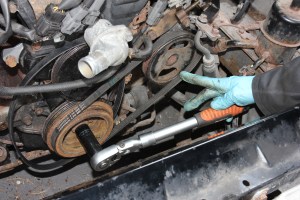
Tempting as it may be to cut through an old drivebelt to remove it, don’t. Instead, it’s important to slacken it to ensure you can fit the new one and adjust its tension. Where an automatic tensioner is fitted, turn it to take the tension off the belt. This is often in a clockwise direction. You may need to use a spanner to adjust it and, in some cases, can lock it with a pin. Once the belt is slack, carefully remove it. Avoid trapping your fingers.
Where a manual tensioner is fitted, adjust it to slacken the belt, then remove it by hand.

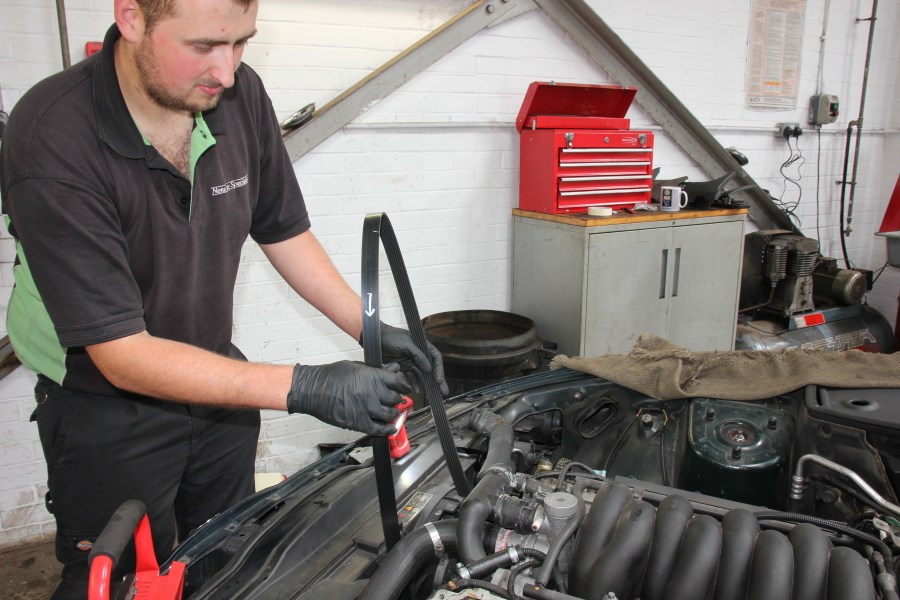
Check your new auxiliary drivebelt first before you change it
Before fitting the new drivebelt, check it’s the same specification, width and length as the old one. There may be a code printed on it, such as 4PK850, which means the belt has four ribs and is 850mm long. There may also be a part number displayed. However, it’s also worthwhile comparing both belts to check they are roughly the same. An old belt can stretch over time, so it may be slightly longer by a fraction of an inch.
Fitting the new auxiliary drivebelt
Look for any markings on the new belt to indicate which way round it should be fitted. Most engines, except for early Honda VTECs, rotate clockwise. It may take a few attempts to work out the best way to fit it. For instance, starting at the crankshaft pulley may be easier, or in some cases, finishing at this pulley. This can be quite awkward, especially if you have to hold the automatic tensioner in its slackest position.
If the tensioner is fully slackened, but the belt still won’t go on, then you may have to wind it on. This involves turning the crankshaft pulley and pushing the belt over it. New belts can seem to be too tight to fit, so this method can help.
Adjust and test
Where a belt is manually tensioned, adjust it to our recommended quarter turn test. Next, manually rotate the engine via the crankshaft pulley to check the belt doesn’t slip off. If you’re satisfied, refit any remaining parts, then run the engine to check the belt doesn’t squeal or slip off. For belts that are manually adjusted, check its tension periodically and adjust if necessary.
And that’s how to change an auxiliary drivebelt. For more information on engine belts, check out our guides:


