It’s often part of routine car maintenance and servicing, but sometimes ignored. Find out how to change a fuel filter with our step-by-step guide.
Some cars have an in-tank fuel filter that’s fitted for the life of the vehicle. However, many still have a replaceable fuel filter that should be changed at a specific service interval. In some cases, it should be replaced every year, whereas in others it’s every two or more years.
The work involved in replacing the fuel filter varies between different cars. The following information summarizes what’s generally required to do the job, but it may be different on your car.
Buy the right fuel filter for your car
Before you begin removing the fuel filter, make sure your new one is the correct type. If possible, compare it with the existing one that’s fitted – if you can see it. Make sure the new one has the same number of fuel hose/pipe connections. And if there are any electrical plug connections, make sure these are present too. Some fuel filters are screwed into a housing, so it’s important to check the fuel filter is the correct diameter. Others sit inside a mounting bracket, so the size of the new one is also important.
Find the fuel filter on your car
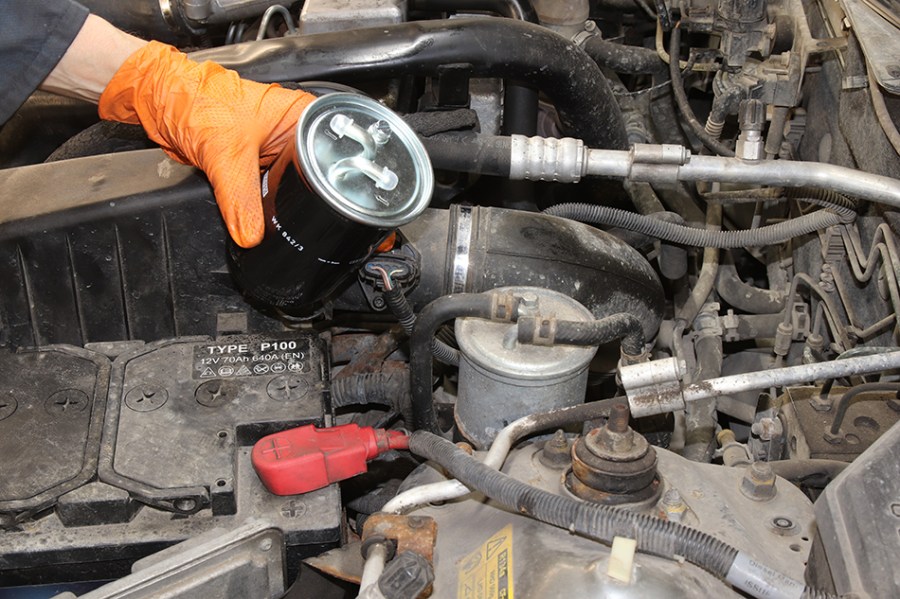
It may sound ridiculous, but some fuel filters are not that easy to find. On the diesel-engined third-generation Kia Sportage, the fuel filter is in the rear corner of the engine bay. The only trouble is the battery and ECU are in the way. So, the battery has to be removed and the ECU moved aside.
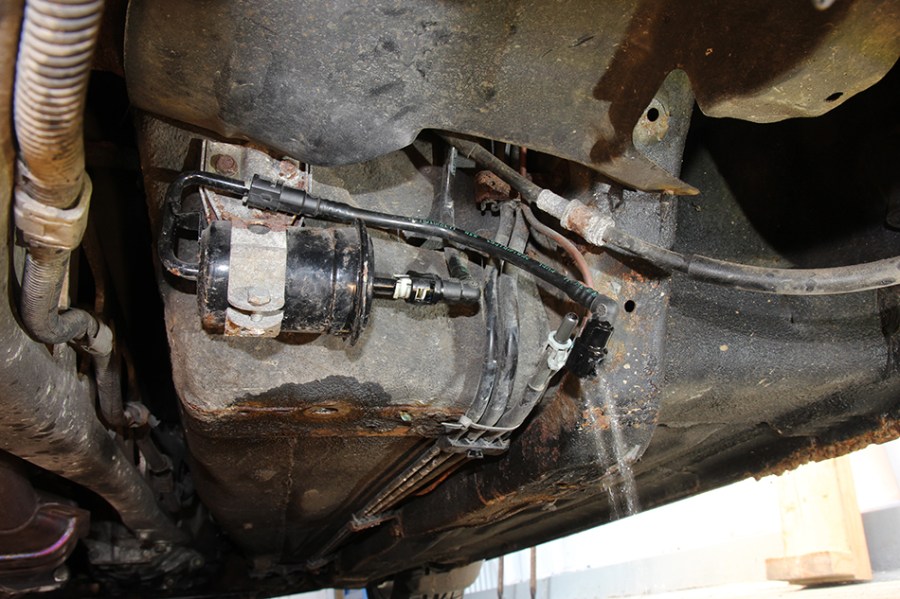
On the Mk2 Mazda Miata (MX-5), the fuel filter is under the vehicle, concealed by a plastic cover (see photo).
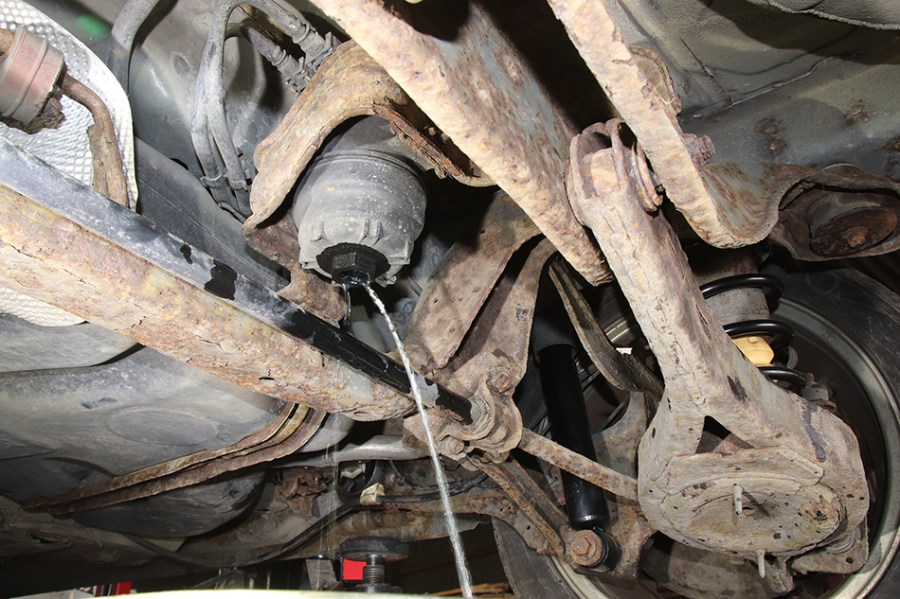
Release the pressure
The fuel may still be under pressure inside the fuel lines and the filter, so it’s important to release it. If it isn’t released, fuel could squirt out into your eyes. It could also contaminate components. And if it’s petrol, it could be a fire risk.
For some vehicles, disconnect a specific fuse and switch on the ignition to release the pressure. In other cases, a fuel hose has to be carefully detached to allow the pressurized fuel to escape.
If a fuel filter has a drain, this needs to be undone first to remove the excess fuel. This also helps with removing the filter because less fuel will run down your arms.
Undo the mounting bracket
If the fuel filter is secured inside a cage or mount, it may help to release it first. This may help to access some of the connections to it, such as the fuel lines and any electrical plugs.

Detach electrical plugs
If any electrical plugs are attached to the fuel filter or its housing, disconnect them. The plugs often need pinching in a particular place to help release them. Special tools like this EWK kit help release plastic connector plugs, which make this job easier to do.
Some car fuel filters have a water drain fitted at the base, which may include an electrical connector plug. This often gets missed, resulting in the wiring becoming overstretched and damaged when replacing the fuel filter.
Note the fuel connections
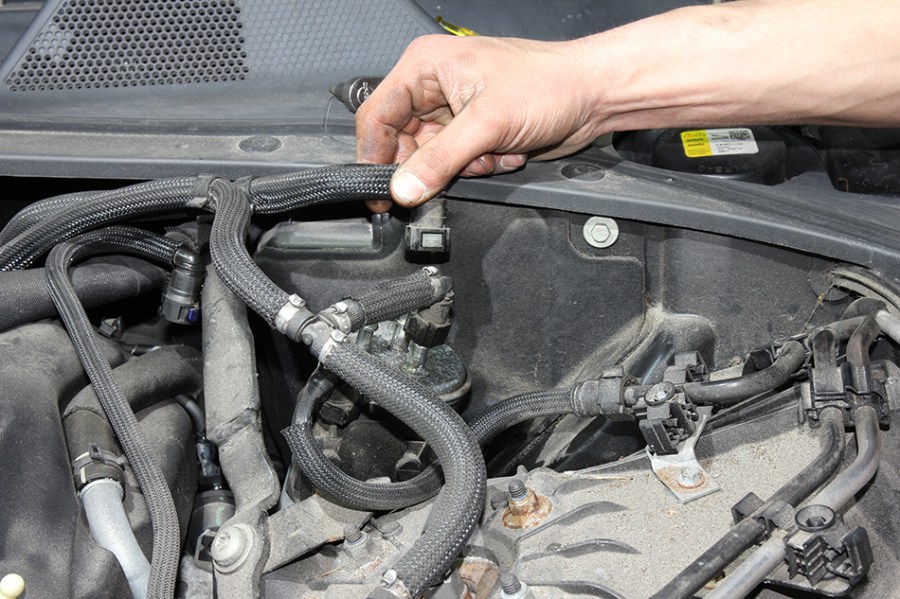
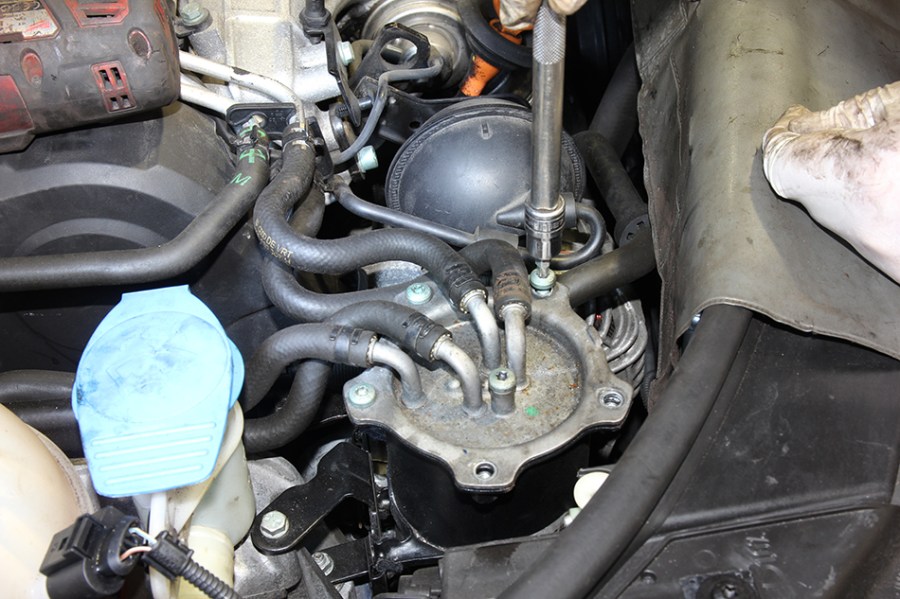
It’s important to remember where each fuel hose is connected on the fuel filter. They must not get mixed up because the engine won’t run. Take a photo of where they are fitted, or paint-mark them. Next, release each one. They may be secured with special hose clips. Some have a push-fit connection that requires the sides to be pinched to release the hose.
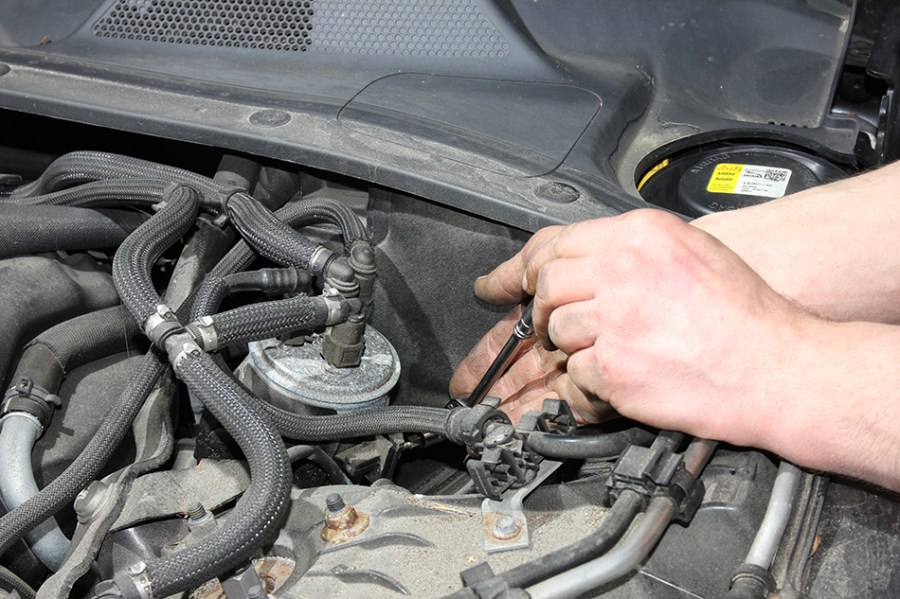
Quick-access fuel filters
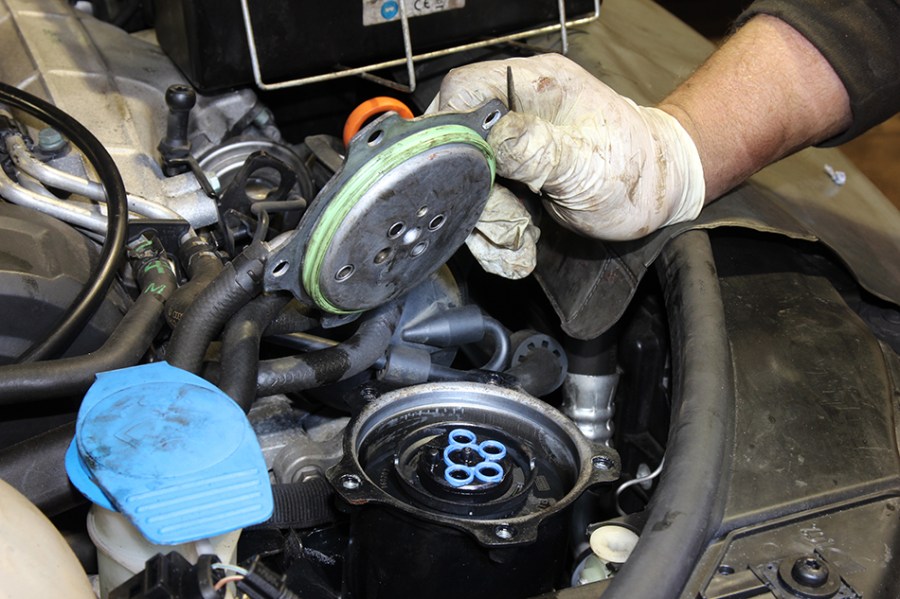
Some fuel filters are not so complicated to access and don’t require any fuel hoses to be detached. Our photo shows an Audi A3 8P where the fuel filter is being changed on its diesel BKD engine. The lid of the housing needs to be removed to change the fuel filter. No connections to it need to be detached. However, on the V10-engined VW Touareg, there are two fuel filters fitted inside a housing. The lid of the housing can be removed to change them, but the fuel lines to it need detaching.
Remove the fuel filter
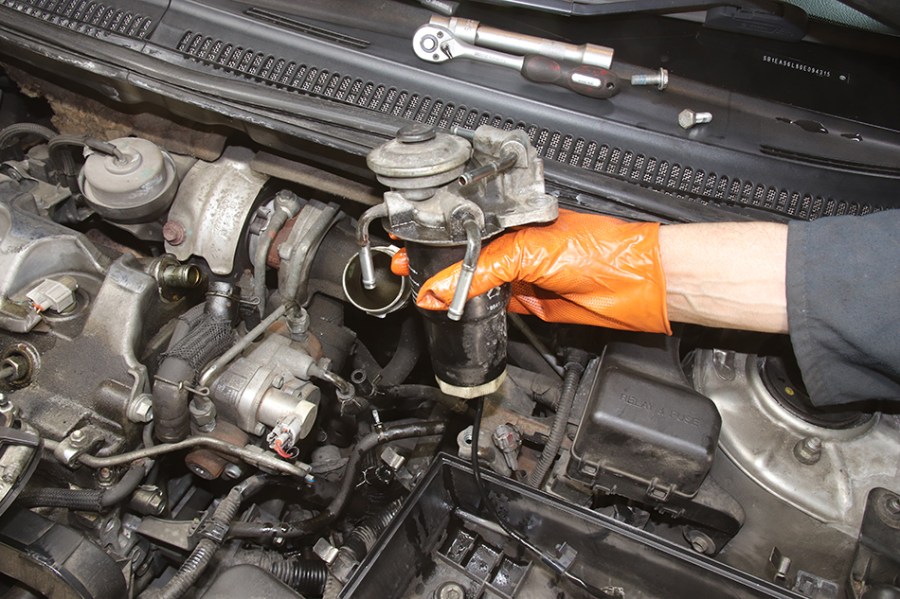
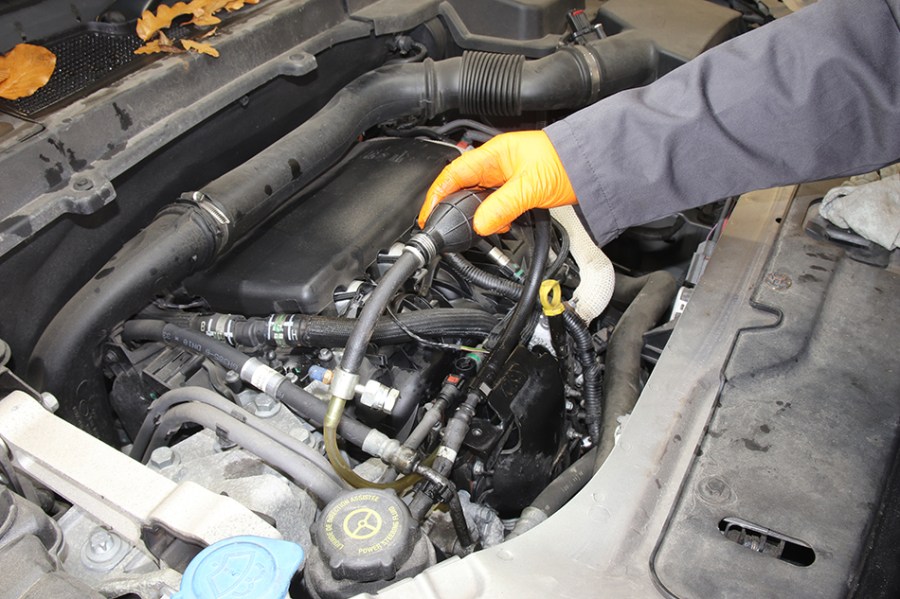
When the fuel filter is ready to be removed, carefully lift it out. If fuel is dripping out, have a drain tray and rags ready. Wear gloves to protect your skin. Check that none of the fuel lines have started to leak fuel.

Fit the new fuel filter
If the fuel filter is secured to a housing, then it may need to be unscrewed or somehow detached from it. A water sensor may also need to be detached from the old fuel filter and fitted to the new one. If a lid had to be removed to access the fuel filter, then there may be a new seal to fit.
In some cases, the new filter can simply be lowered into position inside the mounting bracket or cage. There may be markers on the side of the fuel filter to show exactly where it needs to be fitted. This will ensure the fuel lines can be refitted in the correct order and any electrical plugs.
Reassembly
It may be possible or necessary to add some fresh fuel to the fuel filter before reassembling it. This will help to run the engine and reduce the risk of air locks.
Secure the fuel filter and reconnect any electrical plugs. All of the fuel hoses may need to be refitted, but that depends on whether the fuel system needs priming.
Priming
Removing air locks from the fuel system can be a major problem after fitting a new fuel filter. Prefilling the fuel filter can help, if it’s possible. Some fuel systems have a small hand pump close to the fuel filter. This enables the fuel system to be primed to remove air locks – a bleed screw may need to be released. In other cases, a hand pump can be attached in line, as shown in our photo.
Some cars require the ignition to be switched on and off several times to help prime the fuel system.
Whatever the method, once the engine is running, check for fuel leaks before finishing the job.