This time our ‘Save the ST170’ project in conjunction with Machine Mart, gets a brake caliper refurbishment with new performance discs and pads.
If you’ve been following the progress of our Ford Focus ST170 project, you may remember that a previous inspection of the car in Part 1 revealed that the brakes needed work. They worked well enough to pass its MoT a few weeks earlier, but they left a lot to be desired. For starters, there clearly wasn’t a lot of life left in the old brake pads, the discs had a horrible lip, and the calipers were rusty and would benefit massively from a refurb.
Brake Caliper Refurbishment – The Right Tools For the Job
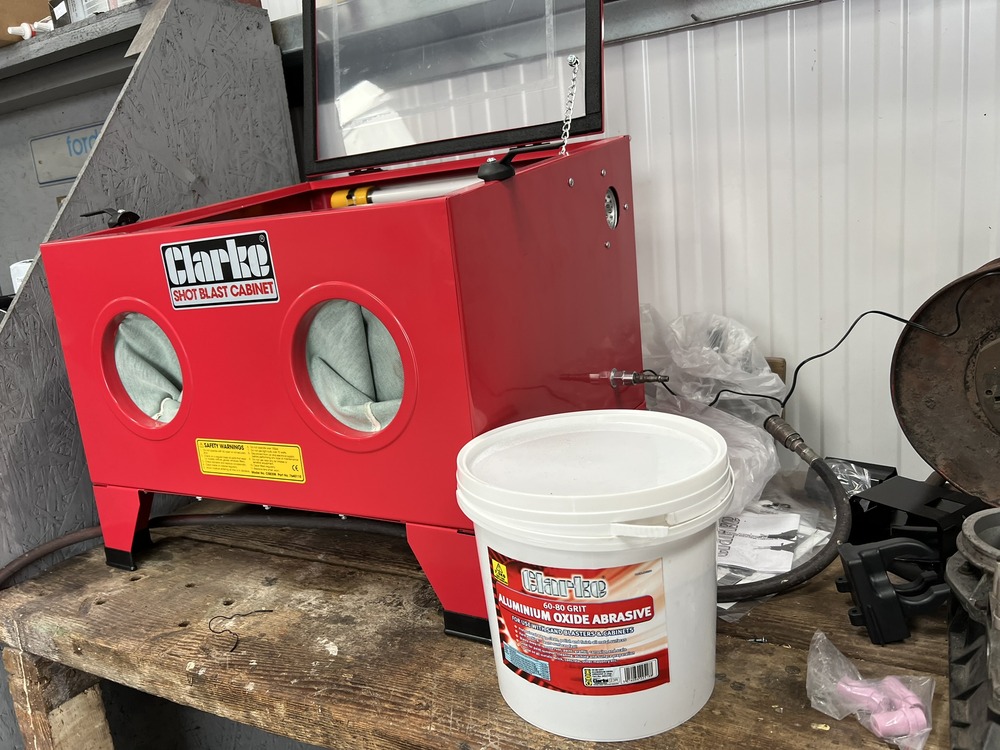
So, armed with a Clarke toolkit, a parts washer, and a blast cabinet from Machine Mart, we set about removing the old brakes and giving them a complete overhaul. Brake caliper refurbishment is a job any confident DIY enthusiast can do at home with just a small selection of the right tools.
A quick web search had all the new parts ordered. We soon had a full seal kit, new clips and pins, new caliper pistons, bleed screws, and even some red caliper paint to give the refurbished set-up some much-needed colour.
Aftermarket Performance Upgrades
But we were never going to refit OEM-spec brakes. No, this Ford Focus ST170 project is all about enhancing and upgrading as we go. Therefore, we spoke to world-renowned performance brake specialists, EBC brakes, and ordered something with some more bite… quite literally!
Why Choose EBC?
Having fitted EBC brake upgrades to many of our previous project cars – not to mention our personal projects too! – we know only too well the huge performance benefits on offer from a good quality set of performance brake pads and matching performance discs.
While EBC offers huge big brake kit upgrades (as we previously fitted to our Mondeo ‘Rep to Race Car‘ project), for the ‘Save the ST170’ project we wanted something a little more OEM-plus. The original calipers are one single-pot sliders, but Ford gave the ST170 decent-size stoppers with 300mm front discs and 280mm rears. That’s why they are used as common upgrades for many other Ford models – and just another contributing factor to the Focus ST170 being broken for parts to be used on other models.
EBC Yellowstuff Brake Pad Upgrades
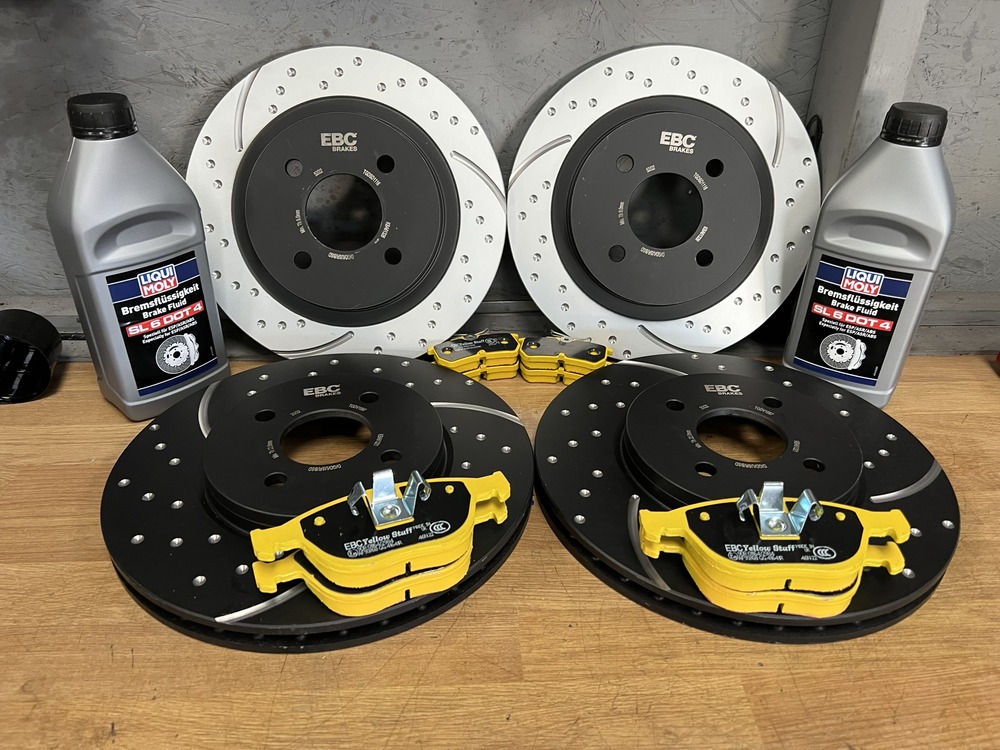
But they do work so much better with upgraded discs and pads. That’s why we ordered a full set of EBC Yellowstuff brake pads. You’ve probably heard of Yellowstuff pads – they are one of the most common brake upgrades in the UK. And, unlike some performance brake upgrades available, EBC Yellowstuff pads are fully R90 approved. This means they meet ECE safety test requirements and perform at least as well as OEM pads from cold, meaning they are fully legal for road use. The brake-in coating reduces the time it takes for the pads to bed-in, making them even more suitable for road applications.
2021 Compound Updates
Yellowstuff pads have been around for years, but the engineers at EBC updated the compound in 2021. The latest Yellowstuff 3068 builds on the previous compound but removes the copper content to comply with the latest environmental legislation. One key change as a result is increased pad life. Perfect for fast road applications, but it does require a longer bedding-in time, so EBC no longer recommends Yellowstuff for track use. They would urge track fans to consider Bluestuff pads or the track-only RP-1 and SR Series pads instead.
But for our Focus ST170 project, Yellowstuff pads are ideal. They work fantastically across a huge heat range, are fully road-legal in the UK, and provide a significant improvement to the stopping power of our little Focus.
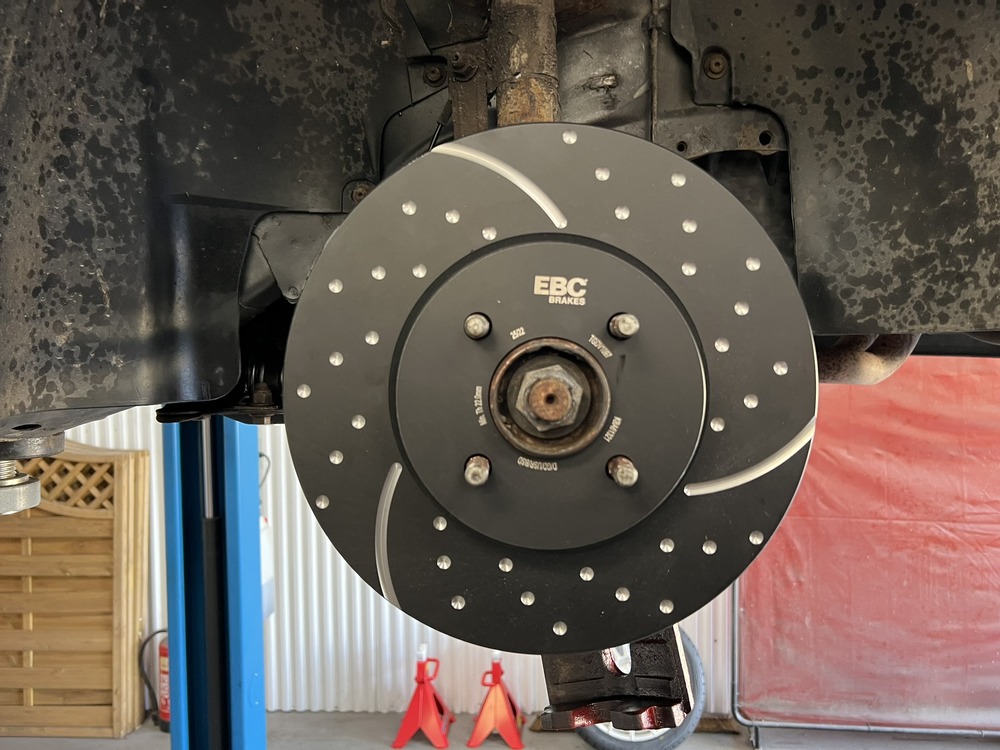
EBC GD Sport Discs
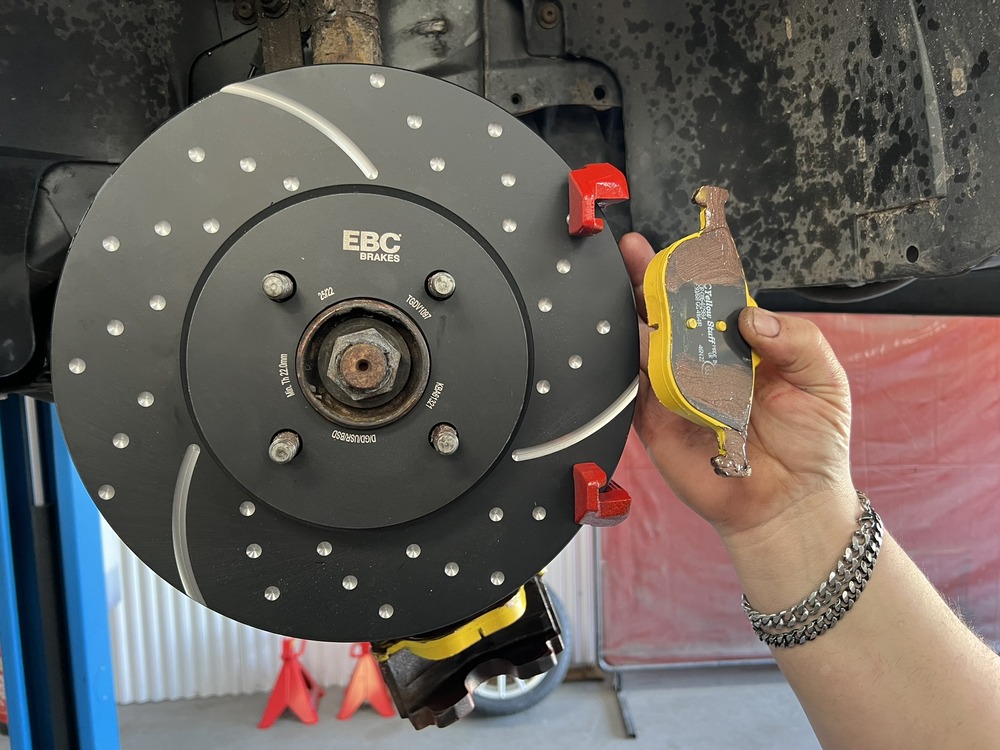
The Yellowstuff pads will work with OEM discs, but for optimum performance we’re fitting a set of EBC GD Sport discs too. Made from high carbon castings, these super-strong discs work in harmony with the performance pads to improve stopping power. Features such as the wide aperture and drilled and grooved surface provide better initial bit, ensure the contact area is kept clean, and offers improved cooling.
They are the perfect companion for the Yellowstuff pads, so we ordered a full set for the front and rear of our Focus ST170 project.
Increased Stopping Power!
We’ve fitted the fronts already, and we’ll install the rears when we fit a full set of Polybushes that have just arrived. That’s the next job, so come back next time to see how the project progresses.
In the meantime, if you fancy having a go at brake caliper refurbishment at home, check out out simple step-by-step guide…
Complete Brake Caliper Refurbishment Guide

Brake Caliper Refurbishment: Before We Started
The old calipers were covered in rust and had clearly seen better days. Time for a quick refurbishment…
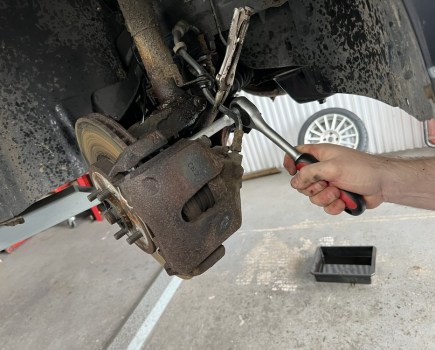
Step 1
First up, remove the calipers from the car. On our Focus this was done by removing the slider pins and two 17mm bolts that attach the caliper to the hub. You also need to clamp and disconnect the flexi brake line.
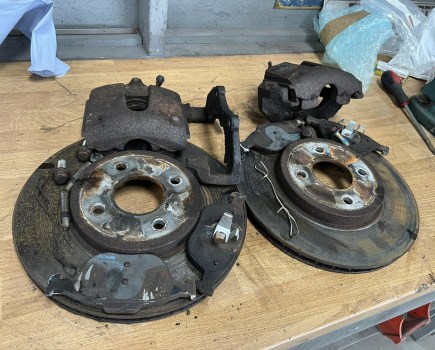
Step 2
You can see the state of the old parts once they have been removed the car. Nasty and in dire need of cleaning.

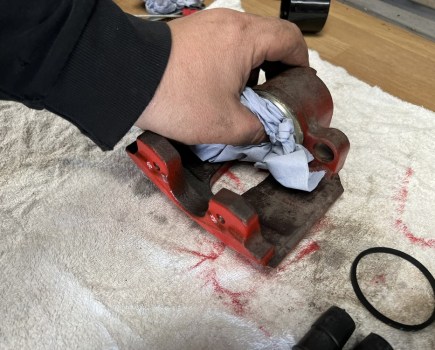
Step 3
A quick clean-up in the parts washer removes years of filth and road grime. Once all the grease and brake fluid are removed, allow the calipers to dry fully, before…

Step 4
It’s over to the blast cabinet. Make sure you blank off the union where the brake flexi is attached to avoid grit getting inside the caliper. After a few minutes, all that corrosion is blasted away back to bare metal

Step 5
Note – we gave the calipers a coat of paint first, but we’d recommend painting after everything is fully assembled for a better paint finish. The soft paint makes it hard to work with during the rebuild stage.
For best results, see our guide on how to paint calipers
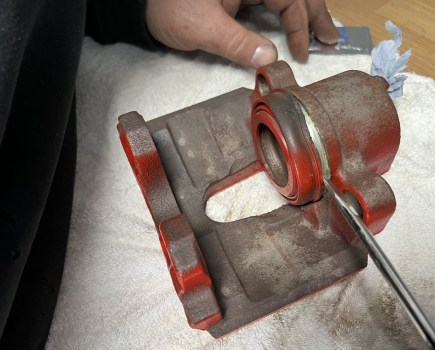
Step 6
Now it’s over to the bench to start the strip down and rebuild. First thing to do is remove the outer seal. Simply prize it away with a flat-blade screwdriver or small pick.
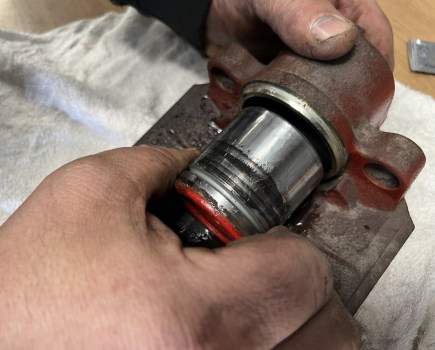
Step 7
Now remove the piston. If it moves easily you may be able to pull it free with some grips. If not, blowing an airline into the chamber will force it to pop out.
Step 8
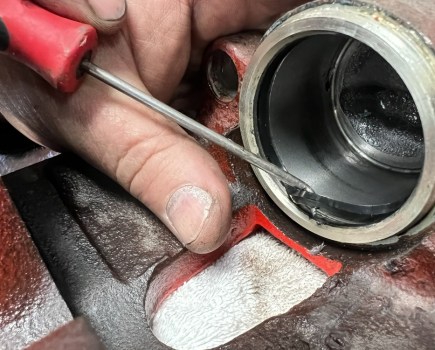
Using a small pick tool, remove the old rubber piston seal from within the caliper.
Step 9
Next, clean the chamber thoroughly with some brake parts cleaner and a clean cloth. This needs to be spotless.

Step 10
Smear the silicone-based grease supplied with the rebuild kit liberally around the new piston seal.
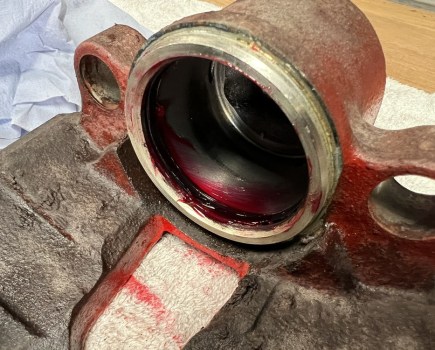
Step11
Then carefully position it into the recess in the caliper. It is a square-edged seal, so make sure it is sitting correctly and isn’t twisted.
Step12
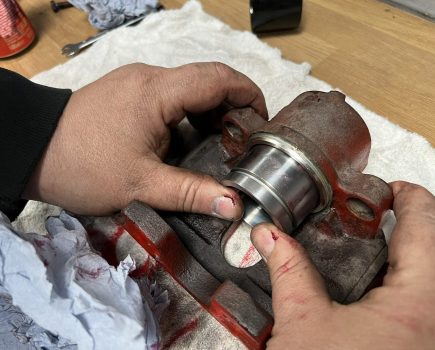
Add some more of the supplied grease to the new piston, and gently push the new piston into place. Be careful not to push too hard and dislodge or twist the new rubber seal.

Step 13
Before pushing the new piston all the way into the caliper, it’s a good time to fit the new outer dust seal. Slide the new seal over the piston and into the recessed groove…
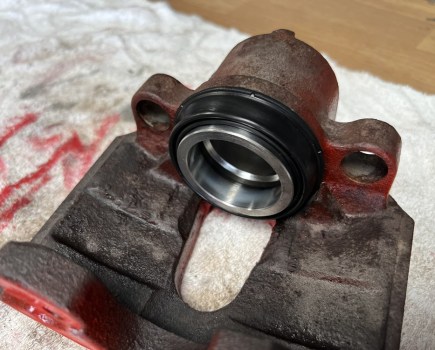
Step 14
Then you can push the piston fully into the caliper. Using a small pick tool ensure the dust seal is sitting correctly over its lip on the caliper.

Step 15
Next, fit the new slider pin boots. These simply push into the holes on the caliper. Add some grease is they put up a fight. Push in the new slider pins.
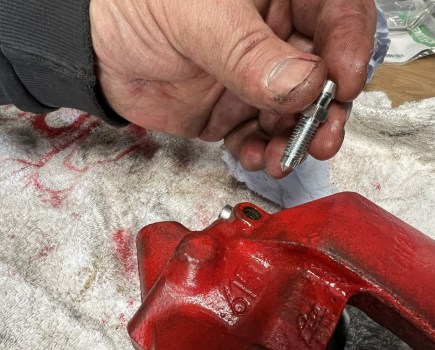
Step16
Now, fit the new bleed nipples included in the rebuild kit.
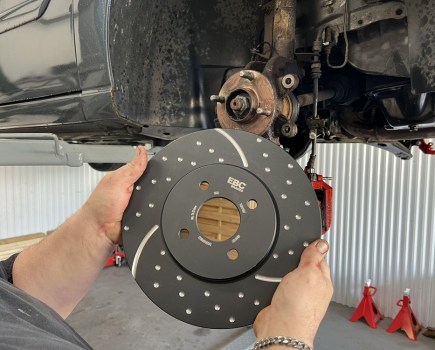
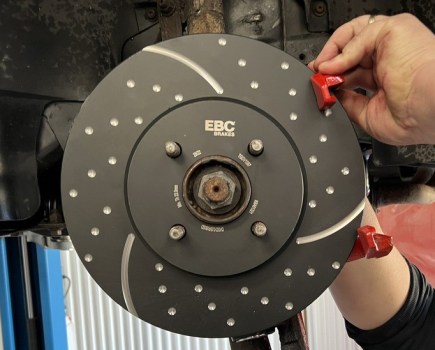
Step17
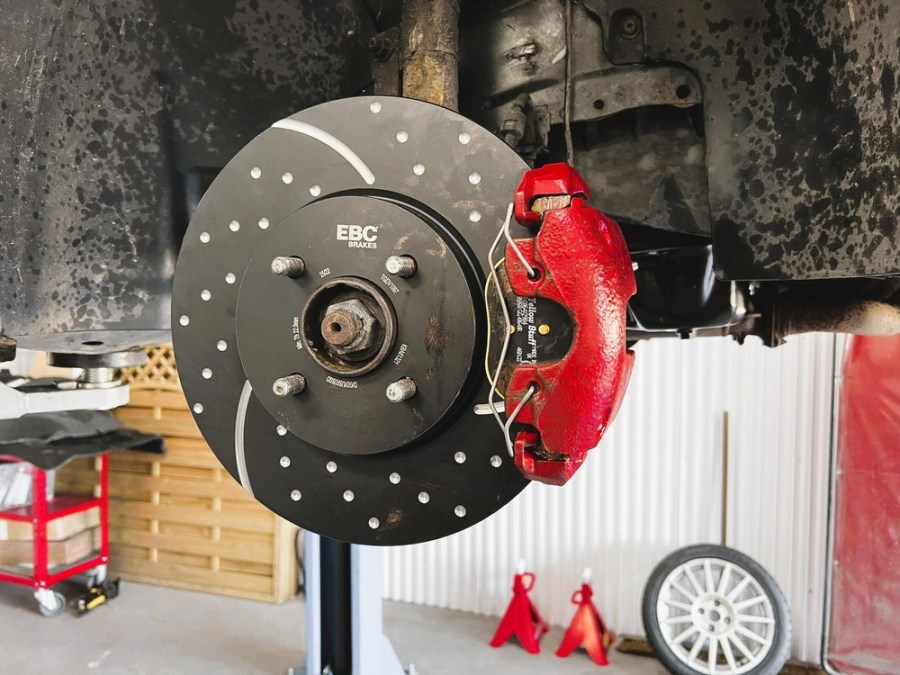
Back to the car now. The first thing to do is install the new brake disc onto the hub. We’re using some performance upgrades from EBC Brakes.
For more info, see our guide on how to fit brake rotors and pads
Step 18
With the new discs in place the caliper sliders can be mounted to the hubs.

Step 19
Now add your new pads. We’re using EBC Yellowstuff pads to give us a significant improvement in stopping power.
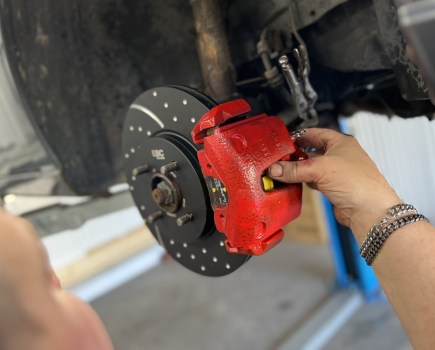
Step 20
Refit the newly refurbished caliper, attach it to the slider using the new pins and reconnect the flexi brake line.

Step 21
Don’t forget to install the new pad retainer clips.
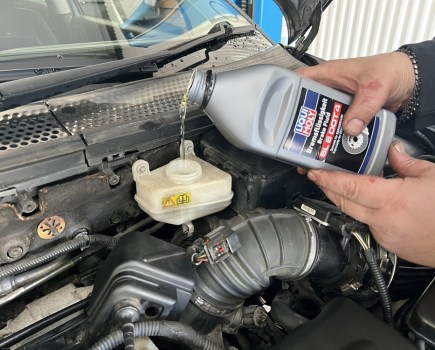
Step 22
The last job is to bleed the brakes and top up the brake fluid as required. We flushed the brake fluid through and refreshed it all with new Dot 4 fluid at this point.
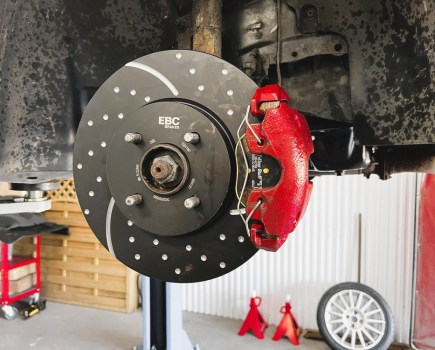
Finished! Complete Brake Caliper Refurbishment.
There you go, brake caliper refurbishment complete!
We did revisit ours to touch up the paint, but that’s the brakes all refurbished and ready for many years more action.
Missed an Update?
Check out previous instalments of our Save the ST170 project!