
Brake caliper painting has been a popular DIY job since the dawn of modifying cars; here’s our guide on how to paint your brake calipers.
Surely everyone loves a shiny brake caliper, right? Of course they do. There really is no better finishing touch for a new set of wheels than some sparkly brake calipers gleaming through.
The trouble is we can’t all afford a big brake kit (BBK), but it’s still worth remembering that you can get a great effect from the age-old trick of painting up your standard kit. In fact, here’s a job so easy, I can’t remember having owned a motor that I haven’t done this to… and I’m really lazy!
What will you need to paint brake calipers?
- Fitting Time: A couple of hours to paint and then a few more to let the paint cure.
- Tools: Jack, wheel brace and axle stands are essential.
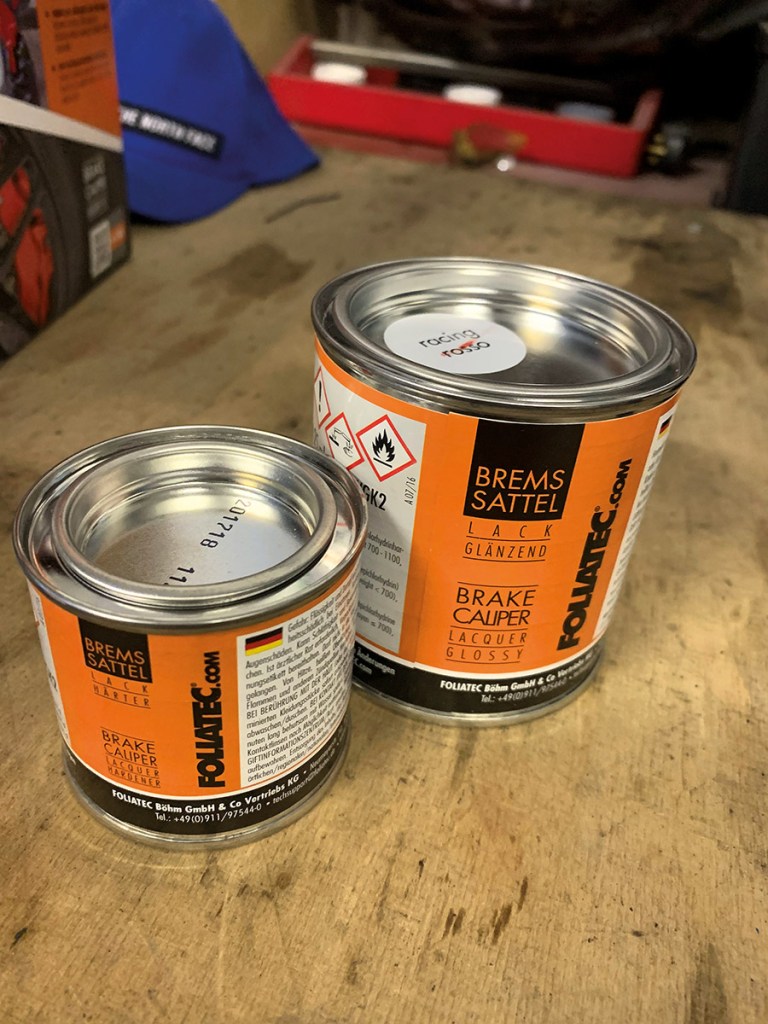
First thing’s first, you’ll be needing some paint. There are many specialist products out there, and they’ll either come in a spray can, or a tin ready for brushing on.
What’s most important here is that caliper paints aren’t like traditional car paints: they’re actually more of a high-temperature gloss enamel that’s been designed for extreme endurance. You can use a normal VHT (very high temp) paint, of course, but very often these have a matte finish that won’t stay clean for too long with all the brake dust and grime flying about.
Sprays aren’t a bad option if you don’t mind masking up everything else (which can take a while to do). There’s no denying that many offer a great finish. That said, I prefer to keep these for when the calipers are off the car and on a bench – and that’s not a job to take lightly if you don’t fancy refitting and bleeding all your brakes.
Brush-on caliper paints on the other hand, are particularly useful because you never have to remove the calipers – you don’t even have to take the pads out. And, due to the fact that enamels kind of melt into themselves when you paint them on, brush marks won’t be a problem anyway.
Here, we’re using a Foliatec kit but there are plenty of other brands out there you can use available from retailers such as Advance Auto Parts in the US; and Euro Car Parts in the UK.
Whatever brake caliper paint you opt for, they are all applied in the same way. Here’s how to do it.
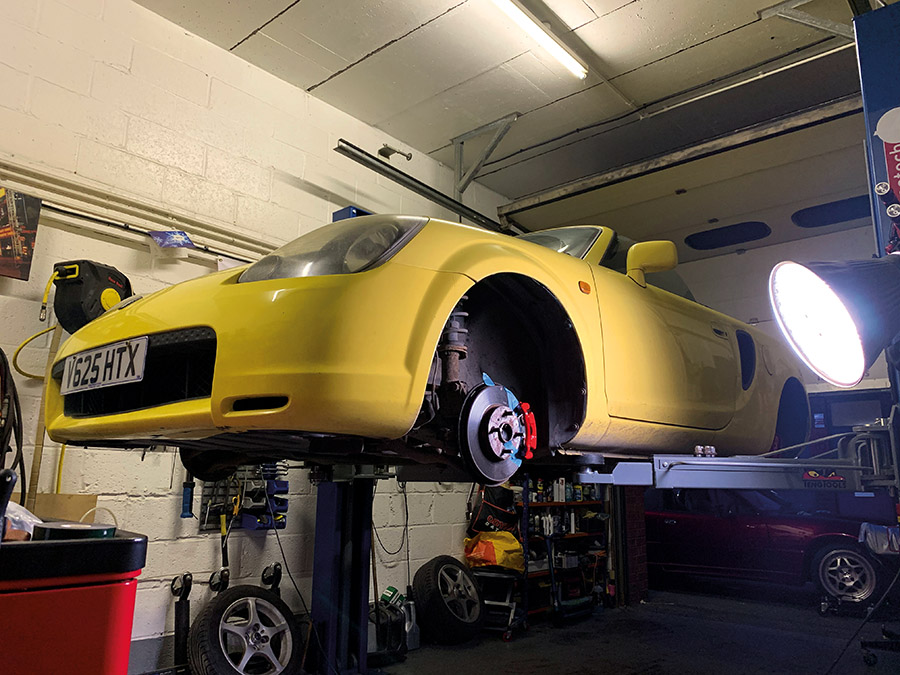
1. Jack the car up
These kits come with more than enough paint to sort out all four brake calipers, but the key point here is that you’ll need to do them all at the same time. So, unless you have a BBK and you’re just matching up the rears, you’ll need to get all four wheels off.
Now, obviously this brings me to the usual ‘don’t be an idiot’ bit. Get the car on level ground, jack it up using a proper trolley jack, and make sure it’s secure on axle stands before you start messing around with your head in the arches. The last thing you want to do is drop your car on your head, right? I’m not as young and sprightly as you, so I’ll be using my lift, but ignore that because it makes no real difference… well, except to my knees!
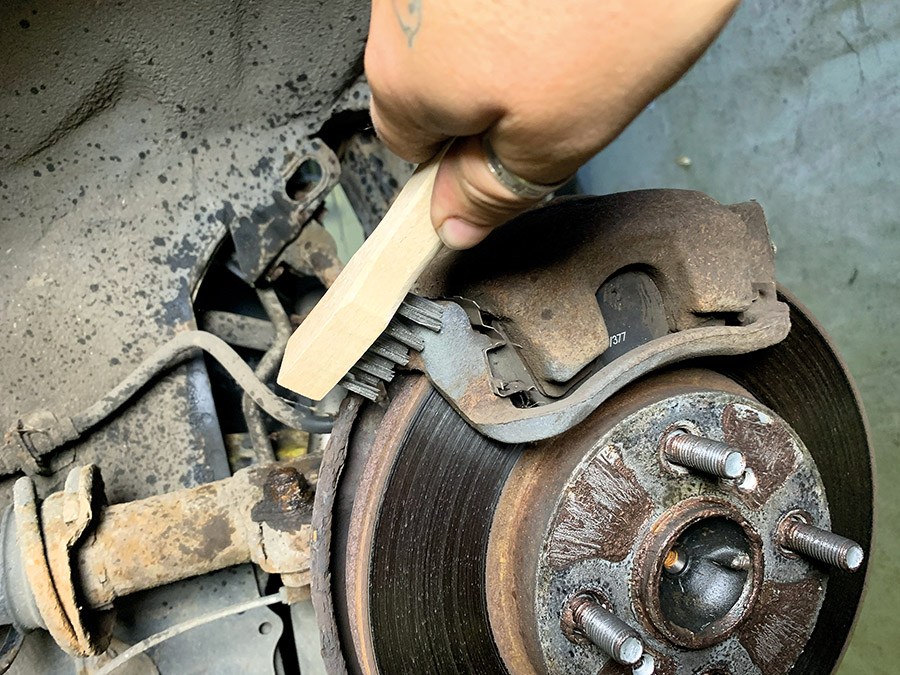
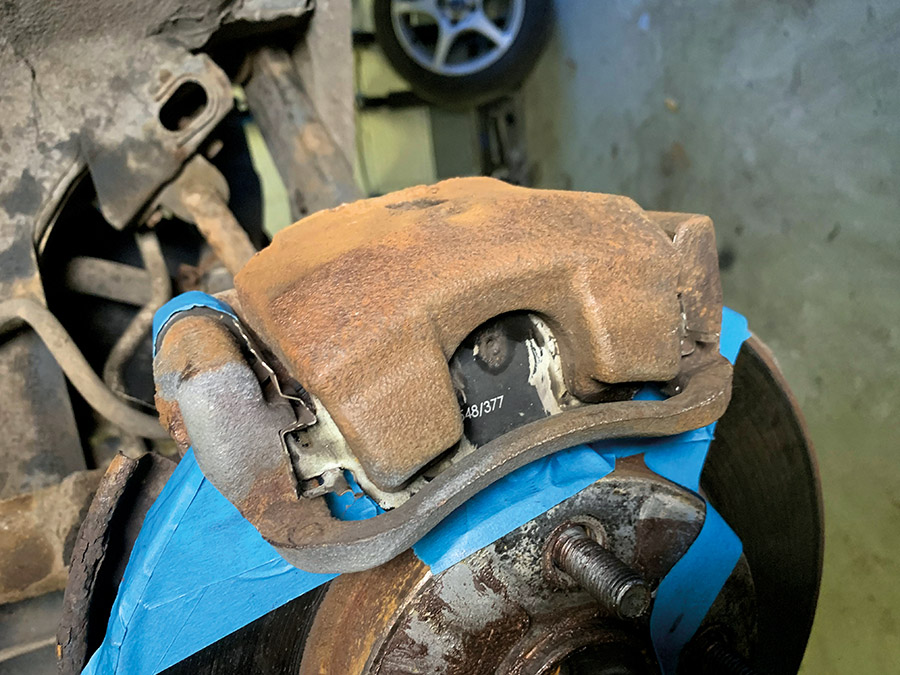
2. Clean the brake calipers prior to paint
With most painting jobs the surface needs to be pretty immaculate to help the paint bond. It’s not quite the same with brake calipers because, while it’s good to get them as clean as possible (and free from any flaky paint and grease), proper caliper paints stick strongly. When it comes to surface imperfections too, they really do cover a multitude of sins.
Chances are it’s going to be pretty dirty under there, and that goes double if you happen to have a Toyota that’s spent its life being abused by car journalists. So, first you’ll need to go to town with a wire brush and some brake cleaner.
Now, the more dirt and rust you remove the better but don’t feel like you have to be able to eat your dinner off it – just make sure it’s free of brake dust and any loose corrosion in all the little nooks. When you’ve cleaned up all your calipers, going around with one last blast of brake cleaner will never go amiss. So, do that and let it evaporate off.
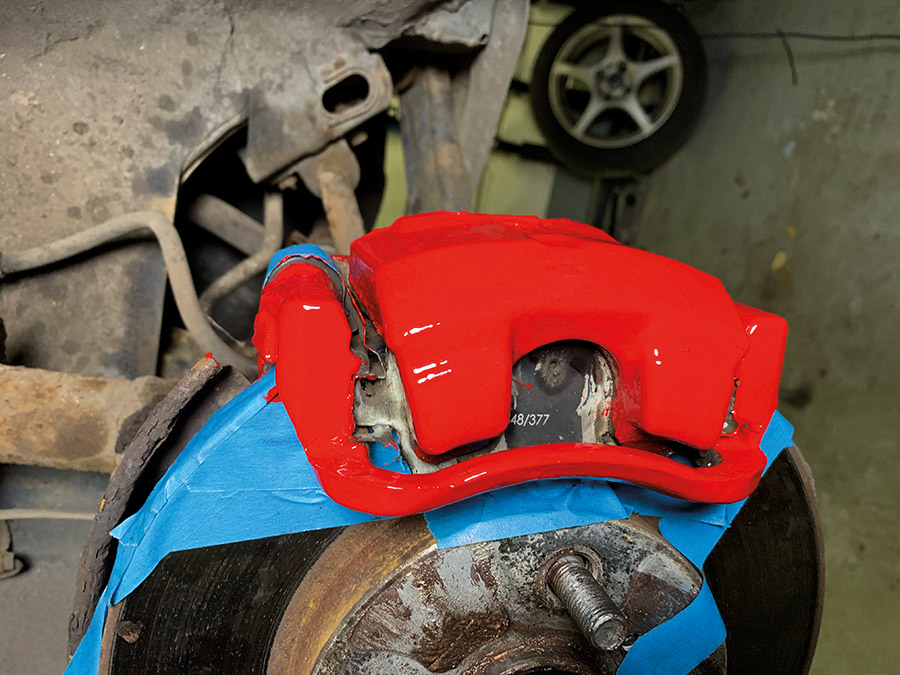
3. Tape off parts you don’t want to paint
Strictly speaking, if you’re careful and have a steady hand, you won’t need to tape anything. Personally, though, I prefer to tape off any rubber parts and the rotor surface, just in case. That way you can slap the color on a bit more freely. Besides it only takes a matter of seconds, right?
One other trick I’ve learned over the years is to try and do the job the day before you’re fitting new brake pads. That way you don’t have to be quite so careful on the back of the pads for fear of it looking messy… you can have that one for free.
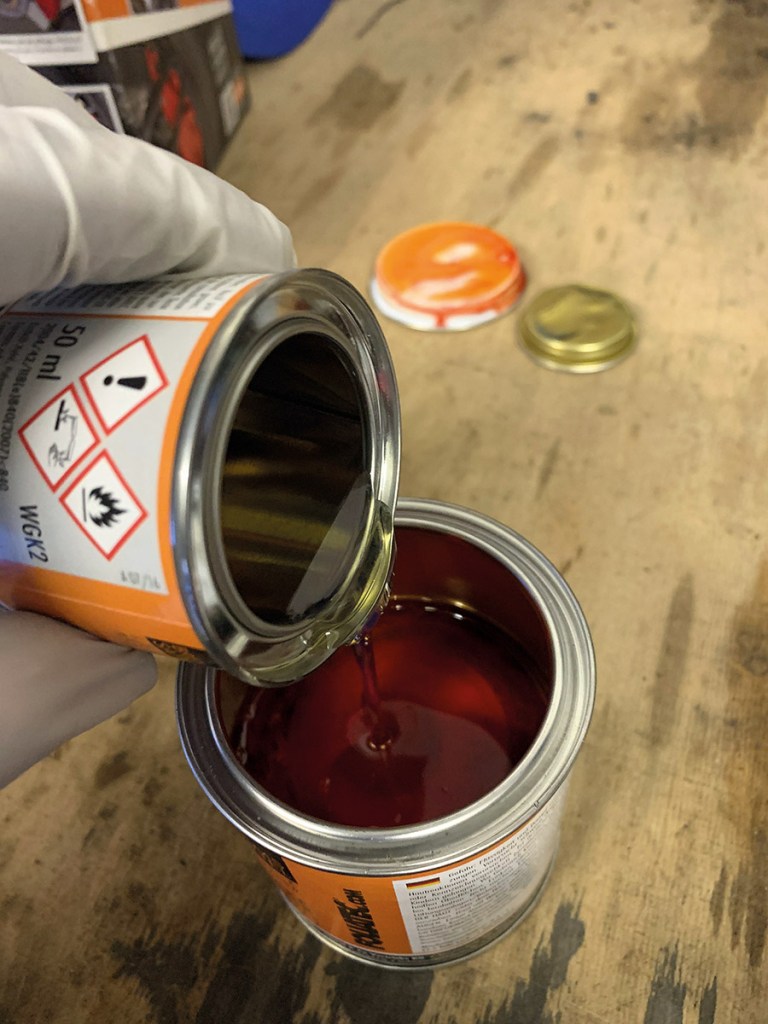
4. Mix your brake caliper paint
Unless you forgot, you should already have your gloves on because of all the nasty brake dust and brake cleaner. It’s arguably even more important here because this enamel stuff is harmful to your skin and horrible to get off should you spill it.
Brush-on enamels come in two parts; the paint and the hardener. It’s important that you mix the two together thoroughly to ensure that the painted cures rock solid. This will stop the grime getting ingrained into the paint.
Once your paint is mixed up, you’ll usually have a couple of hours to finish the job before the paint goes off. This is the reason why you’ll want to paint all your brake calipers at the same time.
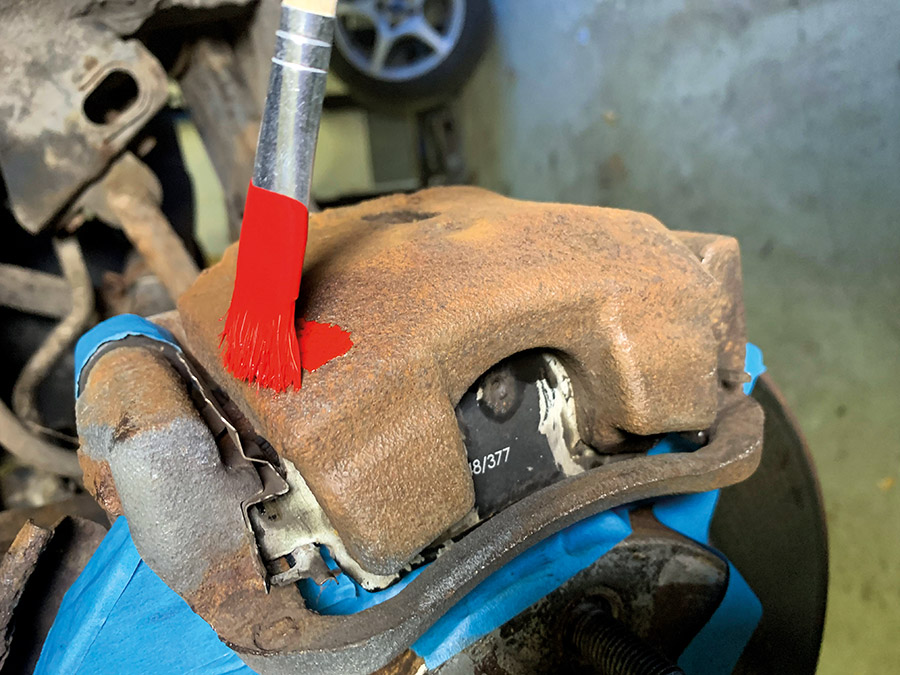
5. Apply the paint
Even if you’ve used masking tape, you still have to be a little careful. Enamel paint may be solid after it’s cured, but it’s extremely thin when you’re brushing it on. It’s not like painting your front room with emulsion; this stuff will drip all over the place if you try to whack on too much.
It’s a good thing, though, because this stuff is super runny and it’ll easily flow into all the little imperfections in the metal surface. This also helps the enamel to melt together, so you don’t leave behind a whole load of brush marks. Bonus.
The key thing to remember is that you’ll need at least three or four coats to build up a nice glossy color. It’ll look a bit crap on the first couple; it always does, but be patient and don’t be tempted to pile on loads of paint prematurely.
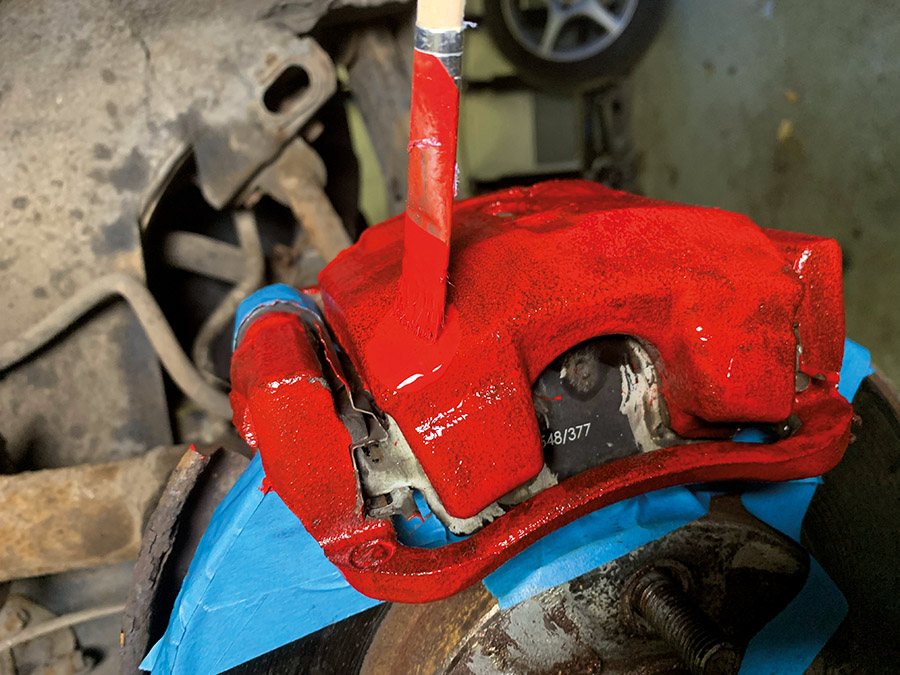
You also want to avoid going over any parts twice (during the same coat), because then you will inflict marks as your brush tries to wipe off the paint you’ve just applied. It’s best to leave about 15 minutes between each coat, just to let the paint go tacky. This should also give you plenty of time to get around all the other calipers, before cracking on with the next coat.
When you’re happy with the finish, you can carefully put your wheels back on if you want to. But, make sure you leave it at least 12 hours before you take the car out (or fit new pads). Lovely job.


