
It may seem like straightforward car maintenance, but there’s a lot to consider when you do an oil change for your engine. Follow our guide on how to change your engine oil, and also learn about torque settings, lubricating seals and the best tools for the job.
Tools for an oil change
There’s no point in getting stuck into changing the engine oil if you don’t have the right tools. Make sure you have a suitable container to catch the oil when it drains from the sump’s drain plug. If the oil has to be sucked through the dipstick tube, then a suction pump is required.
Most drain plugs can be undone with a wrench or socket, but some require a large Hex (Allen key) bit. And it helps to use a torque wrench to correctly tighten the drain plug to the correct amount.
Other oil changing tools you’ll need include a filter strap to undo a spin-on oil filter. There are lots of different types of filter straps. Most consist of a strap made of steel, fabric or a chain that’s wrapped around the filter to undo it.
For a plastic or metal filter housing, you’ll need a large socket or a special cup to undo it. Filter cups are available in sets.
Finally, we recommend having a clean funnel to carefully pour fresh oil into the engine.
What is an engine flush?
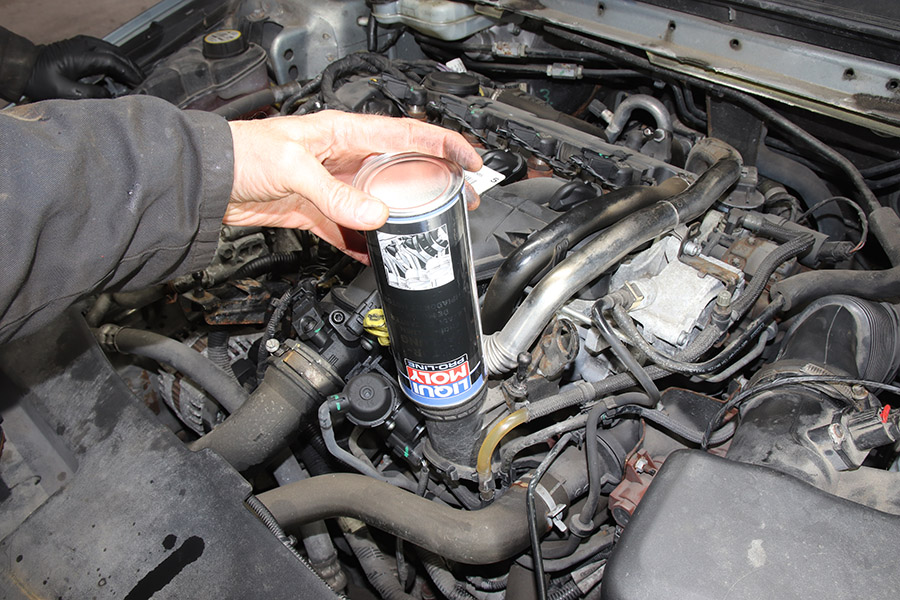
Engine flush products are a liquid that can be added to the engine for a number of reasons. The main aim of an engine flush product is to help remove carbon deposit build up, as well as to reduce future oil consumption. It essentially cleans the engine for you.
Adding an engine flush to the engine oil before draining it can help to loosen carbon deposits. Some flushes require the engine to be run for 15 minutes (but don’t drive the vehicle).
Before changing the engine’s oil, make sure the vehicle is on level ground. This helps to ensure all of the oil is drained from it. Check the vehicle won’t move, so chock the wheels, apply the handbrake and select first gear for a manual gearbox.
It’s important to ensure you can drain and collect the waste oil without spilling it everywhere. If you don’t have a ramp/lift or inspection pit, then the amount of ground clearance may be a problem. Drive-on ramps can help, but will only raise the front, so raise and support the rear with axle stands. Driving on to lengths of wood may provide sufficient ground clearance instead.
How often should you change the engine oil in your car?
This ultimately depends on how the car is being driven, and whether it’s a stock vehicle or not. For regular road users, the recommended interval between oil changes is every year or between 7,000 – 12,000 miles. For high performance cars, or those that are modified, we’d recommend shortening that interval to between 4,000 – 8,000 miles. Again, it all depends on how the car is being driven. For those that like to drive closer to the redline, we’d recommend changing closer to the 4,000/5,000 mark. Drivers that live slightly more cautiously, you can stretch the period to around 7,000 miles.
For lightly used track cars, we like to change our engine oil no more than every 3,000 miles. On track, car’s are driven towards their limit, and as such, tend to use more oil in the process. Therefore, the oil will heat up to extreme levels and then cool over and over again. If you drive regularly on track for long periods of time, we’d be looking to change the oil after every 2-3 track days. Race cars on the other hand should have its engine oil changed after every race to ensure reliability.
How To Do An Oil Change
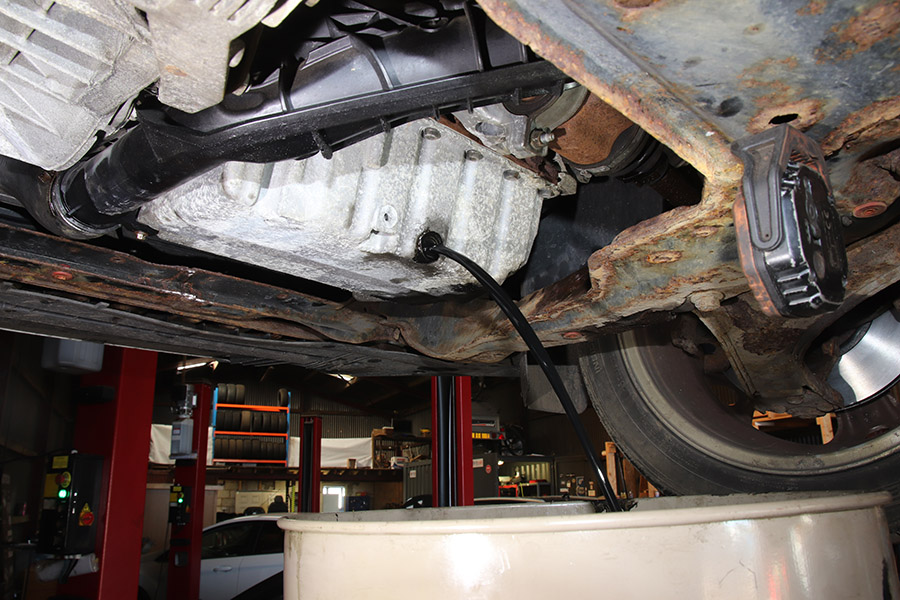
1. Drain the oil
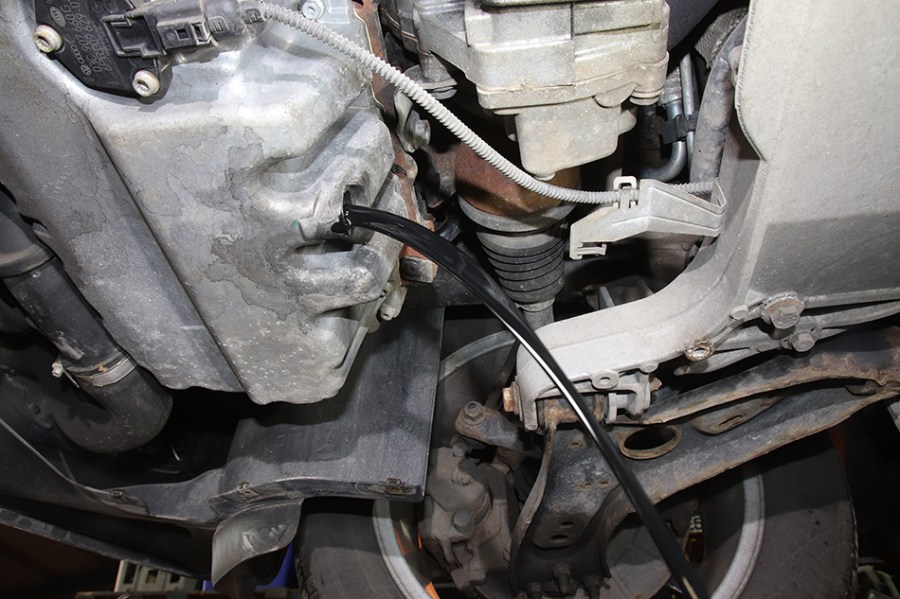
An undertray may need to be removed to be able to drain the engine oil. These are usually secured with screws or bolts, which are often rusty. Spraying over them with penetrating fluid first will help with undoing them.
Draining engine oil is a messy job, especially when the sump bolt is initially removed. Some sump bolts are a banjo design, which means the oil drains through it once it has been released.
Once the oil is draining, release the filler cap and the dipstick to help the oil flow out. If you intend to reuse the drain plug, clean any dirt from it. In most cases, it’s cost-effective to fit a new one.
As we mentioned, some vehicles don’t have a drain plug, but require the oil to be sucked out. Cars ranging from the Smart fortwo to the Jaguar XKR (first generation) require the engine oil to be sucked out. On the Smart fortwo, a length of tube attached to a suction pump needs to be inserted down the dipstick tube. On the Jaguar XKR, there’s a tube attachment inside the oil filler neck.
2. Change the oil filter
Whilst the oil is draining from the sump, replace the oil filter. Most are either a spin-on type or one contained in a canister (cartridge type). A spin-on type can be unscrewed using a filter strap, whereas a canister type requires the housing to be unscrewed. Some housings have a top that’s secured with several bolts, whereas others have a large hexagonal head. And some of those canisters have a small drain plug in the center to help remove the oil inside first.
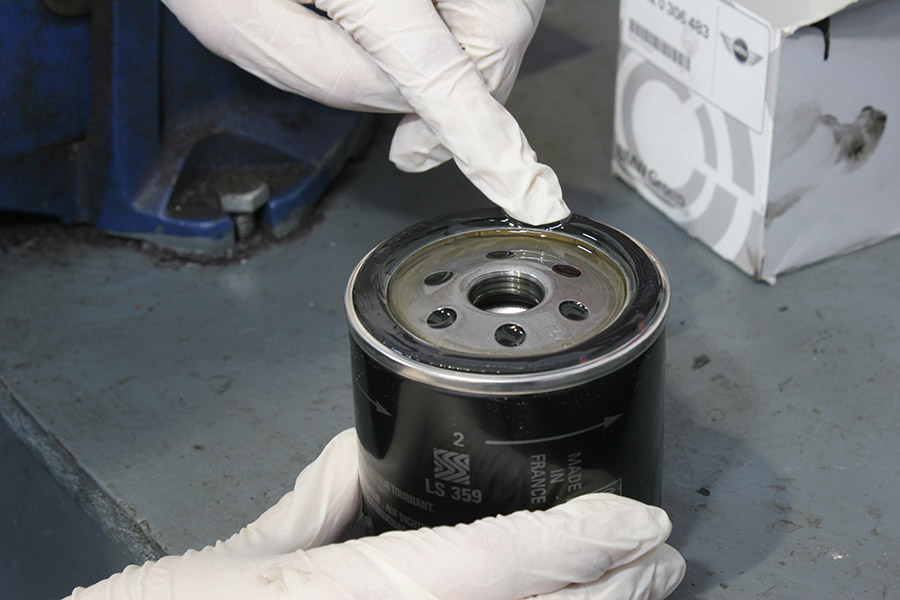
If a spin-on filter is fitted vertically with the thread at the top, the new one can be pre-filled with fresh oil.
Spin-on oil filters must only be hand-tightened. Add a smear of clean engine oil to the face of the filter’s seal. This helps to prevent it dragging and tearing when fitting the new filter.
Where a canister is fitted with a cartridge filter, fit a new O-shaped seal around the thread of it. Apply a smear of fresh oil to it to also reduce the risk of it dragging. Extract the old filter and fit the new one the same way round – it may have to be clicked into position.
Refit the canister on to the engine. It should be tightened to a recommended torque setting according to the vehicle’s workshop manual. This is often around 25Nm and the value may be displayed on the end of the canister.
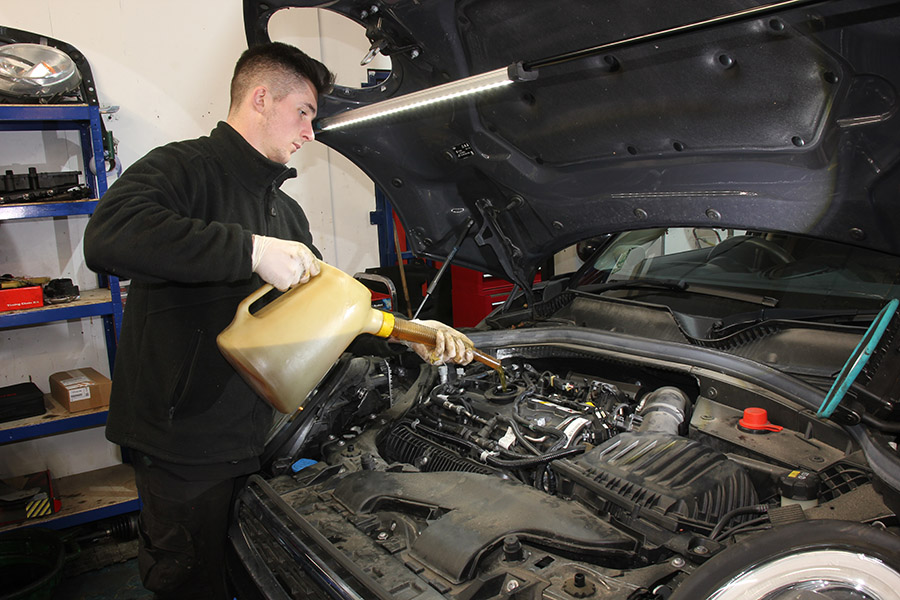
3. Fill back up with engine oil
Before fresh oil is poured into the engine, make sure the sump’s drain plug has been fitted and tightened to the recommended torque setting. This is important, especially for an aluminum sump where overtightening can strip the thread.
Pouring fresh oil into an engine can be awkward. A large funnel helps, but in many cases, there’s no quick method of pouring. Pour too quickly and an air lock may cause oil to flood out. Always pour the recommended quantity of oil for the engine, then leave it to settle. Afterwards, remove and wipe the dipstick, then reinsert and extract it to check the level. Look for the MIN and MAX markers to decide whether there’s sufficient oil inside the engine.
Some modern vehicles do not have a dipstick to check the oil level in the engine. Instead, menu options on the dashboard need to be selected to measure it. This may require the engine to be switched off for at least 15 minutes, but some need the engine running.

4. Start your engine
Running the engine for the first time after refreshing the engine oil can be a little worrying. Before doing this, double-check the drain plug and oil filter are tight. And confirm you’ve added enough fresh oil.
Upon starting the engine, any oil pressure warnings on the dashboard may take a second or two to go out. Once they have disappeared, leave the engine to run whilst looking around the vehicle for oil leaks. Next, switch off the engine and leave it for a few minutes. This will allow the oil to drain back into the sump. The oil level needs one final check because the level may have dropped if the new filter was empty when fitted. And dispose of the old engine oil at your local recycling center.
Relevant content:


