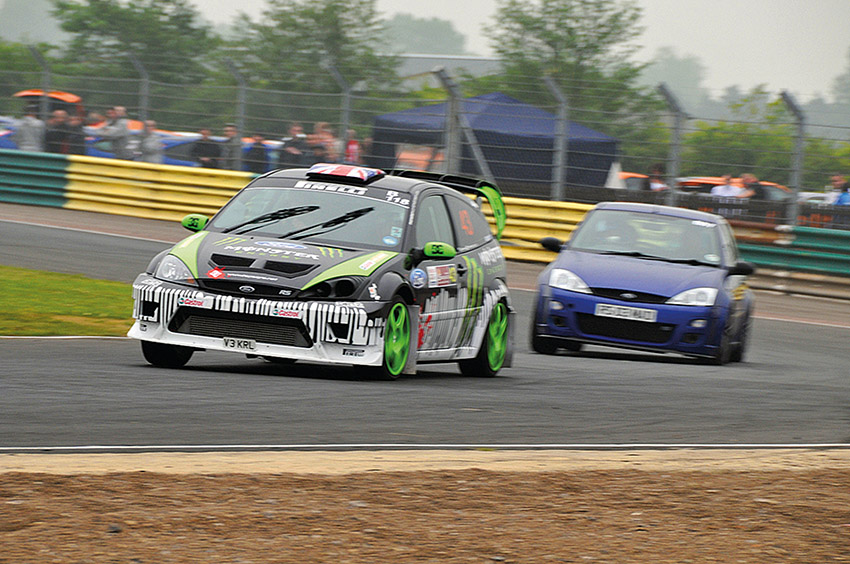
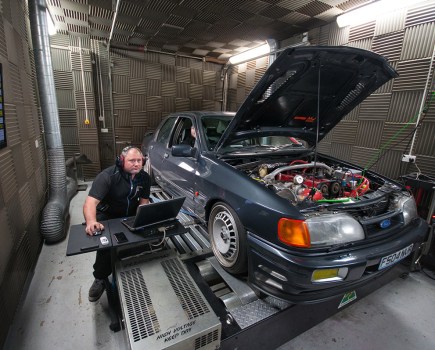
We take you for a lap around the fast and frantic Croft circuit in Yorkshire as part of our track guide series to help you prepare for your next track day.
Feature from Fast Ford magazine. Words: Alex Nevill. Photos: Archives
Of all the circuits in the UK that have been converted from airfields, Croft is one of the very best. What it lacks in elevation it makes up for with character, with some slightly oddball sections, providing some real challenges that are huge fun when you get them right. Here’s our Croft track guide to help you prepare for your next track day.
Croft track guide:
1- Clervaux
Clervaux is a fun corner to kick off the lap and is precisely where we’ll start our Croft track guide; it’s a turn that really encourages you to attack it. The braking zone for Hawthorne follows immediately after the corner, and the positioning of the car for the next turn flows quite naturally too. Instead of worrying about your exit speed and placement of the car, you just have to carry as much speed as you can through the corner.
On approach to the corner there are bollards to the driver’s left; use them on your sighting laps to get a feel for where you need to be braking, but if you’re racing don’t depend on them because they aren’t always around for long.
The corner is close to 90 degrees, so aim for the tightest part of the inside kerb. As soon as you’re turning in you need to be back on the throttle hard, and if you’ve done it right the car will naturally run out to the white line on the left of the circuit on exit.
2 – Hawthorne
From here it’s straight into Hawthorne, an odd corner but very satisfying to get right. On appearance it starts with a kink to the left, but you need to ignore that and just focus on the apex of the right-hand turn.
There’s a kerb on the left that works as a reference point, and you’ll want to use as much of it as you can for the best approach to the corner. A lot of people apex too early here and use the full width of the track on the exit. Instead, take a later apex towards the end of the inside kerb, and only run out to the middle of the circuit on the exit. This shortens the distance travelled and means you can get back on the throttle sooner. It’s tricky to get the car rotated, but hooking the right wheels on the kerb will help you.
3 – Chicane
The Chicane is often flat-out in most performance cars and shouldn’t be anything more than a slight lift at most. It’s best viewed as an acceleration zone as opposed to a proper corner; you need to make sure you get through here in a way that interrupts the car’s acceleration as little as possible.
This section is as complicated or as simple as your vision allows it to be. If you focus on the right that it begins with, it looks tight and like a tricky corner; but if you focus on the left then you can see that it’s quite open, and you can see a straight line through it.
Take a late apex on the right, and then use all the kerb on the left for a short and straight run onto the straight – use the full width of the track on the exit so that the car can really stretch its legs.
4 – Tower
The next stop on our Croft track guide is Tower. A slight kink to the left down the straight will get you back over to the left for the approach to Tower, which is probably the toughest and most important corner on the circuit. It’s important to keep your minimum speed up, but over-driving will cost you as you’re on the throttle for a long time afterwards.
Vision is key, and there’s a crest in the road around the same position as the 100m braking board, which is a good reference for your braking point. The crest means the braking zone is slightly downhill, which makes it one of the toughest braking zones anywhere.
The apex is late, so vision is crucial on approach to make sure you’re on the correct line. As you turn in to the corner, make sure you load the car gently so that you don’t induce understeer, and get hard onto the throttle as soon as you’ve made the apex. If you’re not running over the exit kerb, it’s a sign that you haven’t carried enough speed through the corner.
5 – Jim Clark Esses
The Jim Clark Esses are another flat-out corner in most cars, but you might need a dab of brakes or a slight lift for the second turn if you’re in something particularly quick. Your steering inputs through here need to be soft and gentle, as you want to let the car flow from apex to apex to exit kerb with minimal interference, to keep the momentum high. Both apexes are late, and you’ll want to use the kerb on the exit so that you can open up the wheel. Just make sure you’re back on the track properly before the end of the kerb.
6 – Barcroft
Barcroft is also flat for race cars, but without slicks or race suspension it might need a lift or a slight brake.
The corner itself isn’t too difficult, but the braking zone for Sunny In starts almost as soon as this corner finishes. It’s important you prioritise setting yourself up for that over the speed through Barcroft; you’ll lose far more time from getting Sunny In wrong than you would gain from nailing Barcroft.
7 – Sunny In
Sunny In is a long and fast corner. The braking zone and entry is incredibly tough; the car isn’t quite straight after Barcroft when you start braking and there’s a few bumps on the approach too. It’s easy to lock the brakes here, particularly on the downshift.
The reference point for your braking is simply Barcroft. Once you’ve made the apex of Barcroft your focus must be on Sunny In. Once the wheel is straight, you need to be at least preparing to brake and the apex is late, so make sure your eyes are up and looking towards it. Roll as much corner speed into here as you can and use the exit kerb to help with this.
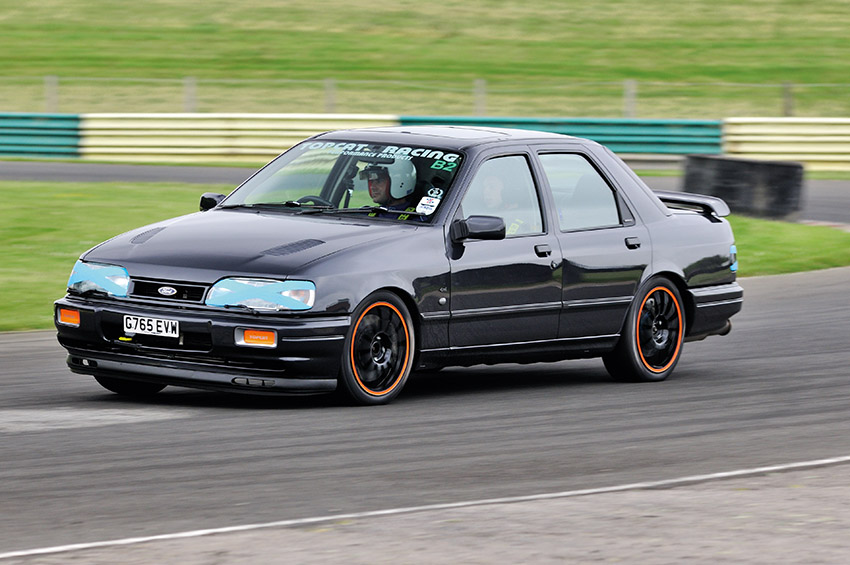
8 – Sunny Out
If you get the two Sunnys right, you’re never quite straight between them, so that technically makes it a double-apex corner. Depending on your car, Sunny Out probably requires a lift to keep on the right line. The apex comes quite naturally here, but if you need a reference there’s a grey patch of concrete to the right of the inside kerb.
The goal with Sunny Out is to accelerate out of it as best you can onto the straight that leads up to the Complex – with that in mind, avoid the inside kerb but do use the exit kerb to help open the steering.
9 – Complex
The Complex is tricky to get right, but that means there’s time to be found here. It starts with a quick left-hander, and the first thing you need to know about it is that cold rears bite quite badly at this turn. It’s the only corner on the circuit where you put any meaningful load through the right rear tyre. There aren’t really any good references for this corner; you’ll just need to build a feel and rhythm for it, but given you also need to build your tyre temperature that’s probably not a bad thing.
The apex is about halfway around the inside kerb; if the chassis/tyres allow, hug the white line through the rest of the turn and the slight curve afterwards. Not everybody does that, but it shortens the distance you travel and gives you a straighter approach to the next part of the Complex. Carrying the speed through the corner is the most important thing, and if you need more of an arching line to do that then so be it.
The second kerb on the left makes a good braking reference for the right-hander that follows. Brake about halfway past the kerb. Shortly after the kerb, the white line continues to curve to the left but don’t follow it; turn-in as soon as you can see the apex.
A lot of drivers focus on their line here, holding the car tight to the right and setting themselves up for the Hairpin in plenty of time. That’s cute, but if your foot isn’t on the throttle, you won’t be fast. Nail the throttle as soon as you’re at the apex, and use as much track as you need in order to keep your foot down. Just make sure you manage to wrestle the car over to the right in time to brake for the Hairpin.
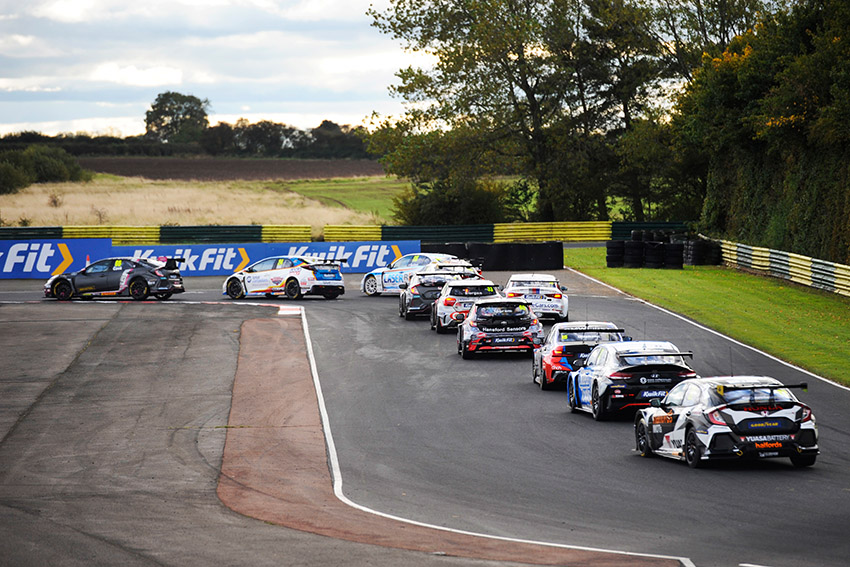
10 – Hairpin
From there it’s on to the Hairpin to finish the lap – one of the slowest and tightest corners you’ll ever drive. After all the white-knuckle driving you’ve just done through the Complex you need to snap out of that mindset right away and focus on precision here – this is an apex you must hit. And having done all of the hard work to get here you don’t want to waste the lap now.
You need a late apex here so that you can have a straight run onto the start/finish straight; aim for three-quarters of the way around the corner. Make sure you’re tight to the kerb, but don’t hit it. And be sure to unwind the steering lock as soon as you can for maximum acceleration.
Don’t rush this corner, and don’t shuffle your hands on the wheel either. It’s tempting, and many drivers do it, but you can get the steering lock off faster with your hands in the correct (quarter-to-three) position.
11 – Start/Finish Line
Out of the Hairpin, it’s literally a case of smash the throttle and get to the line as quickly as you can. You’ll need to ease the car back across of the left to set up for Clervaux on the next lap. And that concludes our Croft track guide.
Make sure you check out our guide with tips on how to prepare your car for a track day, or if you’re after a new track car on a budget, we’ve got the top 10 cars for you too. Don’t forget to check out our other track guides here.
3 top tips for conquering Croft circuit
■ Exit from the low-speed corners is key to a good time: the three longest straights are preceded by three slow corners. Get these wrong and the lap is wasted.
■ Maximum attack: you can’t afford to miss apexes by miles, but around corners such as Clervaux, Sunny In and the Complex you need to prioritise the corner speed and momentum of the car over the perfect racing line.
■ Look after the tyres: this might seem like a slight contradiction after the last point, but Croft can chew up tyres quickly, especially on FWD cars. You’re asking a lot of the front tyres around here, so try to avoid locking the brakes on entry and spinning up the wheels on exit.

