When buying a dash cam, do you really need to buy one of the larger, more expensive options on the market? Or would a small and affordable camera like the Garmin Dash Cam Mini 2 suffice? To find out, I decided to put it to the test and see whether it should be regarded as one of the best dash cams you can buy today. Read on for my full verdict.
How we tested this product
In order to get a well-rounded idea about how the Garmin Dash Cam Mini 2 performs, I installed it into my own car and then assessed its performance in varied lighting and weather conditions. I have tested other dash cams for Fast Car before, which ensures I’ll be able to identify where the Garmin Dash Cam Mini 2 excels, and where it may fall short.

What’s in the box?
Before we get started, it’s worth taking a moment to consider what you’re getting for your money. When you buy a basic Garmin Dash Cam Mini 2 package, you’ll receive a handful of core items. These include the camera itself, a 12V car USB adapter, power cable, laptop/PC connection cable, and a spare adhesive mount. You also get paper instructions which are quite rare these days, although they’re only brief. You can find a more detailed version online.
What you don’t get, however, is a MicroSD card – which is what the camera will store its recordings on. This isn’t the end of the world, but could prove annoying if you fail to realize the camera doesn’t come with one before buying it, and don’t have a spare MicroSD to hand at home. You can also purchase an OBD2 power cable and a polarized lens filter at additional cost. We’ll speak more about those later on.

Positioning the camera
Once you’ve sourced your MicroSD card, the first thing to do is to insert it into the camera. It’s easier to do this before you attach the camera to the windscreen. You may find that the memory card is a little reluctant to lock into place – if this happens, don’t force it, instead just apply gradually increasing pressure until you hear/feel a small click.
Next, you need to think about mounting the camera onto the inside of the windshield. Before you do this, it’s always a good idea to clean the area of glass you wish to stick the camera to, in order to give the adhesive mount the best chance of sticking firm. As far as location goes, it’s best to choose somewhere high up and central behind the interior mirror, so as to avoid distorting your field of view.
You may find that one of the adhesive mounts supplied is already connected to the camera when you open the box. As such, you can chose whether to mount it all in one go, or to first locate the mount individually to avoid applying unnecessary pressure to the camera. Either way, once you’ve got the mount positioned where you want it, you can then tilt and swivel the camera around until you’ve got it lined up straight looking out over the car’s hood.
Connecting to a power source
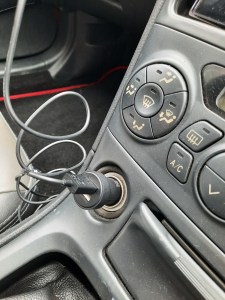
Connecting to a power source is nice and simple. Take the supplied 12V USB adapter and place it in the car’s 12V power outlet. Then, locate the power cable. If you’re unsure which cable is which, check the symbols on the sticker attached to either cable. The one with a lightning bolt symbol is the power cable, whereas the one with the lightning bolt and computer monitor is for connecting the camera to a laptop or PC. Once you’ve got the right cable, use it to connect the camera to the 12V USB adapter.
When you turn the car key in the ignition, the camera should automatically spring into life once it receives that 12V current. If you plan on keeping the camera in your car for the long term, you should then decide how to tuck away the power cable so that it’s not an eyesore or obstruction. To do this, you may wish to tuck it behind interior trim or in door seals, for example.
Garmin Drive app
While you’re there, it’s a good idea to link your camera and phone via the Garmin Drive app. Once you download the app and open it up, you’ll be prompted to pair the two devices via bluetooth, and then connect the dash cam to your home Wi-Fi network. It may take a few minutes to get that done, but once it’s sorted, you’ll be able to view a live stream of the camera’s feed. Then, after a trip, you can check out the recordings in the app’s Vault. Recordings last for 24 hours within the vault, and you’ll need a Wi-Fi connection to view them. The longevity of videos stored in the Vault can be increased for a subscription fee.
You can also use the Garmin Drive app to adjust the camera’s settings, and keep track of whenever there are any updates available.
Functions
Voice Control
Beyond simple automatic recording, there are a couple of other functions built into the Garmin Dash Cam Mini 2 which you should take note of. One is voice control. You can turn this on by saying, “Ok, Garmin”. This will cause the camera to chime, after which you can ask various commands of it. These include allowing you to manually save videos, take pictures, or toggle audio recording on/off.
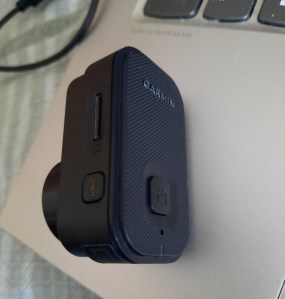
You can also switch audio recording on or off by pressing the audio button located on the side of the camera, beneath the memory card. Holding down the audio button for eight seconds also serves the purpose of formatting the memory card.
Manual Content Saving
By default, the camera will make sure to save recordings whenever it detects an impact. This way, it’ll have you covered in the event of an accident. However, there may be instances where your vehicle doesn’t make contact with anything, yet you still want to ensure a segment of recording is saved. Perhaps you’ve just seen a particularly dodgy bit of driving by someone else, or a really cool landscape. Whatever the reasoning may be, you can do this through either a voice command or simply by pressing the central button on the back of the camera.
How can I engage parking mode?
Parking mode is a now-common feature of any serious dash cam. The idea is that while you’re away from your car, the camera will lie in waiting, ready to capture the details of anybody who causes any damage to your car. However, in order to do this, the camera needs a constant stream of power.
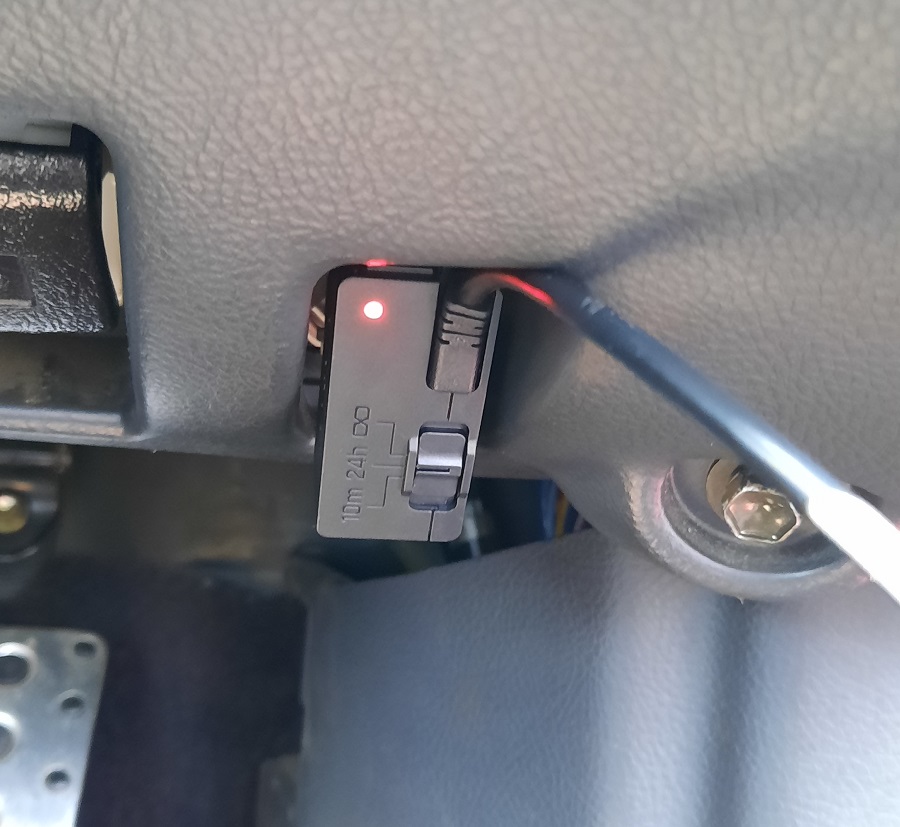
You’re not going to get a constant stream with the car turned off by simply using the 12V power outlet. Instead, you’ll need to hardwire the camera into the car’s electronics, or take the much simpler option and purchase one of Garmin’s OBD2 power cables. We didn’t have one to hand while testing the Garmin Dash Cam Mini 2, however I do have experience of this setup from my time with the Garmin Dash Cam Live (as pictured). Happily, I can report that Garmin’s OBD2 connection worked a treat in that context, so there’s no reason why it wouldn’t here.
How can I view my footage?
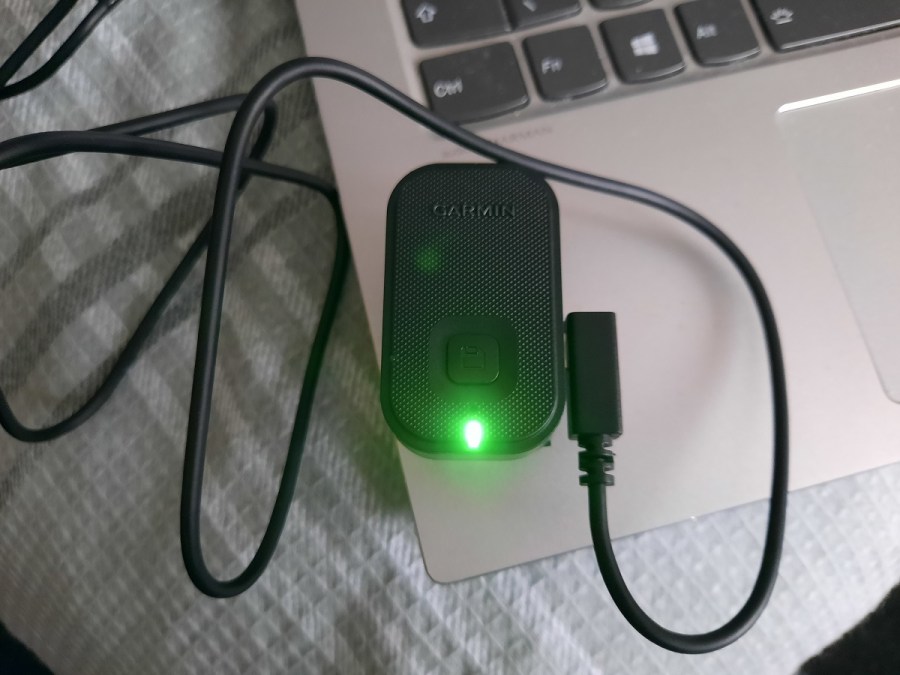
As mentioned before, you can view the camera’s recordings by accessing the Vault on the Garmin Drive app. However, you can always view (and permanently store) the footage on your laptop/PC as well. If possible with your machine, you could insert the MicroSD directly, or you could use the USB cable provided by Garmin as shown above. The camera’s central LED will shine green to indicate the connection is working.
On your computer, you can then view the memory card’s files. Do bear in mind though, that recordings automatically sit in the Unsaved folder, and will eventually be overwritten. So if you want to keep them, remember to save them to your machine’s hard drive. Key events or manual recordings will all be sitting safely in other designated folders though.
Daytime performance
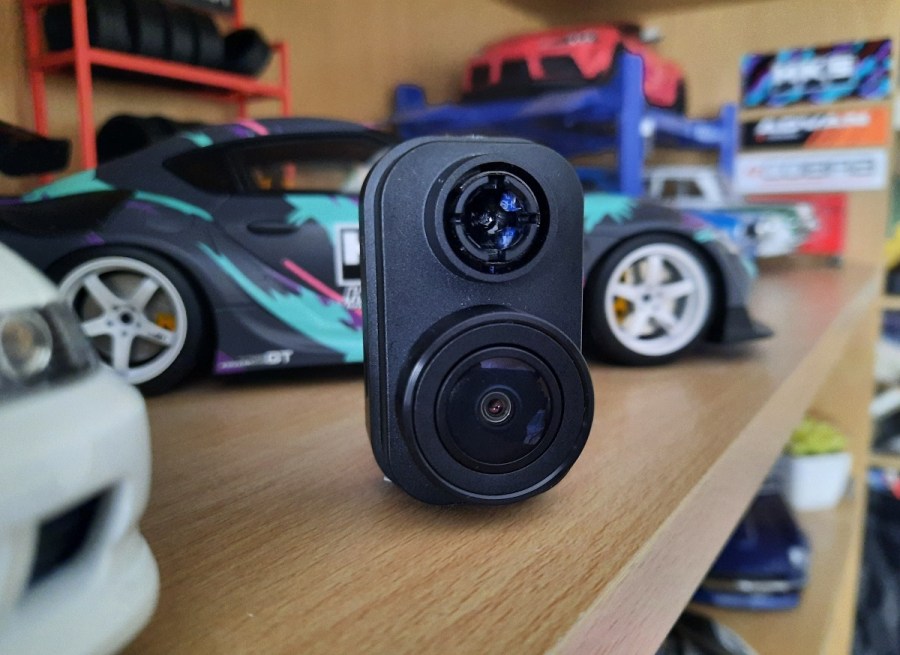
So, how does the camera actually perform? Well, it records in a resolution of 1080p at 30fps with a 140-degree field of view. For context, that’s just short of Garmin’s premium Dash Cam Live, which records in 1440p.
To understand what that looks like in reality, watch the clip above. In this short video, you’ll come across all sorts of visual stimuli from one of my journeys, so to assess the camera’s performance see how many small details you can pick out. Can you read number plates, signs, and advertisements? Can you see identifiable features on any of the people? Try doing this without pausing, and with pausing to test the difference. This will give you an idea about how easy or difficult it would be to identify cars, people, or locations in the context of a legal situation. That after all, is the main reason why people buy dash cams.
To my eye, it’s much easier to pick up the fine details when the video is paused, as you would expect. The picture is also notably less clear than the higher-end Dash Cam Live, which at least justifies some of the Live’s extra cost. However, on the whole, I was pleasantly surprised by the Garmin Dash Cam Mini 2. For a small, affordable device, it performs very well, and in a worst case scenario like a crash, I’m confident that the necessary details would be legible enough to help identify those at fault.
Night performance
No camera enjoys recording at night, that’s the harsh reality. There’s naturally less light to work with, and the light that is available is often man-made and overwhelmingly strong. To see how the Garmin Dash Cam Mini 2 coped in these conditions, I took my car on a short drive around town one evening. And just to make things that little bit harder, it was also beginning to rain.
When looking back over the night time footage above, I assessed the video using the same technique as outlined in the previous daytime recording segment. What I found surprised me. As it turns out, darkness is more of a hindrance to this camera’s performance than I had expected. You can forgive it for being unable to clearly represent overly bright neon shop signs, but I was surprised to find that the license plates of oncoming cars weren’t clear either – even at these low speeds. Perhaps my initial expectations were too high, but either way, it’s something worth taking note of.
Can I improve the picture quality?
Yes, you can improve the picture quality somewhat. You’ll likely see the biggest improvements by using Garmin’s polarized lens filter. This little filter helps to reduce the amount of interior reflections you get back off the windscreen, which should help to prevent view distortion. It also helps to improve the general clarity of the shapes and colors caught in the recording. If you would like to enhance your dash cam with one of these, you’ll have to buy it separately for an additional $29.99 / £25.99.
Verdict
So, would I recommend this dash cam? Yes, I would. I’m a big fan of how compact it is without sacrificing much in the way of picture quality. It’s also incredibly easy to install and set-up, and frankly does everything that I would want a dash cam to do.
What do you miss out on?
It does lack features compared to its more expensive counterparts though. As mentioned, the difference in picture clarity between this and Garmin’s premium offering is noticeable. But that doesn’t mean the Dash Cam Mini 2’s picture is bad, it’s just not quite as good.
It also lacks things such as driver aids – lane departure warnings, collision warnings, all that sort of stuff. However, from the perspective of an enthusiastic driver, I actually believe that’s a good thing. I often find those driver aids to be more of an annoying interference than a genuine help, and if you’re confident in your driving ability, you probably feel the same in that respect. One non-present feature that is a little disappointing is the dash cam’s inability to record speed or your location via GPS (unless it’s synced with a dash cam that can). From certain legal defence perspectives, that could be frustrating, but 90% of the time it realistically won’t be too much of a loss.
Final Thoughts
Overall, while it is undoubtedly less technologically advanced than the market’s more expensive dash cams, the Garmin Dash Cam Mini 2 doesn’t feel particularly worse off for it. To me, a lot of the added extras that it’s missing often feel a little gimmicky in the first place. So, unless you’re adamant that you want the best picture quality possible, I’d get one of these. It does all the core stuff that a dash cam should do to a high standard, and will save you hundreds of pounds or dollars at the checkout compared to the top of the range items. It’s a win-win to me.