The 70mai 4K A810 boasts impressive specs for a relatively humble price, so in this test I wanted to see whether it can truly match its more expensive, better-established dash cam rivals. I’ve evaluated this product from the installation phase through to a final test of camera quality and functionality. So, keep reading to see what I discovered.
RRP: £179.99, buy here. Or, get it for £199.99 on Amazon as part of a bundle.
What’s in the box?
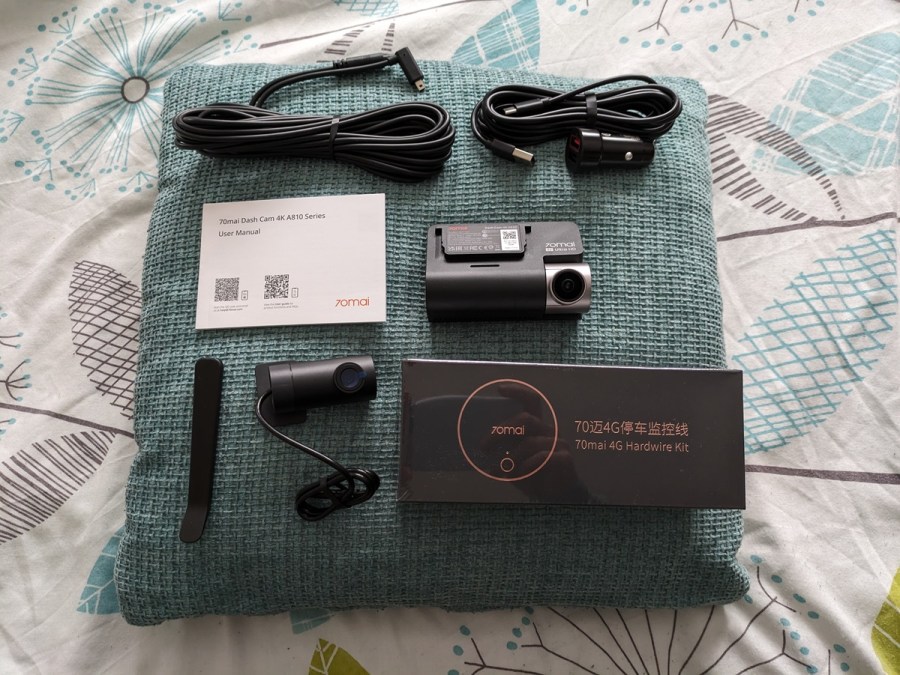
The test package I’ve received is the dual-channel offering, meaning that you get both the main 4K-resolution A810 front camera and a slightly less powerful rear camera too. If you wish, you can alternatively buy the front camera on its own.
As standard, the cameras come with a 12V cigarette lighter plug socket and power lead, plus another cable to physically link the rear camera to the front. You also get a plastic trim tool to help you tuck away all the unsightly dangling wires that you’ll have left over after installation.
The 4G Hardwiring Kit that you see here is an optional extra. It unlocks features such as remote control over your dash cam while you’re away from your car, plus surveillance even when your car is parked. It costs an additional £49.99.
As you can see from the photo above, memory cards also come at additional cost, and none were supplied with this test package. So, I had to use a random spare one that I had from prior dash cam tests. However, if you buy the bundle package listed at the top of this page, you’ll get a 128GB SD card as part of the deal.
Installation & setup
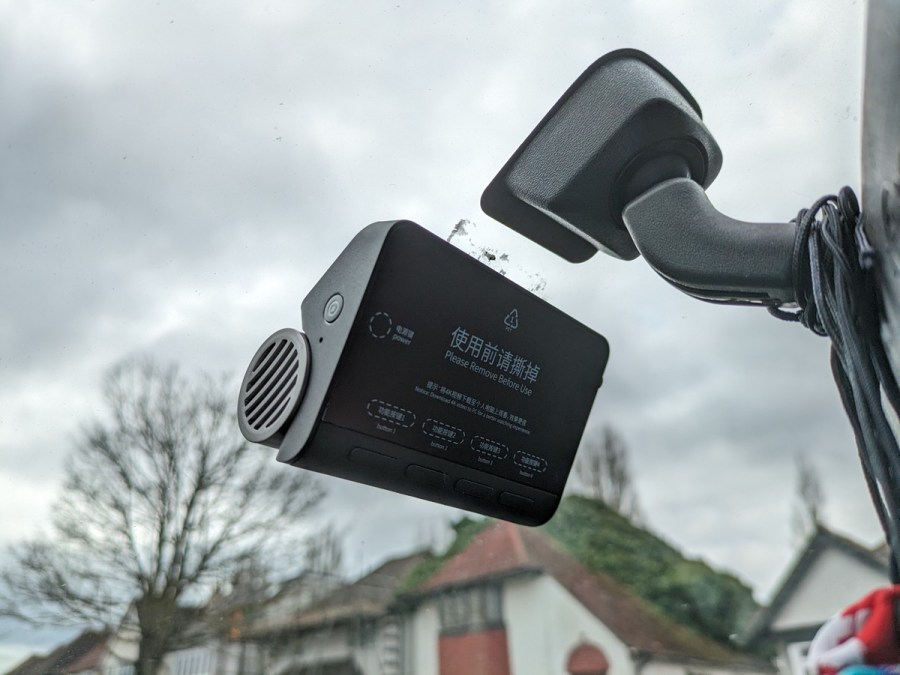
Naturally, the first part of dash cam ownership is installation. This is nice and simple with the 70mai 4K A810. To begin, remove the protective seal from the provided adhesive backplate and stick it up high and central on your car’s windshield. Behind the rearview mirror is a good spot.
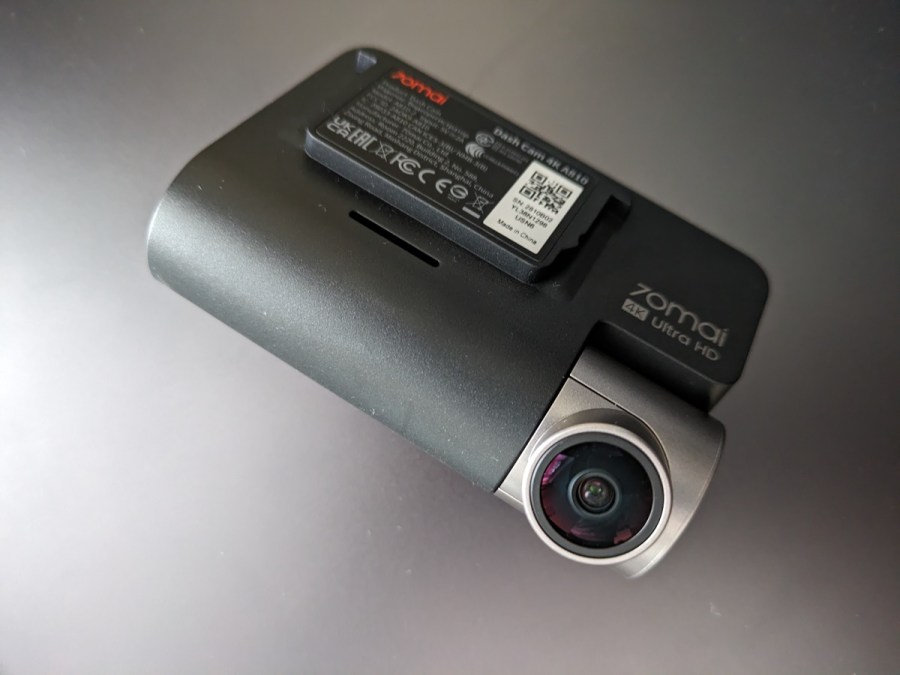
The mount on the back of the camera will then slot onto the backplate and you can swivel the lens to make sure it’s pointing straight out the window. Then, remove the camera’s screen protector (pictured) in advance of operating it and insert your memory card.
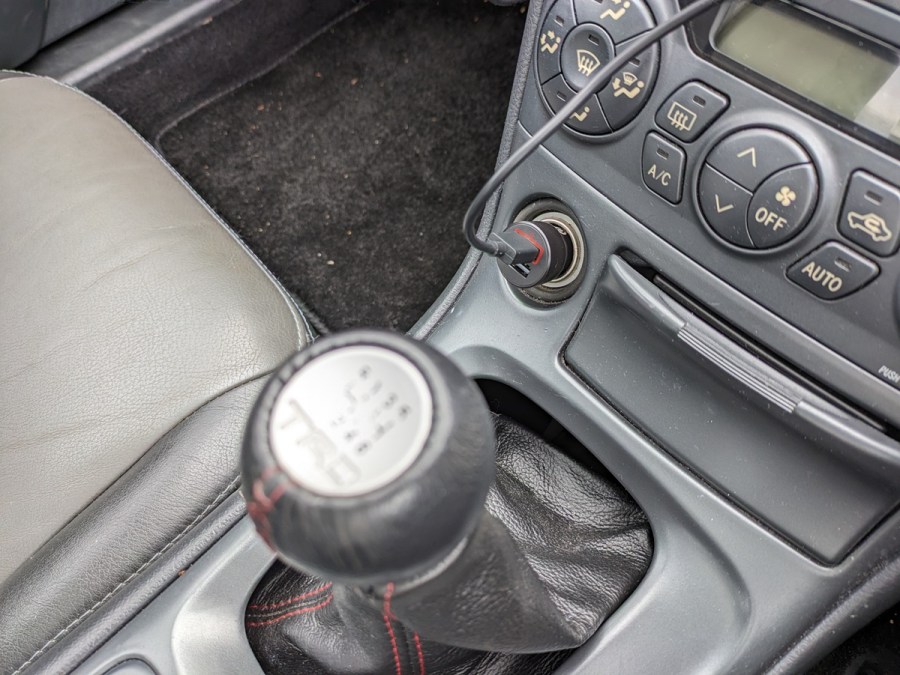
Power supply
There are two ways you can power this 70mai dash cam. The easiest way is by using the supplied 12V power cable (as pictured).
As this was a short-term installation in my own personal car, I chose not to opt for the more invasive hardwiring option. Like I mentioned before though, the 4G hardwiring kit does offer increased functionality, so I’ll guide you through what that process looks like below. If you plan on keeping this dash cam in your car for a long time, it’s well worth doing.
4G Hardwiring kit
Helpfully, 70mai has created a useful video guide which covers the processes involved with hardwiring a dash cam into your car. So, if you want to know about the technical aspect of installation, please click on the video above.
Once you’ve installed the hardwiring kit, a whole range of additional features will open up to you. First, download the 70mai app and then pair your phone with the dash cam. Once you do this, you’ll be able to access the camera’s vantage point remotely when you’re away from your car, as well as change the camera settings through your phone. As part of this remote surveillance you can also take still photos and even timelapses.
My favorite added features, however, are the app alerts and vehicle tracking capabilities. Essentially, if your dash cam registers notable vibration/movement, or detects activity that it deems as suspicious, it’ll send you a notification on your phone. So, no matter where you are, you’ll always know if your car is at risk and who may be at fault if it is. As for the tracking capabilities, the car’s location refreshes every 15 seconds, so if you unfortunately find yourself in a situation where you need to track down your car (perhaps if it has been stolen), you will be able to do so via the app.
Will a hardwiring kit drain my car’s battery?
One thing to note is that the hardwiring kit will draw constant power from the car’s battery, however it has a low-voltage cut-off coded into it, meaning it should never drain the battery to a point where your car will no longer start. It’s a shame that there’s no OBD2 power supply option at the moment though, as this is a great non-invasive, easy way of securing a constant power supply, which some other dash cam manufacturers make use of.
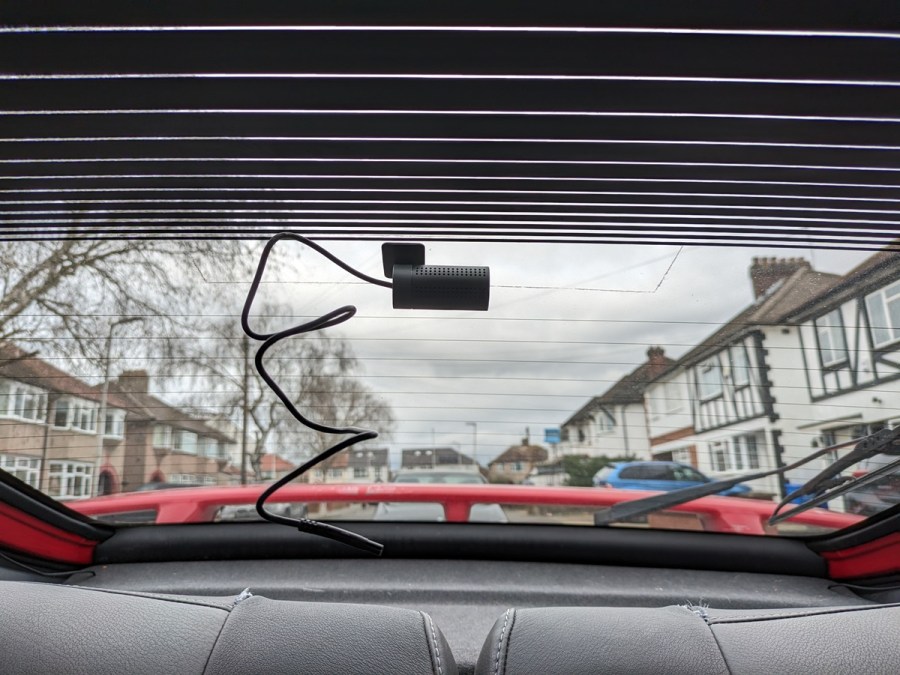
Rear camera setup
Once you’ve got the front camera installed, you can turn your attention to the secondary camera. In the bundle linked at the top of the page, this 70mai rear camera is the device that’s included, however you can also buy an interior-facing camera to use instead if you’d rather. For this test, I had access to the regular rear-mounted camera, and installing it was incredibly easy. All you need to do is stick it to the top-centre of your car’s rear window and then use the supplied wires to connect the rear camera to the front camera. This is so that the rear camera can piggyback off the front one’s power supply and memory.
At the end of your installation, you’ll be left with plenty of wires draped across your car’s cabin space, so make sure to tuck them behind interior panels or headliner. Plus, when you turn the camera on for the first time (by switching the car on), you’ll have to do a basic setup covering elements like language, time, and date. After that, you’re ready to hit the road!
Daytime camera performance
The first thing I noticed about the quality of the footage captured by the 70mai 4K A810 was how crisp the the images feel. The camera makes use of Sony STARVIS 2 IMX678 image sensors, which help to capture very well-defined details. Due to compression, the footage you see here may not be an exact reflection of the peak performance, however I can confirm that the raw files look very sharp indeed. You can test what I’m talking about for yourself – while watching the video above, pause it on certain frames and see how many small details you can make out. Pay particular attention to things like small text on road signs or license plates, or identifiable features of pedestrians that I drive past. I think you’ll agree that the amount of detail you can pick out is quite extensive.
The other thing I wanted to mention was the MaiColor Vivid+ Solution (MVS) technology that the camera uses. To put it simply, this tech helps portray colours more accurately. As such, even though I’m driving through a fairly uninspiring environment in the video above, the image never feels too washed-out beyond reality.
In conclusion, daytime performance is a positive attribute of this camera. The rear camera isn’t quite as powerful as the front one, but its 1080p resolution recording hardware certainly suffices. Plus, it’s always nice to see that there’s GPS built-in as this means the camera can record speed and co-ordinates as well. The camera does record audio, however the default setting is for the audio to be off – something which I didn’t discover until after after collecting this footage (apologies for the lack of sound!)
Night performance
Every camera faces difficulties when the sky turns dark, simply because that means there is less light to use. However, different cameras cope with this in different ways, so here I’ll outline the positive and negative aspects of the 70mai’s night-time performance.
On the plus side, the same positive qualities regarding colour remain true here, thanks to the aforementioned MVS tech in conjunction with 70mai’s Night Owl Vision system. Night Owl essentially helps to improve colour saturation and exposure balance specifically when the environment is dark, and as you’ll see above I think it does a good job portraying accurate colours in difficult conditions. However, if you do the same test of watching the video above and pausing it on certain frames, you’ll notice that the camera’s ability to pick up fine details is reduced. That’s quite normal for any camera in the dark, however I have seen other dash cams cope a little better in this regard.
Similarly, the camera suffers quite a lot from glare in my opinion, compared to others. Likewise, the dashboard and interior reflections caught on the windshield are more prominent than on cameras that offer additional CPL lens filters. Overall then, whereas you can pick little fault in the 70mai’s daytime performance, the night-time recording doesn’t quite reach the same heights. That said, it’s still an acceptable level of performance.
Verdict
So, would I recommend the 70mai 4K A810? Yes, I would. It’s priced very competitively and its daytime performance in particular left me impressed. Plus, if you choose to hardwire it into your car, the accompanying smartphone app adds some highly useful security features. The only downside for me is the slightly sub-par night-time recording, but that’s me being nit-picky to be honest. No camera performs exceptionally well in the dark, but some perform better than others. Although the 70mai isn’t class-leading in that respect, it still copes acceptably well when there’s less light available.
Overall, this camera is a very solid option, and you could get it for an even nicer price than normal. To celebrate its launch, 70mai is offering between 15-40% off the RRP across different bundles until the 31st of March 2024. So, click on the Amazon link below or one of the other links at the top of this page to see what great deals you could get this month.