
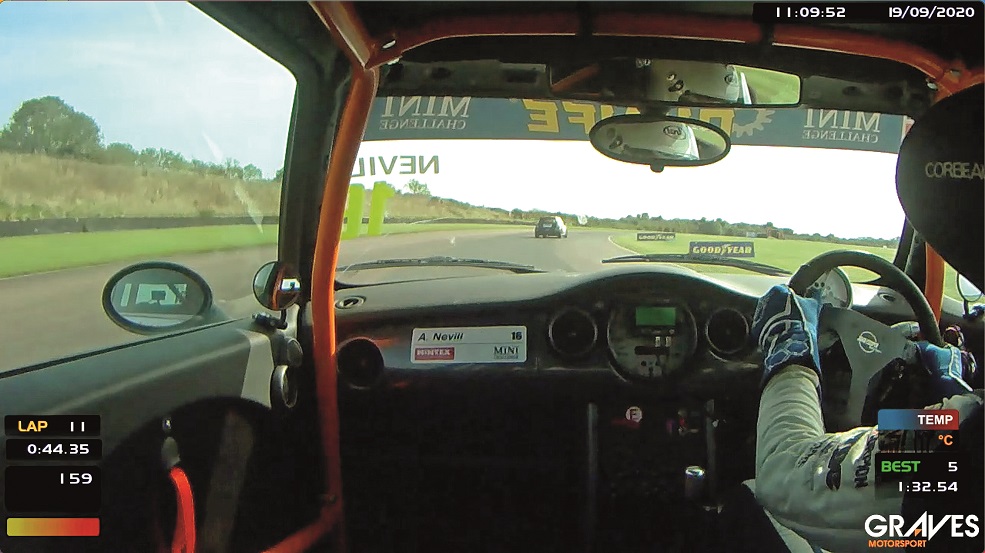
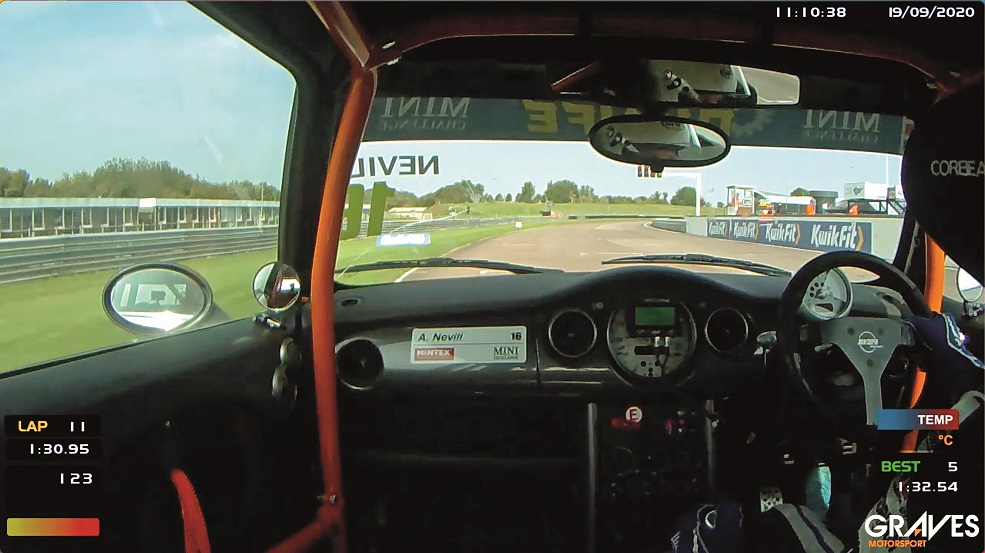
MINI Challenge driver Alex Nevill breaks down Thruxton track in this guide to give you the best tips before your next track day.
Guide from Performance MINI. Words: Alex Nevill. Photos. Various.
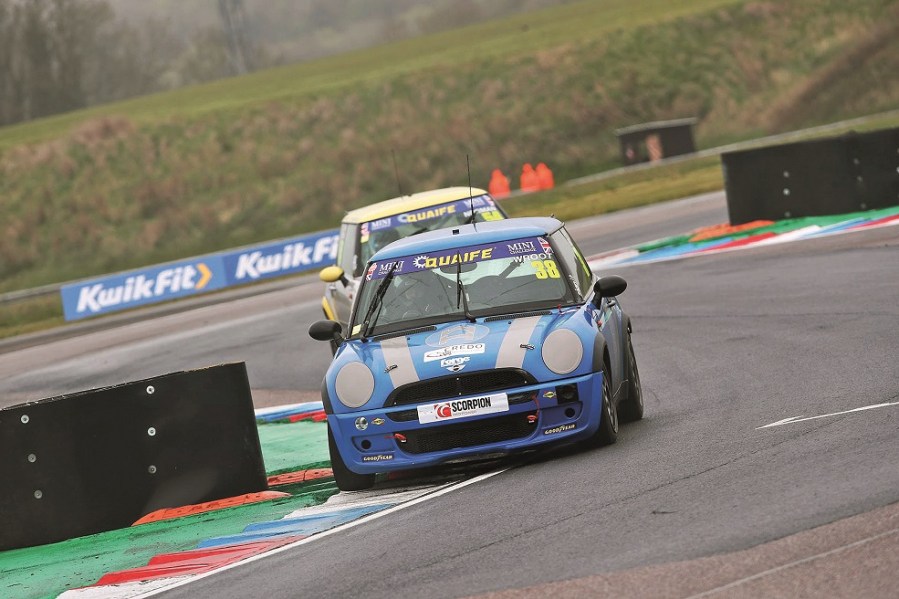
Thruxton is renowned as the fastest track in the UK, and even in 130bhp Coopers in the MINI CHALLENGE we still had an average lap speed of 92mph.
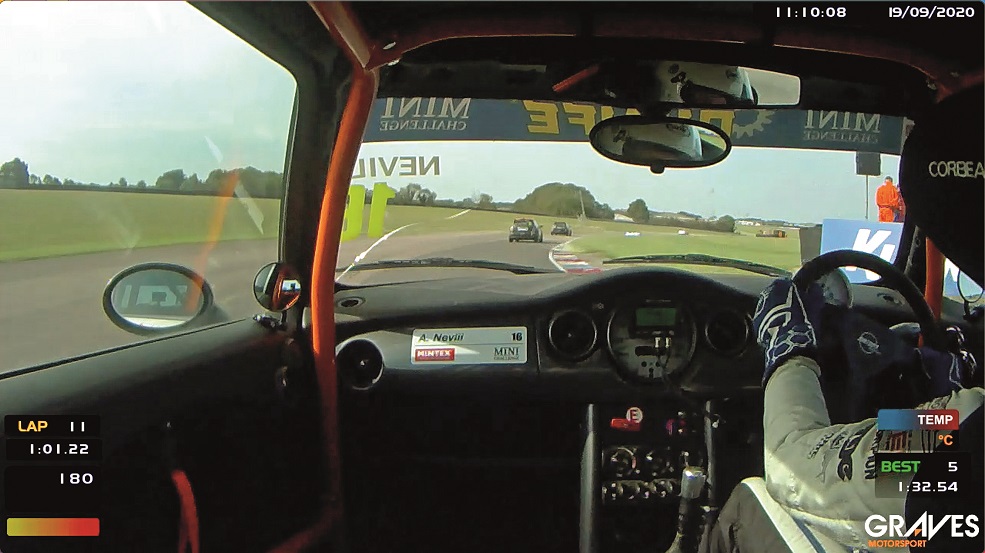
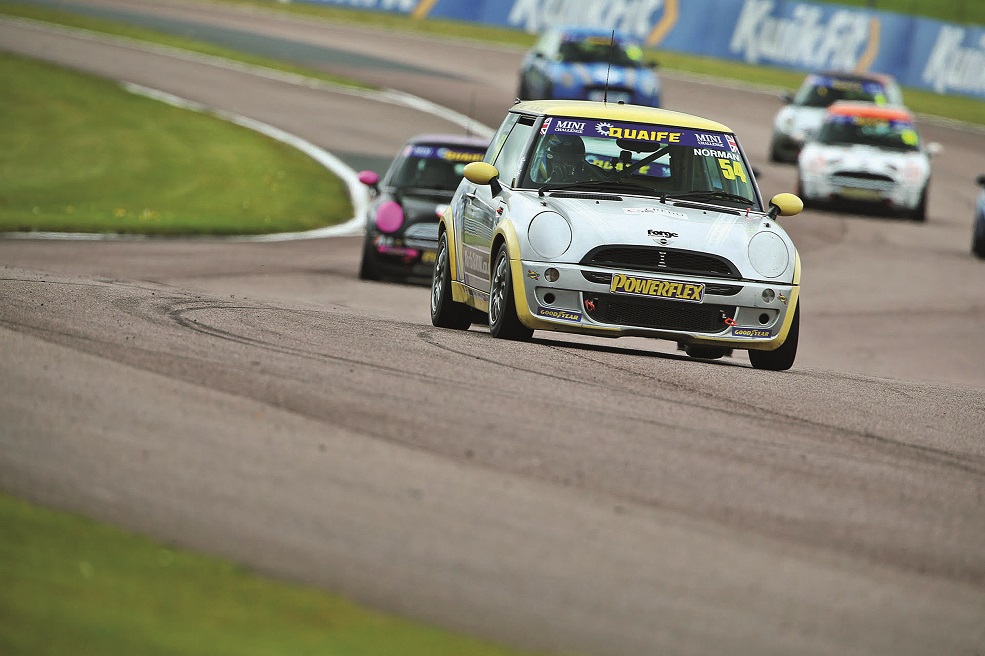
For low-powered cars like Cooper Trophy cars, the track produces some incredible slipstreaming battles, as almost all the circuit is flat-out. But for some of the more modified cars out there, it’s a test of the driver’s nerve, as you try to carry as much speed as grip allows through daunting corners like Goodwood and Church. Either way, it’s incredibly fast and a little bit scary. Here’s our Thruxton track guide.
Thruxton track guide: corner by corner
#1- Allard
The first corner is Allard, and like most of the circuit it’s easily flat-out in a Cooper Trophy car. I’d be surprised if it’s anything more than a lift in most MINIs, but take the time to build your speed and find out what you and the car are capable of. There’s a slight dip in the road on the approach, which makes a good turn-in marker, and the apex is about three-quarters of the way around the turn – or halfway around the patch of tarmac you’ll find on the inside, depending on which makes the most sense to you.
The way the surface has been laid at Thruxton allows us to use it as a reference point for the racing line. The surface is effectively set out into four lanes with a seam between each one. For this guide I’ll refer to them as lane one through to four, with one being the first lane on the left – think of it as like the lanes on the motorway.
Having approached the corner in lane one, and then apexed in lane four, there are a couple of options line-wise on the exit. Some drivers only let the car run out to lane three for the shortest run to the left-hand curve that follows Allard, but my preference is to let the car run out to lane two. The car accelerates best in a straight line, and by running out to lane two my wheel is straighter and it’s easier for me to continue accelerating through, and out of, the corner.
On the flip side, if you can get a slipstream from the car in front (if it’s a competitive session; don’t worry about this on track days) then the best line is whichever they take so that you can stay in the tow.
As I mentioned, Allard is followed by a long curve to the left that goes over a slight crest. Use lane two to keep the wheel open and cut back to lane one at the end of the curve.
If you can, try to wait until you’re out of the curve before you brake for the Complex. In the same way that the car accelerates best in a straight line it also stops best in a straight line, so you can apply more brake pressure and slow the car in a shorter distance with greater stability, which in turn sets you up for the Complex better. There’s a marshal’s post to the driver’s left, which makes a good reference point for braking.
#2- Complex
The Complex is made up of three corners. Campbell is a 90-degree right, followed by Cobb, which is a slightly more open left, and then a final flat-out right-hander, Seagrave. From the exit of Seagrave you’re flat-out (or close to flat-out) for most of the lap, so a good exit is critical.
The apexes are fairly obvious (the tightest part of the corners) and you can use the lanes as markers. After the apex of Campbell, try not to run any further out than lane three (in other words, stay on the right half of the track) and then position the car so that the right wheels are back into lane four before turning for Cobb.
You’re accelerating through Cobb, so you have to run wider on the exit, but you should still only go to lane three before bringing the left wheels back into lane two for a straighter (therefore faster) line through Seagrave, and all the way back to lane one on exit.
#3- Noble
Noble is a fast double-apex corner, but in a low-powered car it’s best viewed as an acceleration zone and a chance to continue building speed before things get tricky at Goodwood. Approach the corner from lane four and use the painted kerb on the driver’s right as a reference point, turning in just after you’ve passed it.
As with the Complex, the apexes are simply the tightest parts of the turn, but you don’t want to hit the first one. Turn into it, of course, but only get as far in as having your left wheels into lane one to help keep momentum; keep your wheels inside lane one until you turn into the second apex.
#4- Goodwood
As soon as you exit Noble you need to be setting yourself up for Goodwood, a long right-hander. If you find you’re able to take this corner flat-out then you have a couple of options line-wise: you can either head straight to lane three from the exit of Noble and turn in from there for a shorter distance overall, or position yourself in lane two from the exit of Noble and start to turn into the corner just after the patch of tarmac starts in lane three.
This will be a longer distance to travel, but the trade-off is that it’s a straighter line and therefore easier to carry speed through the corner. If you’re in a Cooper S that needs a bit of a brake or lift here, then the second line is for you, as the straighter line will help you carry more speed and with better stability.
The apex is quite late here, around the start of the kerb (don’t hit it). Once the kerb ends you need to start to let the car run back out to the left, where again there can be a variety of lines. If the corner is easily flat-out (as it is in the Cooper Trophy cars) then you only want to run out as far as your left wheels dropping into lane one on the exit, as the track follows a curve on the exit and we can shorten the distance by staying in lane two and cutting slightly into lane three through the tightest part of the curve.
Alternatively, if the corner isn’t flat-out or you’re having to work at the pedals a bit, then you’re probably better off running out all the way to lane four to help you carry as much speed as possible through the corner. You will still want to cut back towards lane two or three for the curve.
#5- Church
Church is up next, and I can only assume it was called this as a reminder to say your prayers before you turn in. It’s the fastest corner in the country, and you can definitely tell that from the driver’s seat – it’s a bit scary.
The apex is on a slight crest and therefore hard to spot. It’s a little bumpy (by Thruxton’s standards anyway – overall the circuit is very smooth, but you notice even the smallest bumps at 110mph) and you run out of space very quickly on the exit.
Having moved back to lane one after the curve on approach, there’s a dip you can use as a turn-in point (like Allard). Although the apex itself isn’t clearly visible, the marshal post on the inside is a great reference point until you can see the kerb, which is your actual apex.
The corner is slightly longer than you’d think, as there’s a slight kink to it on the exit. You need to hold the car within the right-hand side of the track until you reach the kink, at which point you run out all the way back to lane one.
The corner is flat-out in a Cooper Trophy car, but my best advice is to find a speed you’re comfortable with and gradually start chipping away from there.
#6- Brooklands
The part of the track that follows has a curve (known as Brooklands) and a small crest (called Woodham Hill, although it’s definitely not a hill). The best line through Brooklands is lane two, as it means the car is slightly straighter. You then cut back into lane one as you go over Woodham Hill for the straightest line into the braking zone for Club.
#7- Club
Club is probably the trickiest part of the circuit, and with it being the end of the lap, the pressure’s on not to screw it up.
After the non-hill there’s a kink to the right that starts the entry into the Club chicane. For the shortest distance you need to run the car over to lane four – right up to the white line on the inside.
Before you get there, though, you’ll need to be braking. For me, I start to brake as I approach lane three. Try to get the downshifts done in this part of the braking zone if you can, as it’s the straightest part of the braking area and therefore least likely to generate lock-ups.
After the kink, let the car run out into lane three slightly before turning into the first right. When turning into the chicane you can either ignore my advice about the kerbs and attack the first kerb with the right wheels (as I do) for a shorter and straighter line, or look after your car and drive around the kerb. Either way, the important part is that you apex late enough that you can keep the car to the right of the track (the lighter surface) before you turn in to the left.
The rest of the chicane comes up so fast that you’ll be doing it on instinct instead of having time to look for reference points; just try to be as straight as you can and get on the throttle hard and early. The kerbs through the rest of the chicane are rather flatter and therefore more usable.
#8- Finish Line
Then you just keep the power on from the exit of the chicane as you sprint towards the finish line.
All sounds easy enough, doesn’t it? Try doing it in a pack of 30 Cooper race cars that are bump-drafting each other…
Keys to mastering Thruxton circuit
■ Focus on the chicanes: with most or all the back section of the circuit being flat on the throttle, the biggest chance to make (or lose) time is through the chicanes. Focus on being precise with the car and getting good exits for the best run onto the straights that follow.
■ Stay off the big kerbs: this one is very much a case of do as I say and not as I do, as there are a few photos out there of me up on two wheels through the chicanes around here. The kerbs at the Complex and the first kerb at Club are absolute monsters, and unless you’re in a competitive situation they’re just not worth the damage you cause to the car on them.
■ Soft, smooth inputs needed on the pedals and the wheel: if the corners around the back are all flat-out for you then the key is to make soft and small adjustments on the wheel so that you scrub off minimal speed when turning, which in turn helps the car to continue building its momentum. Make sure you hold the wheel at the quarter to three position and with a soft grip too.
Equally, if there’s anywhere around the back of the circuit where you need to brake or lift, make sure you do so smoothly, so that you don’t unsettle the balance of the car too drastically or suddenly.
Any slides or spins around the back of the circuit tend to be big moments, given the speed you’re travelling at.
■ Bring tyres, lots of them: Thruxton is renowned for killing tyres; see all of the punctures in the BTCC over the years there as an example. In fact, these days, they have a hard tyre compound designed exclusively for Thruxton. It’s a combination of three factors; an extremely abrasive surface, long fast corners that put huge loads through the car, and again those massive kerbs that can cut a tyre.
Contact Alex
If you have questions about any of this Thruxton track guide, feel free to get in touch with Alex via social media. Or if you’d like to see on-board laps from his races, they’re on his YouTube channel (just search ‘Alex Nevill’).
www.facebook.com/alex.nevill.16
www.instagram.com/alexnevillracer
www.youtube.com/channel/UCZQDwgU9vWV-EmWdpxTtTmg


