If you want to improve the handling of your trusty steed, learn how to fit anti-roll bars with this in-depth guide.
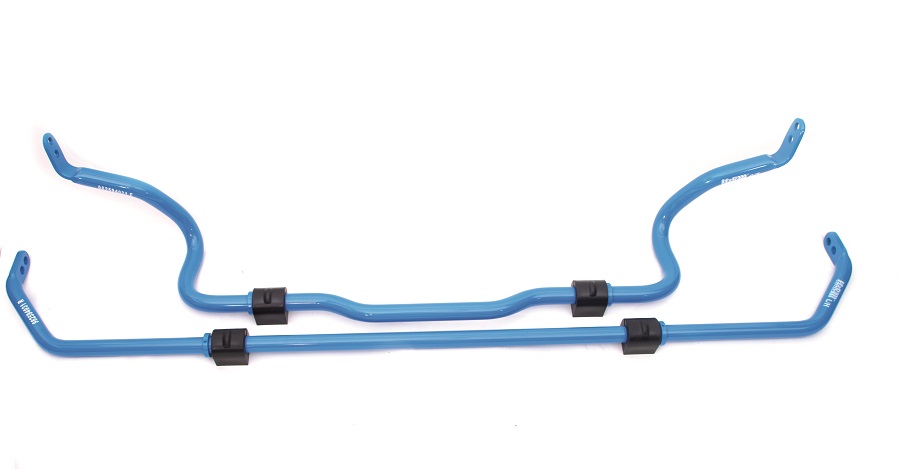
Whereas most people target car suspension first when chasing better handling, one of the simplest chassis upgrades you can actually make to your car is to replace the original front and rear anti-roll bars with performance upgrades. There’s a ton of manufacturers who produce anti-roll bars, so finding the aftermarket parts for your car won’t be a problem. We’ve opted for H&R because they make some of the best in the business for the Mk3 Focus RS, the test car we’re using in this guide.
The front and rear kit we have here feature adjustable mounting holes to increase or decrease the stiffness to suit your specific requirements, and both offer sharper feedback response, increased lateral stability and cornering grip, and reduce body roll. Like H&R’s world-famous lowering springs, the roll bars are manufactured to exacting standards; each bar is cold-formed, heat–treated, and shot-peened to maximize durability.
H&R anti-roll bars offer better handling performance when you start to push the RS to its limits, but without affecting the day-to-day usability of the car. They work well on a standard example, but compliment any RS running lowering springs or coilovers perfectly.
Also, while we might be showcasing how to do this on a Focus RS, the majority of the principles mentioned here still apply to most cars. But remember, forums are your friends if you need specific application advice.
Required equipment
Obviously, you’re going to need to source a set of anti-roll bars for your make and model of car, as mentioned before, lots of companies make them, so finding a kit shouldn’t be a problem. However, we’d always recommend using a reputable manufacturer, as you don’t want one of these failing. After all, the whole point of changing ARBs is to improve handling, not make it worse. You can buy all sorts of anti-roll bar kits from demon tweeks, so check out their full range of available brands here.
Once you’ve got the actual anti-roll bars that you want to fit, the next topic of focus is the tools that you need to do the job. Luckily, you won’t require anything out of the ordinary for this job, but get your jack, axle stands, a socket set, spanners, Torx bits, Allen keys, and a transmission jack ready.
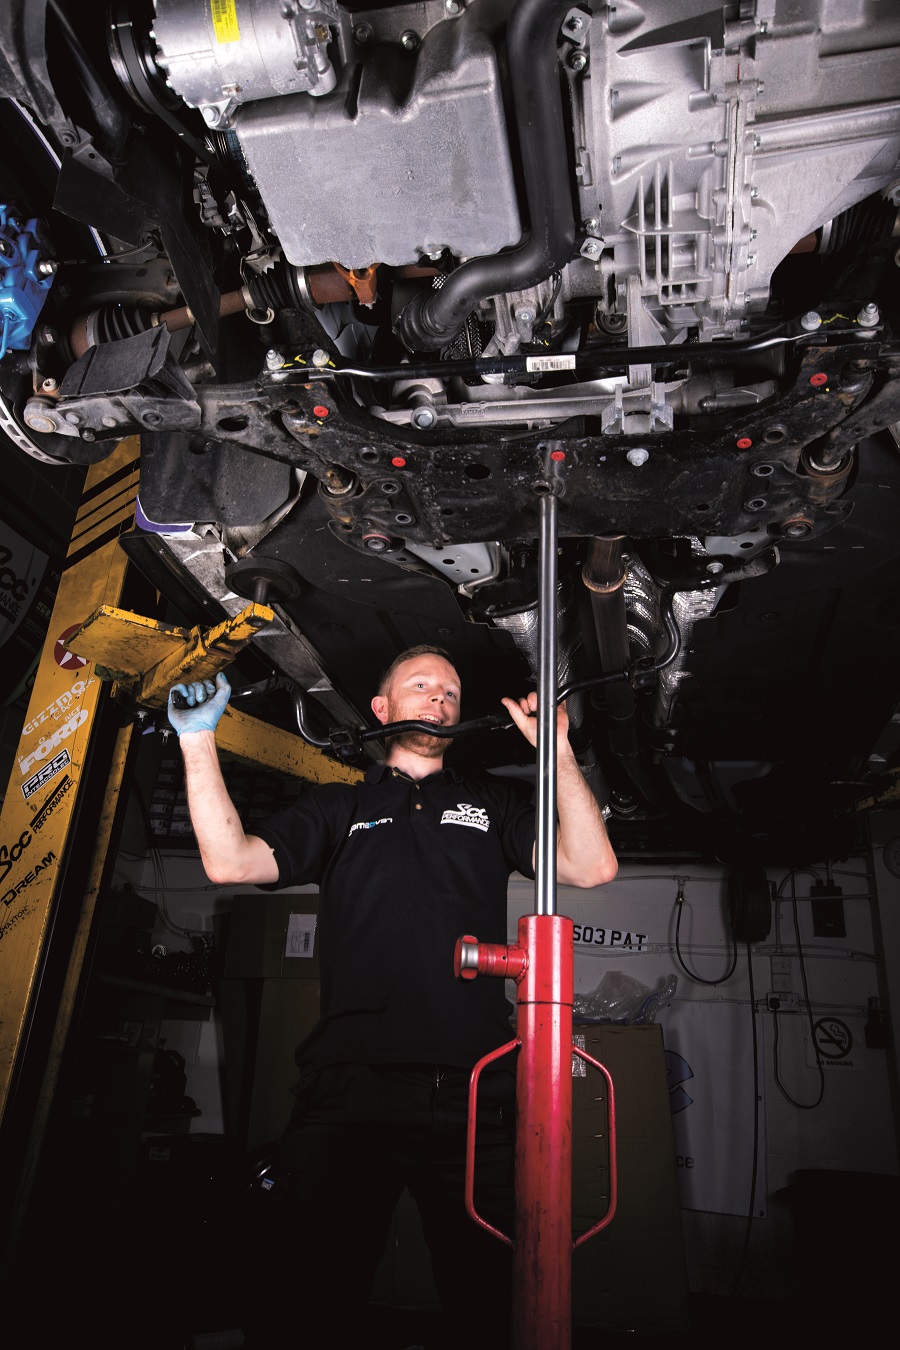
How to fit front anti-roll bars
Removing cross-braces
- Securely support the car in the air (a ramp is best for this job) and remove the wheels.
- Now you can get to the rear support cross-brace. It’s held in place with four 15mm nuts that attach to a bracket and four 13mm bolts (two each side) and four 13mm bolts (two each side). The outer most bolts are hidden under some sound deadening; peel it back and you can access the bolts.
- On the rear face of the front subframe, two 13mm bolts fix an exhaust hanger bracket into place – remove these and disconnect the hangers from the rubbers in the bracket
- Now you can remove the two large triangular brackets that the cross-brace was attached to. A pair of 13mm bolts and one 21mm bolt it in place. Once you’ve removed all these, you can take the bracket away from the car.
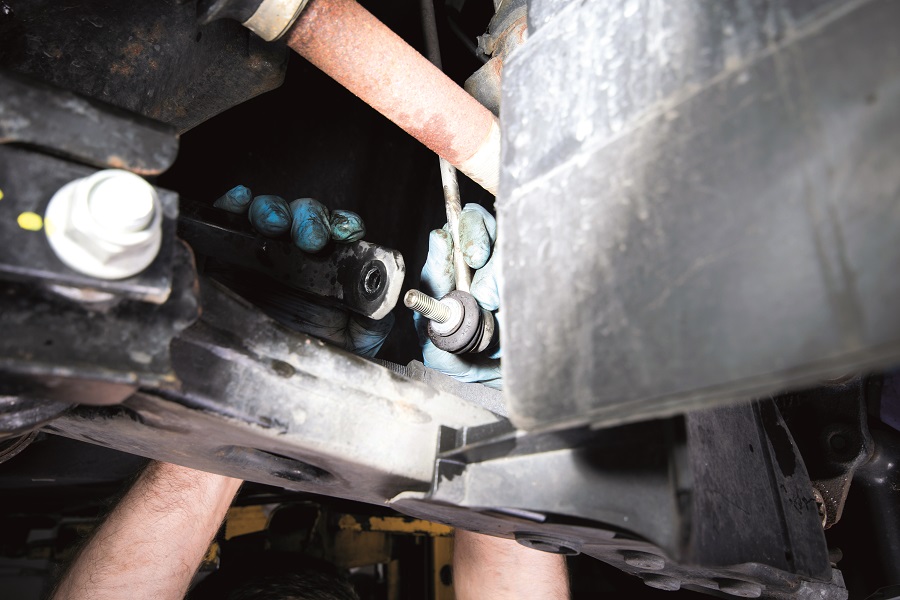
Removing drop links
- Next up, remove the 15mm bolt that holds the rear torque mount onto the gearbox casing.
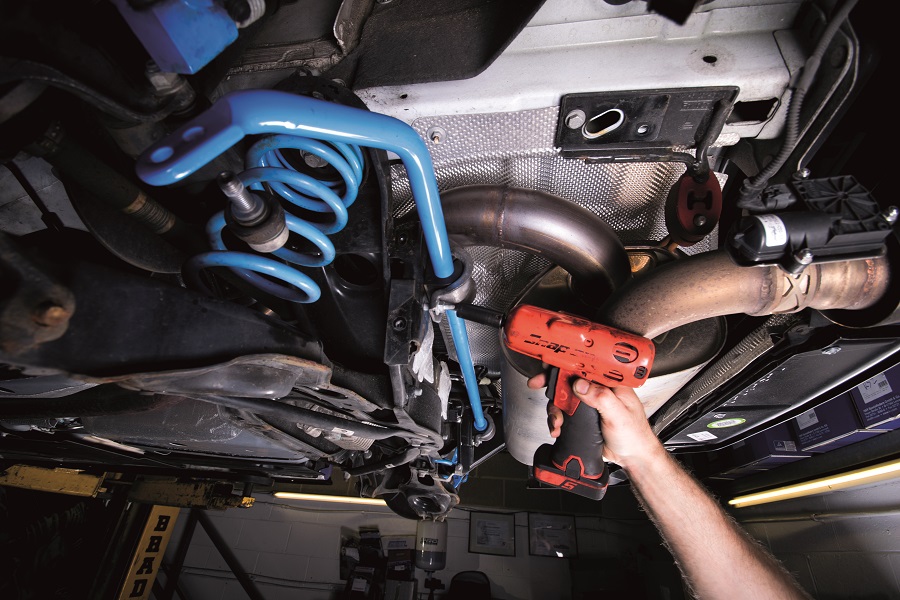
- Then you can remove the anti-roll bar drop links. Use a 6mm Allen key to hold the drop link steady, while removing the 15mm retaining nut.
- Before removing the drop link from the anti-roll bar – a gentle shove usually persuades them to part company.
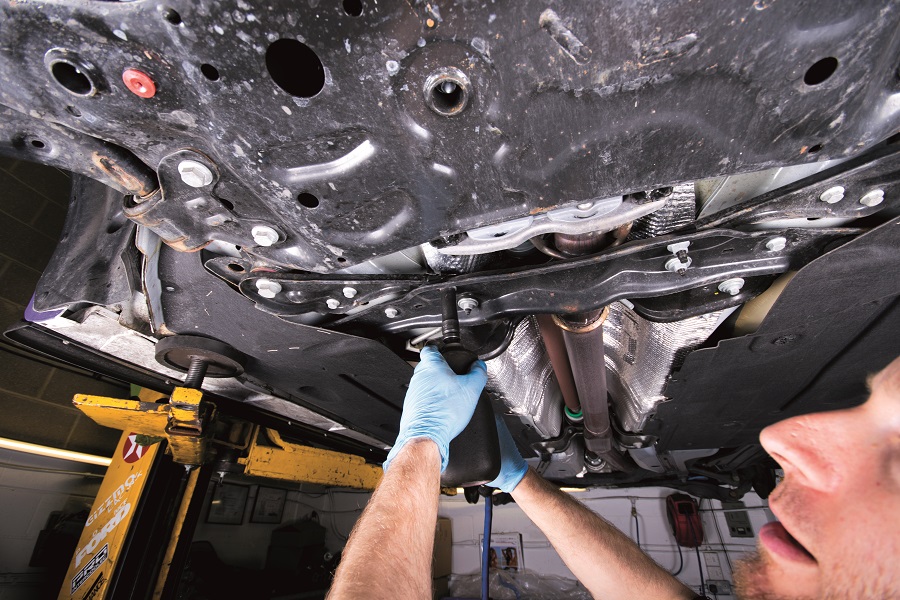
Lowering the sub frame
- Now you need to pop inside the car and remove the 10mm pinch bolt that holds the steering column onto the steering rack. Once removed, straighten the steering wheel to the dead-ahead position to aid with lining everything up again during refitting.
- In preparation for lowering the subframe, use a transmission jack to support the weight of the subframe assembly.
- Using an extension bar going through an access hole in the subframe, you can now undo the 15mm bolts that hold the subframe to the chassis.
- Once you have enough access you can then remove the two 18mm/21mm nuts and bolts that hold the anti-roll bar in place. These bolts actually hold the rear wishbone bush, subframe, and anti-roll brackets together.
- With these bolts removed you can continue to slowly lower the subframe until the original anti-roll bar can be removed from the car.
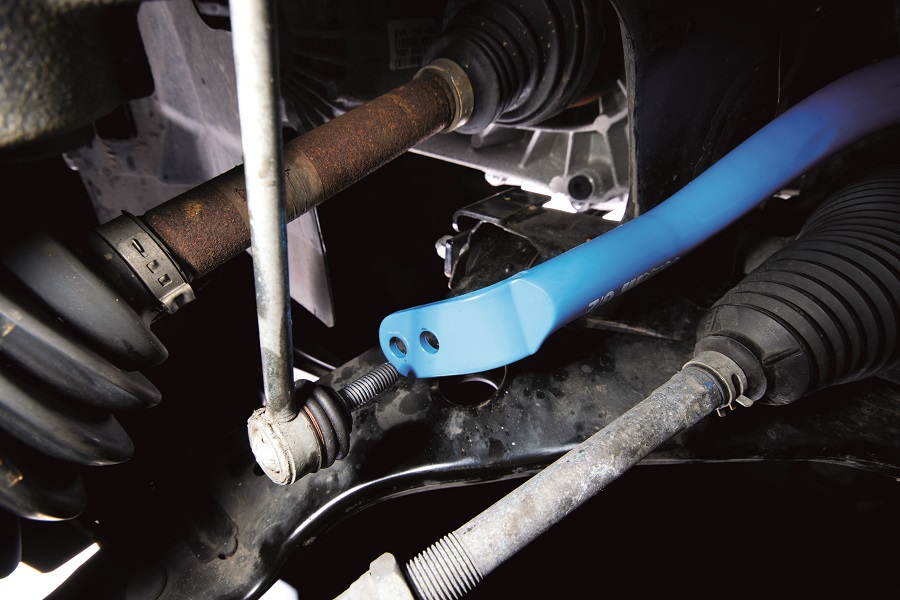
Installing the new ARB
- The new H&R roll bars come supplied with new bushes, but you do need to prize off the brackets from the OEM roll bar to use on the new roll bar too.
- Now offer the new H&R roll bar in place.
- Use the transmission jack to lift the subframe back into position and refit everything previously removed. Refitting is the reverse of removal.
- When you get to reconnecting the drop links, however, the H&R roll bar offers two settings; for the softest setting use the first hole, or for a stiffer setting use the second hole.
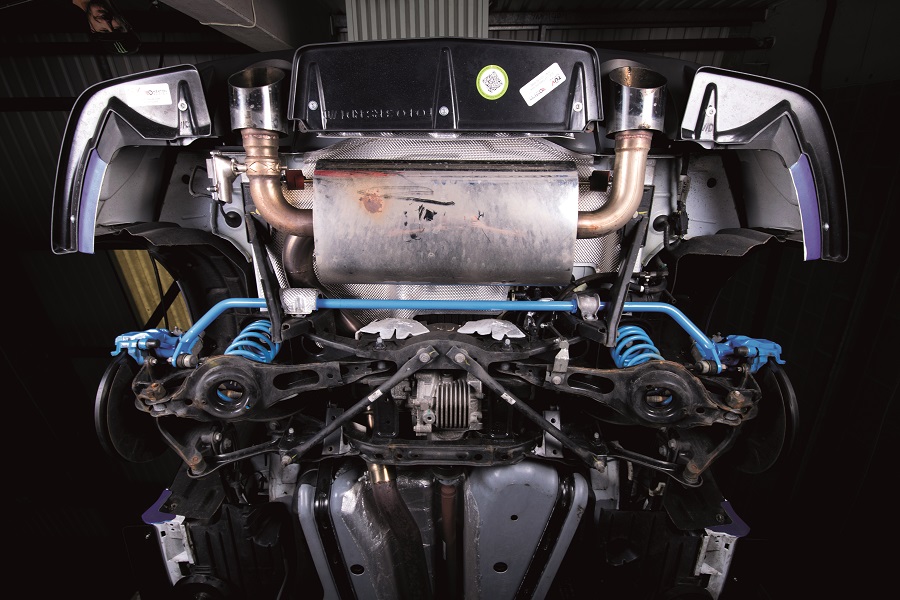
How to fit rear anti-roll bars
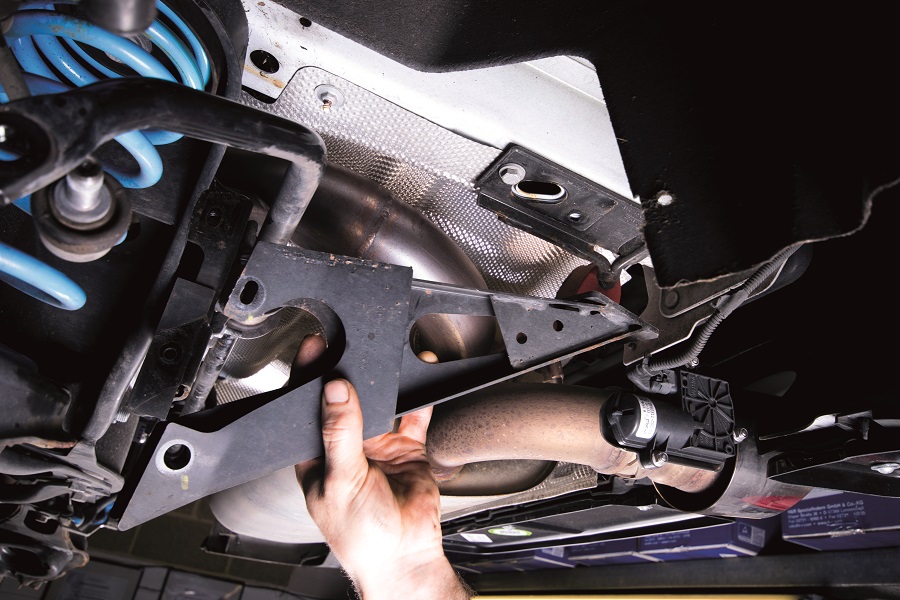
Drop link & brace removal
- On to the rear now, and the first thing to remove is the small heat shield that protects the ARB bush on the passenger side.
- Now remove the rear anti-roll bar drop links; use a 6mm Allen key to hold the drop link while removing the 18mm retaining nut.
- Next, remove the two T40 Torx bolts that hold the front of the triangular brace followed by the 10mm bolts at the rear. Then
remove the brace completely from the car.
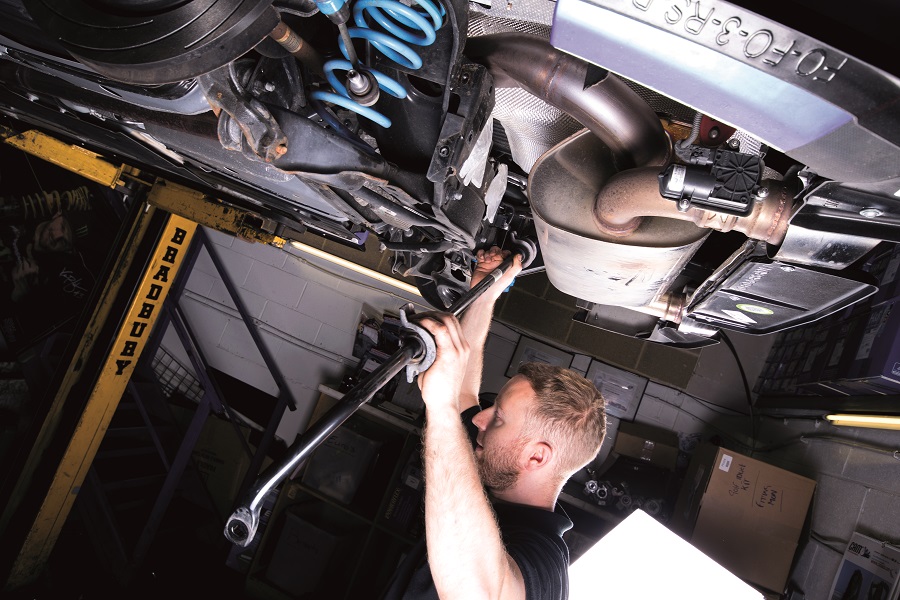
Anti-roll bar removal
- Now you can get to the anti-roll bar brackets; these are held in place by two 13mm bolts on each side.
- With the brackets removed, you can then remove the roll bar from the car. Carefully feed the driver side end through the triangular bracket on that side and the bar will come away from the car.
Installing the new anti-roll bars
- As with the front, the rear H&R roll bar comes with the bushes in the kit. With these fitted to the bar you can then prize the bracket off the old bar and refit to the new H&R one.
- Now you can slide the new H&R roll bar in place and refit everything previously removed. Refitting is the reverse of removal.
- Like the front, you can adjust the rear H&R anti-roll bar. Fit the drop link to the first (outer) hole for the softer setting, or the second hole for the stiffer setting.
- Job done, uprated H&R anti-roll bars fitted front and rear! Ideally the car should have a quick alignment check after dropping the front subframe, but after that you’re good to go.