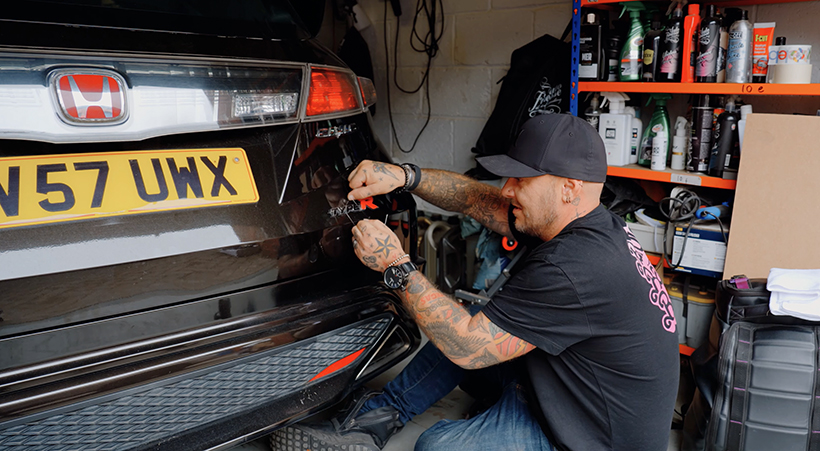
Debadging is one of the oldest, simplest and cheapest styling tricks in car modifying. It’s mainly used to clean up a car’s lines giving it a smoother look. But there are other reasons for debadging your car. You might want to remove the badges in preparation for a car wrap for example, or to disguise your car’s true power if the sleeper look is desired.
What You Need To Debadge Your car:
Debadging your car is easy, but there are a few things you’ll need to do the job safely without snapping the badge or damaging the car’s paintwork. Here is what you’ll need…
- Fishing Wire
- Tar and Glue Remover
- Microfiber Cloth
- Heat Gun
- Car Polish
- Elbow Grease
- Clay Bar*
- Razor Blade*
*Optional
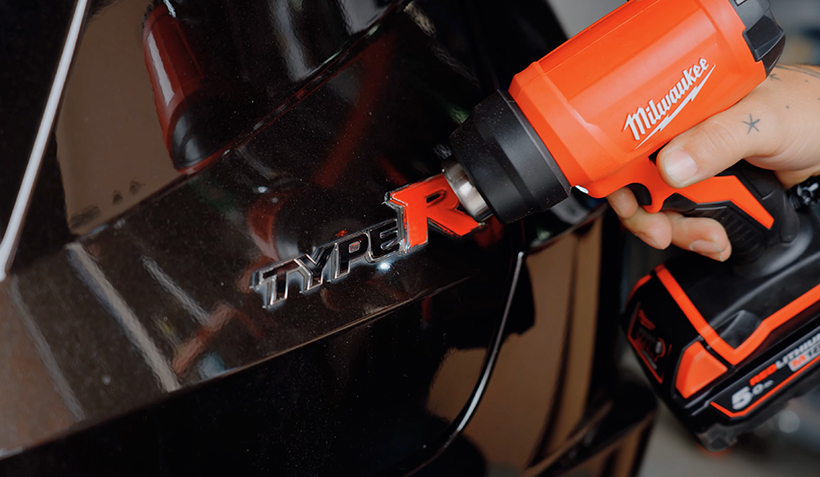
Step One
Grab your heat gun and slowly heat up the badge. The objective here is to soften the glue used to stick the badge on, this will make it easier to remove. Be careful not to overheat the area, as you could damage your paint. So take it slow and steady, and keep the heat gun at a safe distance, around 10 to 15cm away.
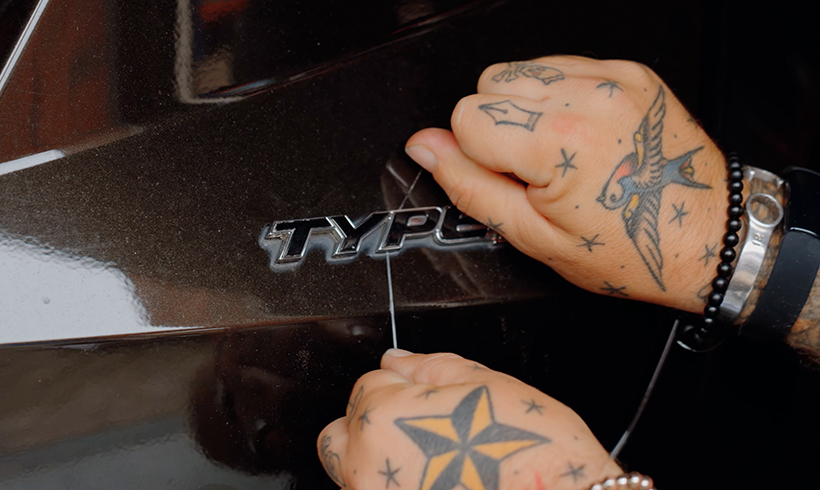
Step Two
It’s now time to grab your fishing wire and work it between the badge and your bodywork, slowly moving side to side and down the badge. This will separate the badge from your bodywork. If it’s proving to be stubborn, go back to step one.
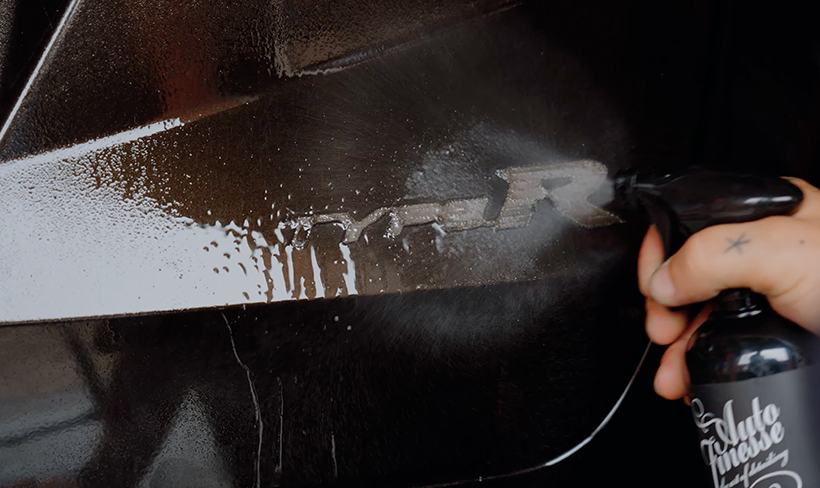
Step Three
The Badge will now be removed but there’ll still be some old glue residue left on your paintwork. You’ll want to remove this, so grab your Tar and Glue remover, spray liberally and let it dwell into the glue. Once it’s soaked in, grab your microfiber cloth and wipe it away. Repeat this process until the glue has gone. If you’re left with some stubborn glue residue, you can remove this with a razor blade. If you do have to go down this route, be extremely careful as you can easily scratch the paint or worse, cut yourself. So, take your time.

Step Four
With all the glue gone, you’ll likely still be left with the outline of the badge where dirt has built up over time. Car Polish and elbow grease will remove this. Work your polish into the area and repeat this step until the outline has gone.
For the perfect result, clay bar the area first, this will reduce the risk of adding swirl marks or scratches to your paint. If you’re not sure how to use it, check out our guide on how to clay bar your car.

Step Five
You’re all done, all that is left to do now is admire your car’s new smooth look.
What is up-badging?
This is the opposite of de-badging. This is where you take a badge from a sportier model of the same car and replace your original badges. For example, sticking a BMW M3 Badge on a BMW 318. While de-badging is cool, up-badging is not. The only time it’s generally acceptable in the modified car scene, is when you’re building a replica.