
Do you want to give your car a sleek, modern look? Carbon fiber skinning might be just the thing for you. Carbon fiber is a lightweight and durable material that has been used in high-performance sports cars and motorsport for years. Now, with the rise of DIY carbon skinning kits, it’s easier than ever to get the same look at home.
What is Carbon Fiber Skinning?
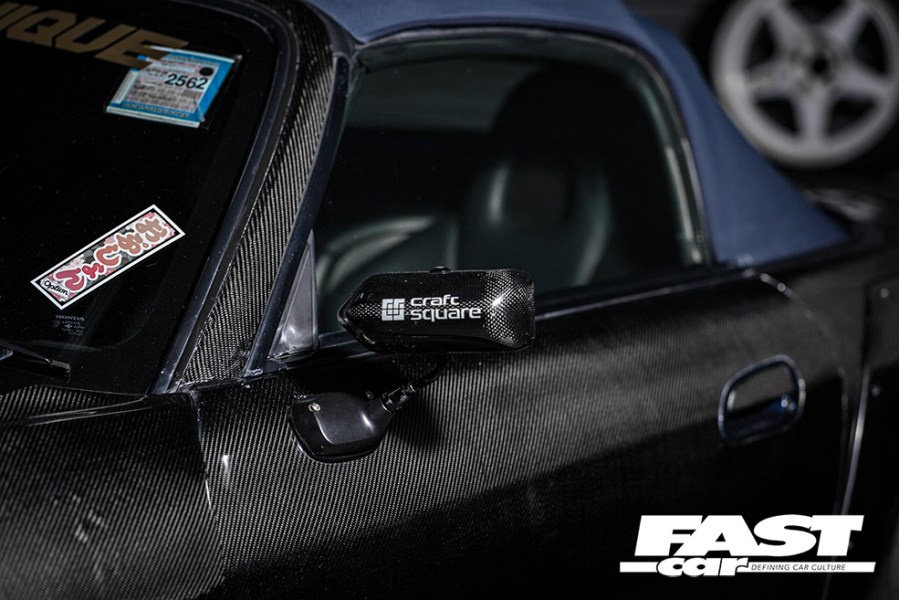
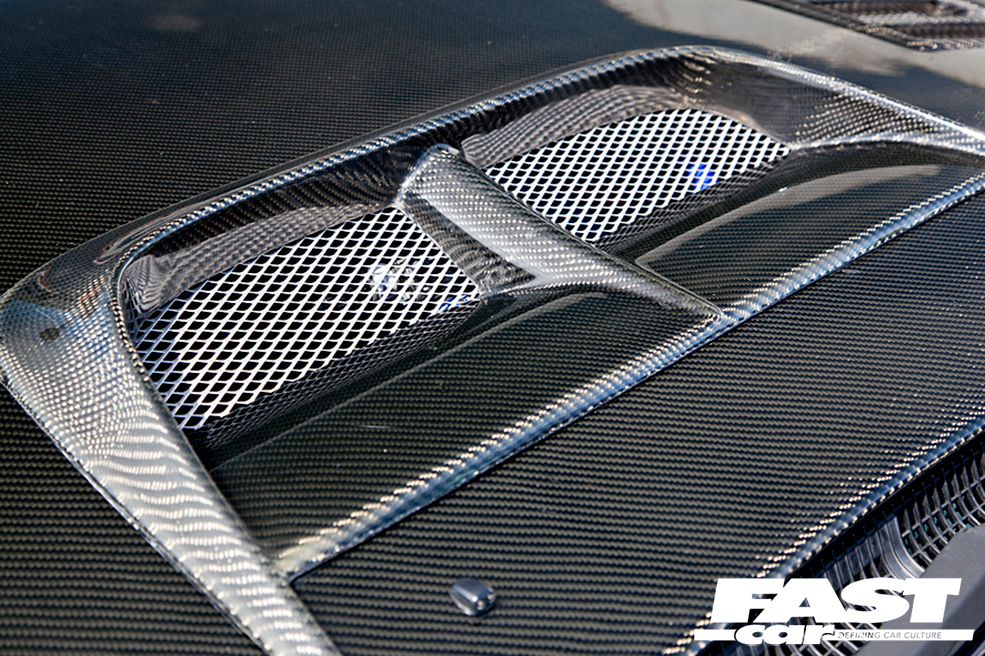
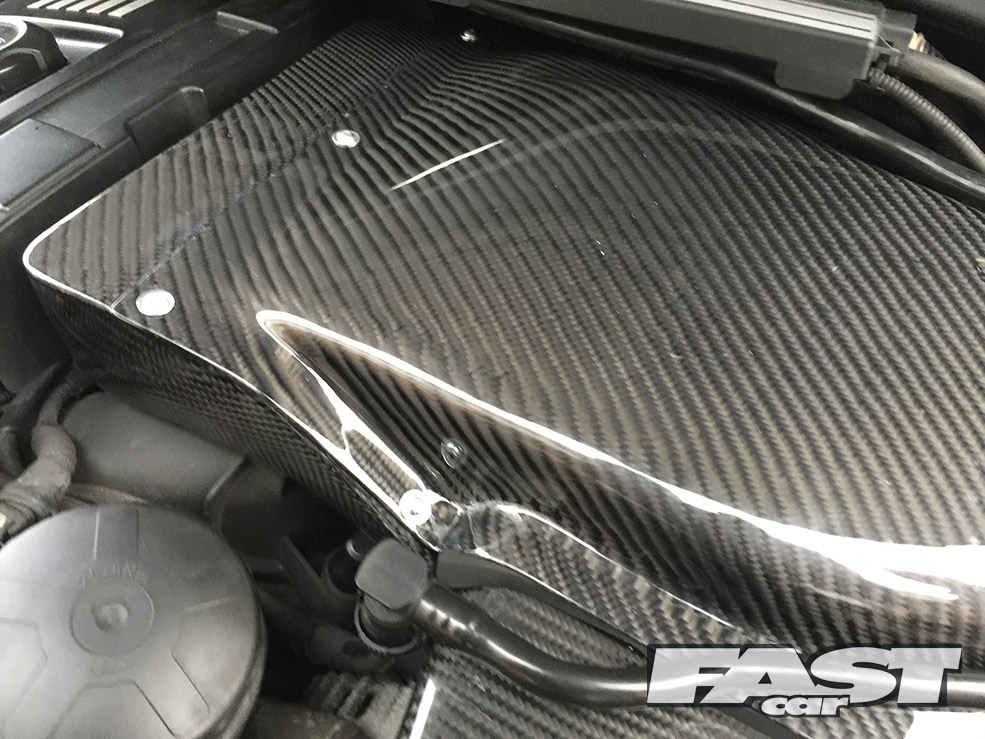
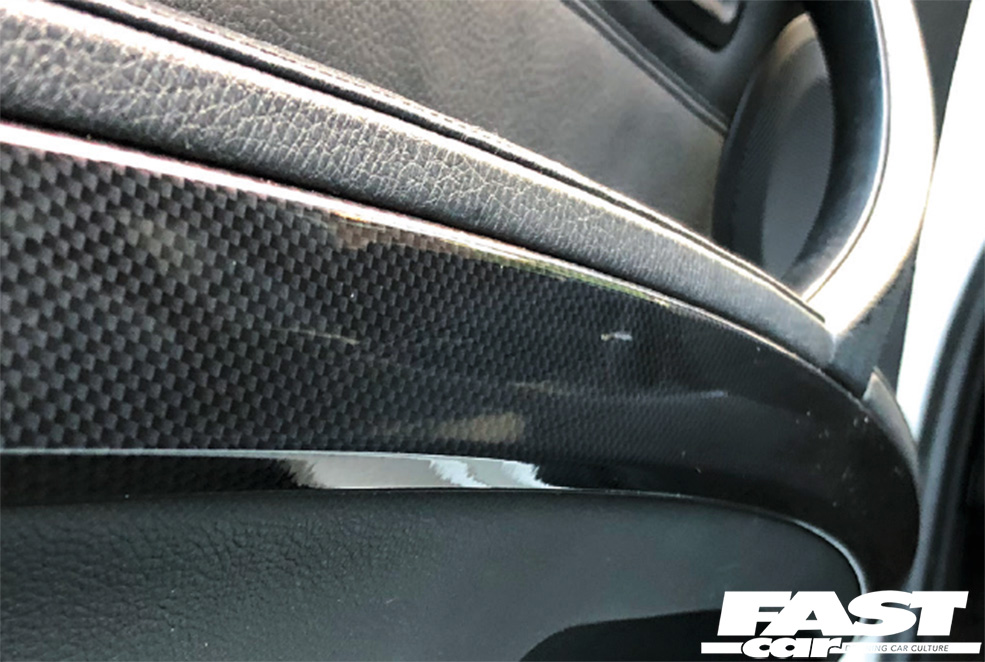
Carbon skinning is a popular technique for achieving the modern look of genuine carbon fiber molded pieces without the costs. The process involves applying a layer of carbon fiber directly to the surface of an object, creating a lightweight and durable finish that enhances the appearance of whatever it is applied to. To achieve this, epoxy resin and plain weave carbon fiber cloth are used – the process will be familiar for anyone who has used fiberglass kits in the past – and the good news for us modified car fans is that it can be used on loads different of our cars when it comes to customizing.
The Rise of DIY Carbon Fiber Skinning Kits
The popularity of DIY carbon fiber skinning kits has soared among car and motorcycle enthusiasts. These kits provide all the necessary materials and instructions for carbon fiber skinning at home, giving you the opportunity to transform your ride into a sleek, customized work of art. One of the key advantages of these kits is that these DIY kits offer a cost-effective alternative to professional services, allowing car owners to achieve the desired look without breaking the bank.
With the availability of starter kits, carbon fiber skinning has become more accessible to DIYers, eliminating the need for specialized tools or expertise. Additionally, the appeal of DIY carbon fiber skinning lies in its versatility and almost limitless customization options, – you can add a carbon skin to pretty much anything!
The Process of Carbon Fiber Skinning at Home
Before starting, it’s essential to prepare your car by cleaning and sanding the surface to ensure proper adhesion. Follow the detailed guide provided with the kit to apply the carbon skin effectively (some instructions will differ slightly from kit to kit), ensuring smooth and even coverage.
DIY carbon fiber skinning offers several advantages and some disadvantages too (we’ll cover both a bit later in this feature) but overall, with the right materials and careful execution, DIY carbon fiber skinning can be a rewarding project for car enthusiasts.
Materials and Tools You’ll Need
To begin your DIY carbon fiber skinning project, you’ll need to gather the necessary materials. If you’re new to this DIY project, a starter kit can provide you with all the materials you need in one convenient package. If not, you’ll need a base (usually black for best results) epoxy resin, a clear (top coat) epoxy resin, a hardener, a sheet of carbon fiber, various grades of sandpaper or abrasive pads ranging from coarse to fine, and some cutting compound or a can of automotive lacquer for adding gloss. It’s also important to familiarize yourself with the different types of epoxy resin and different carbon fiber twill cloth available, as this will allow you to choose the right materials for your specific project.
Also, it’s wise to prepare for how you are going to activate the adhesive and have a plan for how you’re going to apply it. You’ll need enough epoxy to fully coat the part you want to skin, and therefore will need a pot or cup large enough for you to mix enough resin. You’ll also need a couple of paintbrushes to apply the resin (one for base, and one for clear), a sharp pair of scissors, and some quality masking tape. As ever, planning is crucial but by having all the necessary materials at your disposal, you’ll be well-equipped to start your DIY carbon fiber skinning journey.
Preparing Your Car for the Process
So, set all your materials and tools to one side, but before you begin the carbon fiber skinning process, you should properly prepare the part you’re applying the skin to. Start by giving it a thorough clean and degrease to remove any dirt or grime that may interfere with the adhesion of the carbon skin. Also, remove any existing paint or coatings from the surface – you can do this using sandpaper or a chemical paint stripper, depending on what materials the part to be skinned is made from (check first!). Finally, ensure that you wipe everything down with a clean cloth and a dab of isopropyl alcohol to make sure it is free from dust and debris.
To protect areas that you don’t want to be covered in carbon fiber, make sure to mask them off or cover them with plastic sheets. This will ensure that the skinning process only covers the desired areas. Remember to follow proper safety precautions throughout the preparation process, including wearing gloves and a mask to protect yourself from any harmful chemicals or fumes.
Step-by-step Guide to Apply the Carbon Skin
Step 1. Applying the base coat
To apply the carbon skin, begin by applying base epoxy resin to the surface of the part to be covered – take time to make sure it is evenly spread. Once the adhesive is tacky to the touch, you can start to lay the carbon fiber cloth over it. Be sure to line the weave up in the direction you want, and ensure the sheet will cover all the desired areas. Then, gently lay the carbon fiber onto the part, and rub it down from the center outwards. The adhesive will be tacky enough to hold it all firmly in place, but you may need to use a squeegee or roller to remove any air bubbles and promote proper adhesion.
Step 2. Adding the clear coat
Once the part is fully covered in carbon fiber, the next job is to apply the clear resin. Mix the epoxy with the hardener at the correct ratio, and apply a thin and even layer to the carbon skin using a brush, just as you did with the black base layer. After the first coat of clear resin, allow the epoxy to cure fully – usually overnight. Once cured, stuff the surface with some coarse sandpaper to remove any high spots before applying a second layer of clear resin. Once that has dried to tack, apply a third coat and leave to cure fully – ideally around 24 hours.
Step 3. Achieving a flawless finish
Once cured, sand the carbon skin to achieve a smooth and flawless finish. Take your time here and don’t rush, and gently work your way from the coarsest grit abrasive to the finest. The end result will be a silky smooth satin finish. You can either leave it like that, or make it glossy. To add gloss you have two options; polish the carbon skin using a cutting compound and buff to finish, or apply a couple of coats of automotive lacquer.
By following these simple steps, you can successfully apply a carbon skin to your part, giving it a sleek and stylish appearance.
Advantages and Disadvantages of DIY Carbon Fiber Skinning
Choosing DIY carbon fiber skinning offers several advantages. Firstly, you can customize the appearance of your car according to your preferences. DIY kits provide various customization options. Different weaves, finishes, and colors, allow you to achieve a unique and personalized look. Additionally, many enthusiasts often find that DIY skinning is more cost-effective than using professional services. By performing the process yourself, you can save money on labor costs.
Of course, achieving professional-grade results may require practice and skill development. Plus, mistakes can be difficult to fix and may result in having to buy another kit and start over again. But mainly, it’s just fun! We love getting our hands dirty when it comes to modifying our cars, and it’s incredibly satisfying to be able to show off the carbon parts that you made in your home garage at your next car meet! If you’re an owner who likes to get hands-on, then carbon skinning is definitely a project you should try at home.

How to Maintain the Carbon Skin on Your Car?
Looking after a carbon-skinned component is exactly the same as caring for a genuine carbon fiber piece. You should clean the part regularly with appropriate non-abrasive cleaners. And be careful to avoid using harsh chemicals that can damage the carbon skin. Apply waxes, sealants or ceramic coatings for further protection.
Are DIY Carbon Skinning Kits Worth the Investment?
Considering the cost-effectiveness, convenience, and personalization options they offer, DIY carbon skinning kits are definitely worth the investment. These kits provide all the necessary materials and tools, saving you time and money compared to professional services. Plus, completing the project yourself is a satisfying experience for car enthusiasts.
What do we think of DIY carbon skinning kits?
DIY carbon fiber skinning is a fantastic way to enhance the appearance of your car. It allows you to add a touch of style and uniqueness to your vehicle without breaking the bank. Plus, you get to have some fun in the garage while doing it. However, it is important to consider the potential challenges involved. If you’re not confident in your skills, it might be worth considering hiring a professional service.
Either way, adding a carbon skin is a more cost-effective way to get the look you want without having to splash the cash. Alternatively, check out our feature on Car Wrap Finishes: From Satin To Carbon, to see how you can achieve the carbon effect with vinyl wrapping…


