We spend more money than we’d like to admit on our cars. Whether it be upgrades, maintenance, or even just the tools to get those jobs done, this hobby can make a pretty sizeable dent into your bank balance. With that in mind, installing a decent garage alarm is a no-brainer. After all, if you’re going to put the effort into all other aspects of car ownership, why leave yourself vulnerable to thieves?
That, is where Defender claims to have your back. Its new Shock/Contact Alarm arrives with an impressive set of accolades, including the “Master Locksmith Association’s Gold award” – a first for this market segment, apparently. On top of that, Defender says that the alarm lives up to the security standards recognised by the UK’s national police forces.
Simple… but effective?
Sounds good, right? So how does it work? Well, with a billing like that, you’d be forgiven for assuming that there was some very complex mechanisms underpinning it all. However, it’s actually very simple to get your head around. As the Shock/Contact name suggests, the alarm focuses upon two types of illegal entry. The ‘shock’ part of the name refers to the alarm’s vibration sensor. So, if your garage door is being forced open by a heavy-handed thief, the alarm should pick up on this and sound as a result. On the other hand, burglars with a more delicate touch will come unstuck simply by breaching the alarm’s magnetic contact.
That’s the theory, anyway. So, we put the theory to the test…
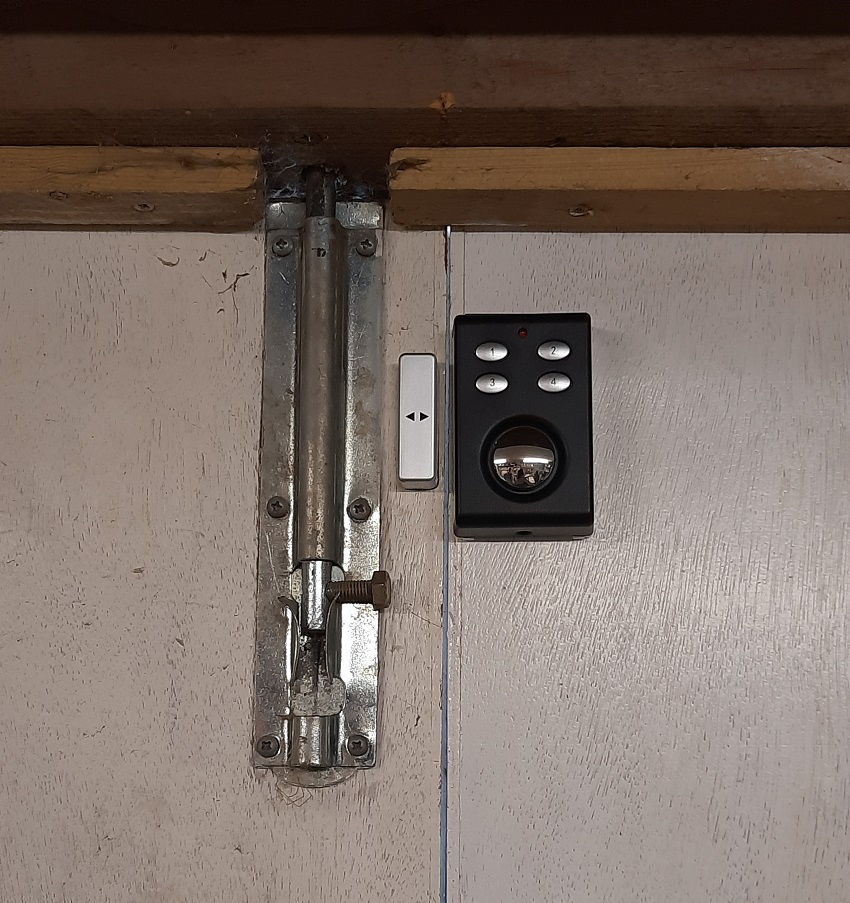
The garage alarm and its accompanying magnet are placed on either side of a double door entranceway, importantly only 10mm apart.
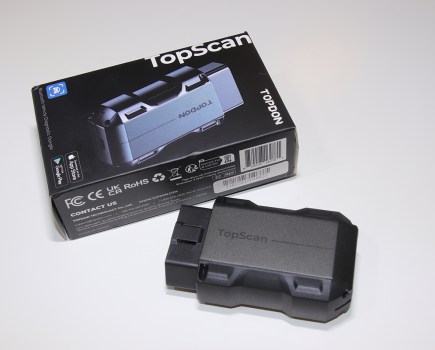
Defender Shock Contact Garage Alarm Review
Set-Up
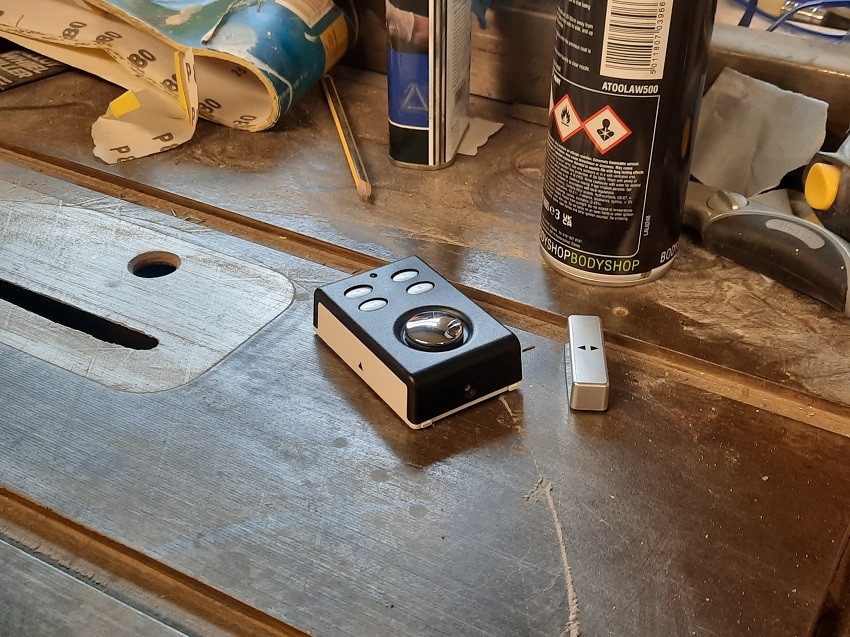
After inserting the supplied AAA batteries, we then set our personal four-digit PIN code via the keypad – a process which doesn’t require more than a glance at the instruction manual to understand. With that done, we moved onto installation, which we’re glad to report is also a piece of cake.
There’s a couple of ways that you can go about doing it: namely, by attaching the alarm’s back casing to the door with screws, or by sticking it to the door with the supplied 3M adhesive tape. We opted for the latter option.
You might wonder about the resilience of mere tape, but actually, we found it to be comfortably capable of supporting the alarm’s weight over an extended period of time.
Really, there’s only one part of the installation process that requires any sort of thought, and that’s the location you choose. To be clear, the alarm goes on the inside of your garage door, and for the ‘contact’ part of the system to work, you’ll need to ensure that the alarm and its accompanying magnet are no more than 10mm apart.
In this instance, the workshop we had at our disposal was fitted with double doors. So, in practice, this meant adhering the alarm to the edge of one door’s inside surface, then lining up the magnet against it on the adjacent door (pictured above).
Garage Alarm Test – Magnetic Contact Patch
Now for the loud bit. The first element of the alarm that we decided to put under scrutiny was the magnetic part. The idea behind it is that when someone opens the door, the distance between the alarm and the magnet will increase, thus breaking the magnetic contact. This effectively tells the alarm that the door is open, which then triggers a five-second countdown. If you – or any unwitting thieves – fail to enter the PIN code in time, then the alarm will trigger.
Now, it’s worth mentioning that for this phase of the test we disabled the alarm’s vibration sensor. This was something worth doing as it ensured that I wouldn’t activate the siren by touch instead of a break in the magnetic contact area. Doing this is as easy as punching ‘111’ into the alarm’s keypad.
So, with the device armed, we braced our ears for what was to come next. After a 30 second cool-down period, we opened the door (triggering a foreboding beep) and refrained from entering the PIN code. As promised, the whole 130dB of alarm then sparked into life, signalling that it had passed the first phase of our test.
Garage Alarm Test – Vibration Sensor
The vibration sensor was where our focus would turn next. We re-activated this element of the alarm by typing ‘222’ into the keypad. Then, once again, we armed the device and closed the door behind us.
With the cool-down period having gone by, we then did our best impression of a common crim, yanking at the door handle and throwing in a shoulder barge or two for good measure. Behind the door, that telling beep sounded once again, and sure enough, five seconds later the workshop erupted into noise.
At the end of all that, it’s safe to say that this alarm does exactly what it says on the tin. Now, we’re off to go and apologise to the neighbours…
Defender Shock Contact Garage Alarm Verdict
Before we go though, we couldn’t leave without giving you our final verdict. To put it simply, the Defender Shock/Contact alarm feels like great value for money. Priced at just £14.95 (not available outside of the UK mainland), the device is easy to install and once armed does a commendable job of guarding against two different types of unwanted entry. Of course, it can’t physically prevent robberies from taking place, but we reckon you’d be hard pushed to find a burglar that wouldn’t be scared off by 130 unexpected decibels.
Of course, there are some things to consider though. For example, if your workshop or garage has extra doors or windows, the localized nature of the Defender Shock/Contact alarm means that you’d need one per entranceway for total peace of mind. In that scenario, you may be better off with a more comprehensive security system instead.
However, if you’ve only got a small garage, workshop, or shed to protect, then the Defender is a competent, budget-friendly option.